

The optimal angle for a rear dash cam is a vertical split of approximately 60% road and 40% horizon and sky. This positioning ensures you capture crucial details like the license plates of vehicles behind you, the context of the road, and traffic signals, while also recording the broader environmental conditions without being obstructed by your car's body or overwhelmed by sky glare.

Table of Contents
- Why is the Correct Rear Dash Cam Angle So Important?
- What is the Optimal Angle for a Rear Dash Cam?
- How Does Your Vehicle Type Affect the Camera Angle?
- What Role Does the Camera's Field of View (FOV) Play?
- How Do You Install and Adjust Your Rear Dash Cam for the Perfect View?
- What Common Mistakes Should You Avoid When Positioning Your Rear Camera?
- How Can You Test and Confirm Your Rear Dash Cam Angle?
- Are There Legal Considerations for Rear Dash Cam Placement?
- Can Advanced Features Improve Your Rear-View Coverage?
Why is the Correct Rear Dash Cam Angle So Important?
Setting the correct angle for your Rear Dash Cam is not just a matter of preference; it is a critical step that directly impacts its effectiveness. An improperly positioned camera can render your footage useless in the very moments you need it most. The primary purpose of a rear-facing camera is to provide an unambiguous record of events behind your vehicle, particularly in cases of rear-end collisions, parking incidents, or tailgating.
A well-adjusted angle ensures you capture essential details with clarity. This includes the license plates of cars behind you, the make and model of the vehicles, and the actions of other drivers. If the camera points too high, you will capture too much sky, which can cause lens flare and overexposure, washing out important video evidence. If it points too low, you may only see the bumper of the car directly behind you, missing the broader context of the traffic situation, lane markings, and the sequence of events leading up to an incident. A proper setup provides an irrefutable, wide-ranging view that protects you from wrongful liability.
What is the Optimal Angle for a Rear Dash Cam?
Achieving the perfect camera angle is a balance between capturing the immediate road behind you and the surrounding environment. It involves adjusting both the vertical tilt and the horizontal position to create a comprehensive and clear field of vision. The goal is to maximize useful information while minimizing obstructions and visual noise.
The Ideal Vertical Tilt: Balancing Road and Sky
The most widely accepted best practice for the vertical angle is the 60/40 rule. This means your camera's view should be composed of approximately 60% road surface and 40% horizon and sky. This ratio ensures the camera is low enough to clearly capture the license plates and details of vehicles following you, even at close distances. The 40% allocated to the horizon allows you to see traffic lights, road signs, and the general flow of traffic further back, providing crucial context for any recorded event.
This balance prevents two common problems. Pointing the lens too far down cuts off your view of distant traffic and can miss taller vehicles. Conversely, an upward tilt introduces excessive sky into the frame, which can trick the camera's sensor into underexposing the darker road area, making it difficult to discern critical details, especially during sunrise or sunset.
The Perfect Horizontal Position: Centering Your View
Horizontally, the objective is simple: center the view. Your rear dash cam should be mounted as close to the center of your rear windshield as possible. This placement provides a symmetrical view of the lanes behind you and on both sides. An off-center camera can create a distorted perspective, making it difficult to accurately judge distances and the relative positions of other vehicles. Ensure that the view is level with the horizon, avoiding any tilted or crooked angles that could disorient viewers and complicate the analysis of footage.
How Does Your Vehicle Type Affect the Camera Angle?
The shape and design of your vehicle play a significant role in determining the final placement and angle of your rear dash cam. A one-size-fits-all approach doesn't work, as the slope of the rear window, the height of the vehicle, and potential obstructions vary greatly.
Sedans and Coupes
Sedans and coupes typically have a more slanted rear windshield. This can make mounting trickier. You will likely need to position the camera higher up on the glass to achieve the 60/40 road-to-sky ratio without the car's trunk or spoiler obstructing the bottom of the frame. It is important to ensure the lens is aimed straight back and not angled down due to the slope of the glass itself.
SUVs, Trucks, and Vans
These vehicles often have a much more vertical or near-vertical rear window. This makes mounting easier and provides more flexibility in placement. However, the greater height of the vehicle means you must be careful not to angle the camera too far down, which would result in capturing too much of your own bumper or tailgate. The goal remains the same: capture the road directly behind while maintaining a view of the horizon. The presence of a rear wiper is another factor; always place the camera within the wiper's sweep path for a clear view in inclement weather.
| Vehicle Type | Recommended Placement | Key Adjustment Considerations |
|---|---|---|
| Sedan/Coupe | High on the sloped rear windshield | Angle lens to compensate for glass slope; avoid trunk/spoiler obstruction. |
| SUV/Hatchback | Center of the vertical rear window, within wiper path | Ensure the view clears the spare tire (if applicable) and bumper. |
| Truck/Van | Top-center of the rear window or canopy glass | Adjust for height to avoid an excessively downward-facing view. |
What Role Does the Camera's Field of View (FOV) Play?
The Field of View, measured in degrees, determines how wide of an area your camera can capture. A wider FOV means you can see more of the adjacent lanes, which is invaluable for recording incidents involving lane changes or sideswipes. Most modern dash cams offer a wide-angle lens, typically between 140° and 170°. This specification is crucial when positioning your camera.
With a very wide FOV, you have more leeway in horizontal placement, as the camera will naturally capture the surrounding environment. However, it can also introduce a "fisheye" effect, where objects at the edges of the frame appear curved or distorted. While this is a normal characteristic of wide-angle lenses, it underscores the importance of central mounting. Centering the camera ensures that the most critical area—the road directly behind you—has the least amount of distortion, keeping license plates and other details sharp and legible.
How Do You Install and Adjust Your Rear Dash Cam for the Perfect View?
Proper installation is a straightforward process that pays dividends in footage quality. Follow these steps for an optimal setup:
- Clean the Area: Thoroughly clean the inside of your rear windshield with glass cleaner or an alcohol wipe where you plan to mount the camera. This ensures the adhesive mount forms a strong, lasting bond.
- Power On the Camera: Before sticking the mount, connect the camera to its power source and turn it on. Most dash cams connect to a front unit or can be previewed on a smartphone app. This live view is essential for correct positioning.
- Position the Mount: While watching the live feed, hold the camera in your chosen position. Adjust the vertical and horizontal angle until you achieve the desired 60/40 split and a centered, level view.
- Attach and Secure: Once you have found the perfect spot, press the adhesive mount firmly against the glass and hold it for at least 30 seconds. Attach the camera to the mount and make any final micro-adjustments to the lens angle.
- Manage Cables: Neatly tuck the power cable along the headliner and down the C-pillar to the power source. This prevents a dangling wire from obstructing your view or looking untidy.
What Common Mistakes Should You Avoid When Positioning Your Rear Camera?
Even with the best intentions, several common errors can compromise your rear dash cam's effectiveness. Being aware of these pitfalls can help you avoid them:
- Placing it Outside the Wiper's Path: Mounting the camera in a spot that the rear wiper cannot reach will make it useless in rain, snow, or when the window is dirty.
- Ignoring Defroster Lines: Thick defroster lines can obstruct the lens's view or create glare in the footage. Try to position the lens between these lines for the clearest possible image.
- Mounting Too Low: A low placement on the rear windshield can lead to a large portion of the view being blocked by your own vehicle's trunk or spoiler.
- Forgetting to Remove Protective Film: A simple but surprisingly common mistake is leaving the thin plastic film on the lens, which results in blurry, low-quality recordings.
How Can You Test and Confirm Your Rear Dash Cam Angle?
After the initial setup, a real-world test is the best way to confirm your angle is correct. Don't wait for an incident to discover your view is off. Take a short drive during the day and, if possible, at night. When you get back, review the footage on a computer or your phone.
Check for the following: Can you clearly read the license plate of a car that is a safe distance behind you? Is the horizon level? Does the footage capture at least one full lane to your left and right? Is the image free from significant glare from the sun or headlights? If you answer yes to these questions, your camera is well-positioned. If not, make small adjustments and test again until you are satisfied with the results.
Are There Legal Considerations for Rear Dash Cam Placement?
While dash cams are legal in most places, there can be local laws or regulations regarding their placement. Most regulations are concerned with devices obstructing the driver's view. Although this is primarily an issue for front-facing cameras, it is wise to ensure your rear dash cam does not block your line of sight through the rearview mirror.
Additionally, some jurisdictions have laws regarding audio recording, so be aware of the regulations in your area if your dash cam records sound. Generally, as long as the device is mounted discreetly and does not impede your ability to drive safely, it is legally compliant. Always check your local and state laws to be certain.
Can Advanced Features Improve Your Rear-View Coverage?
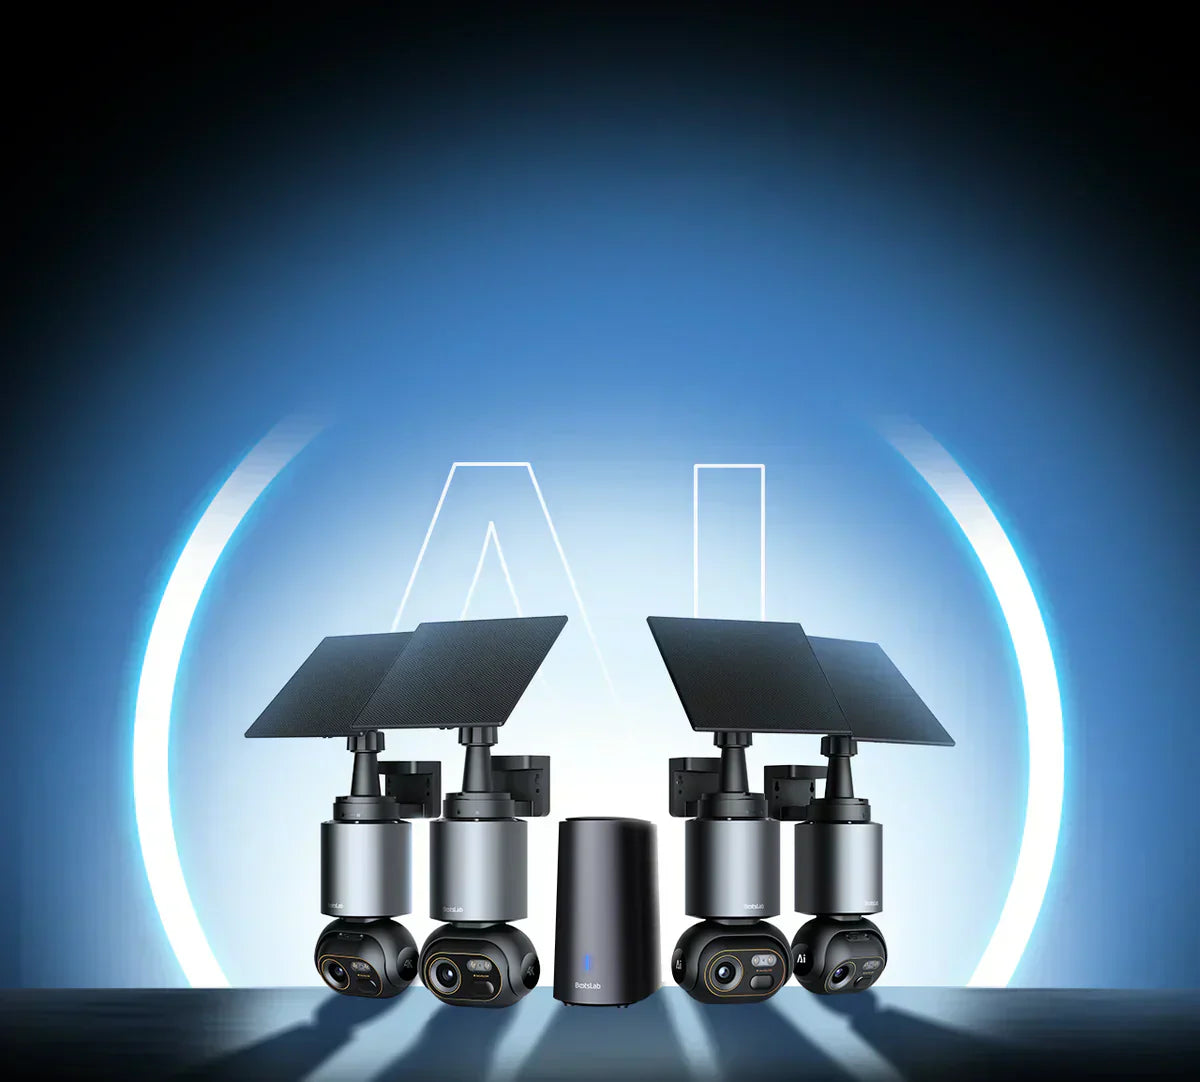
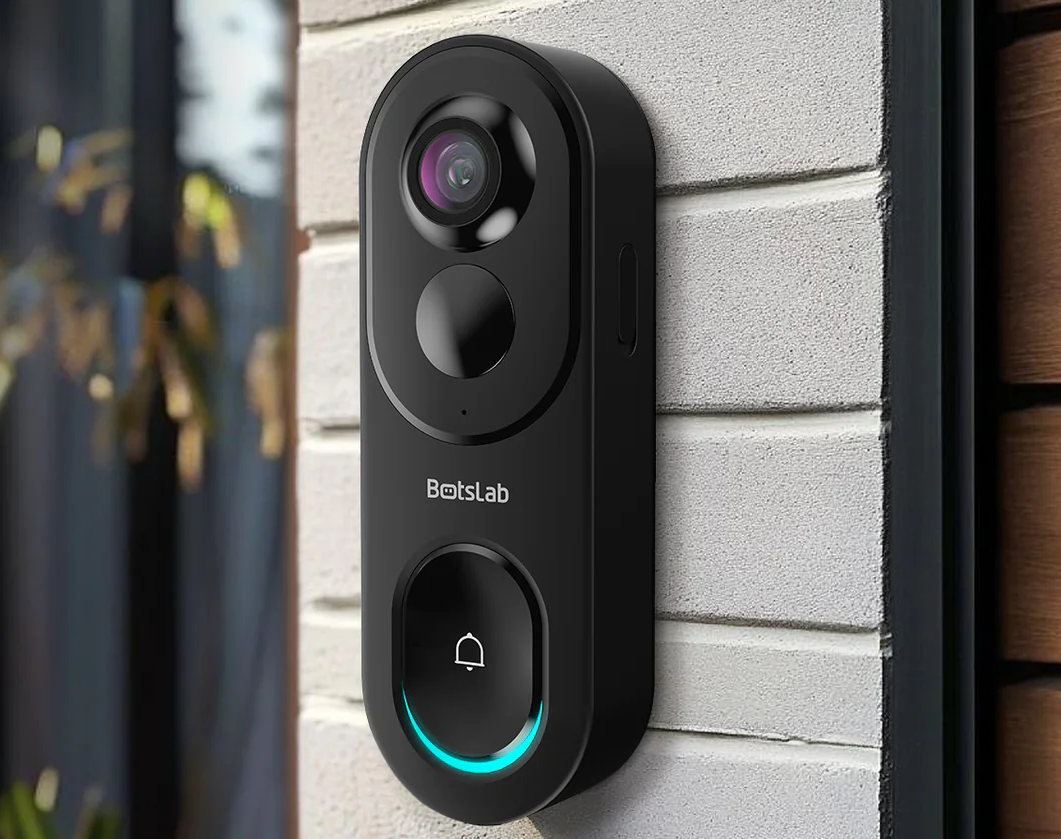
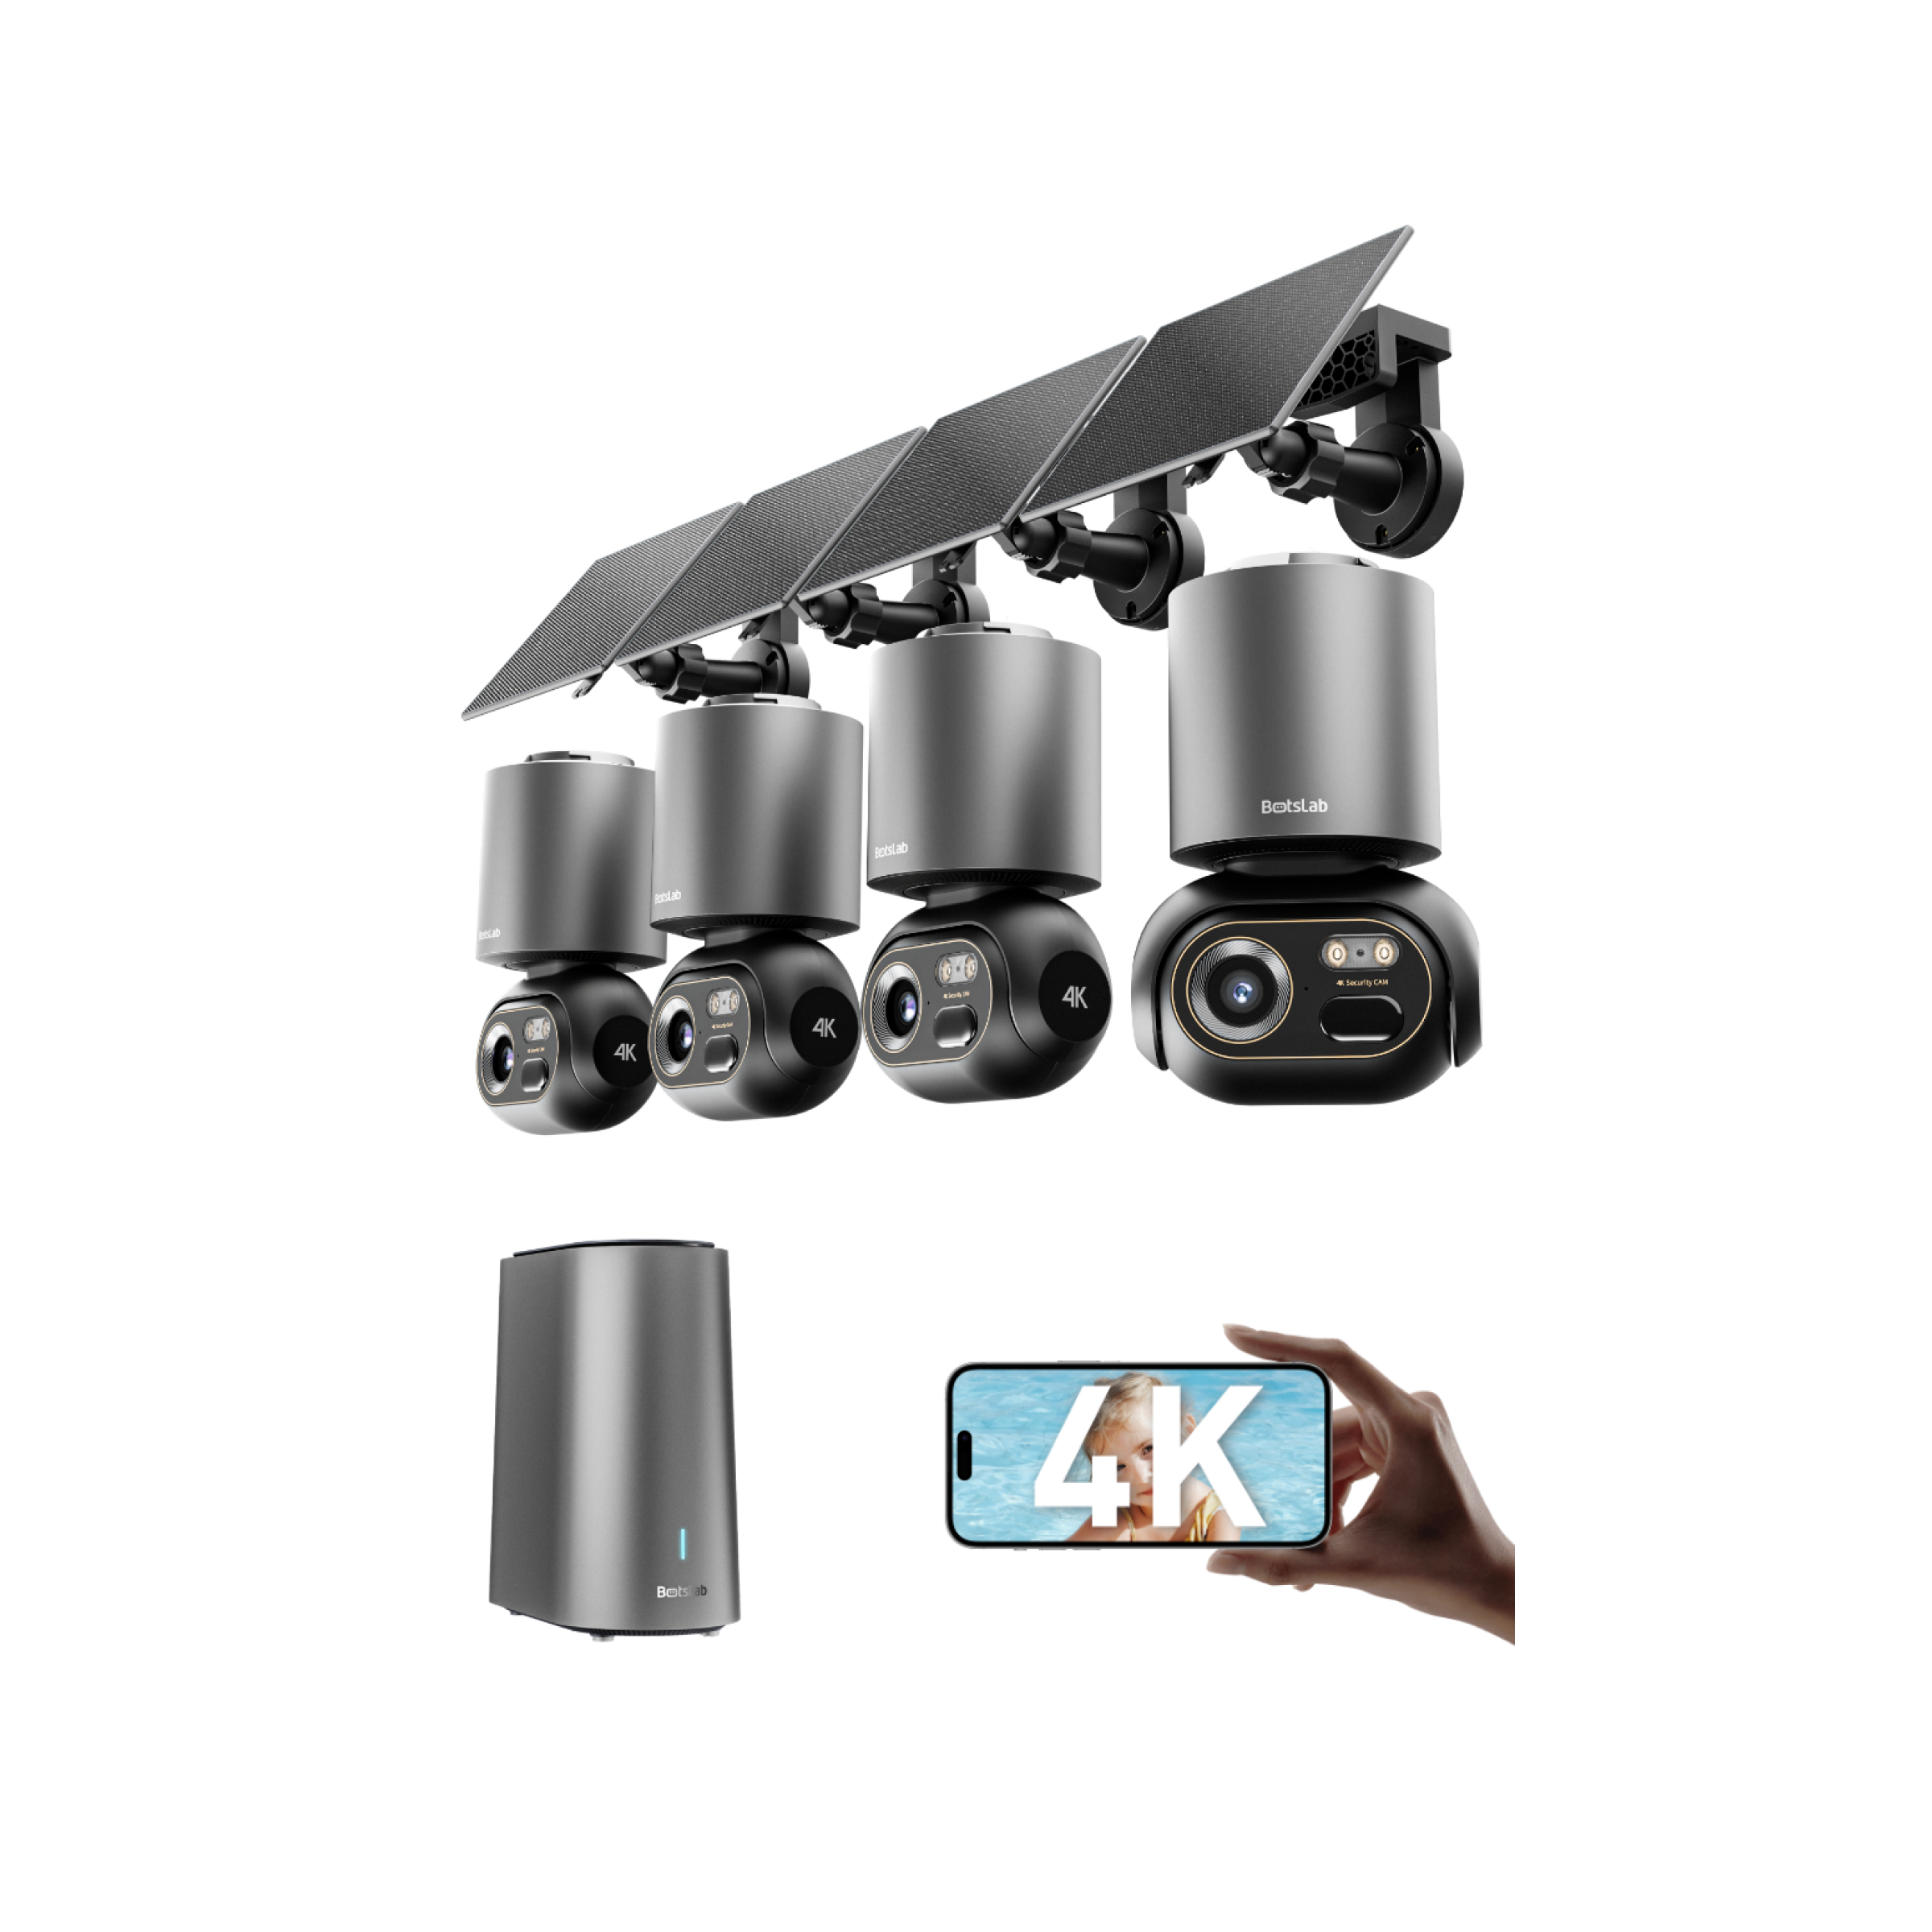
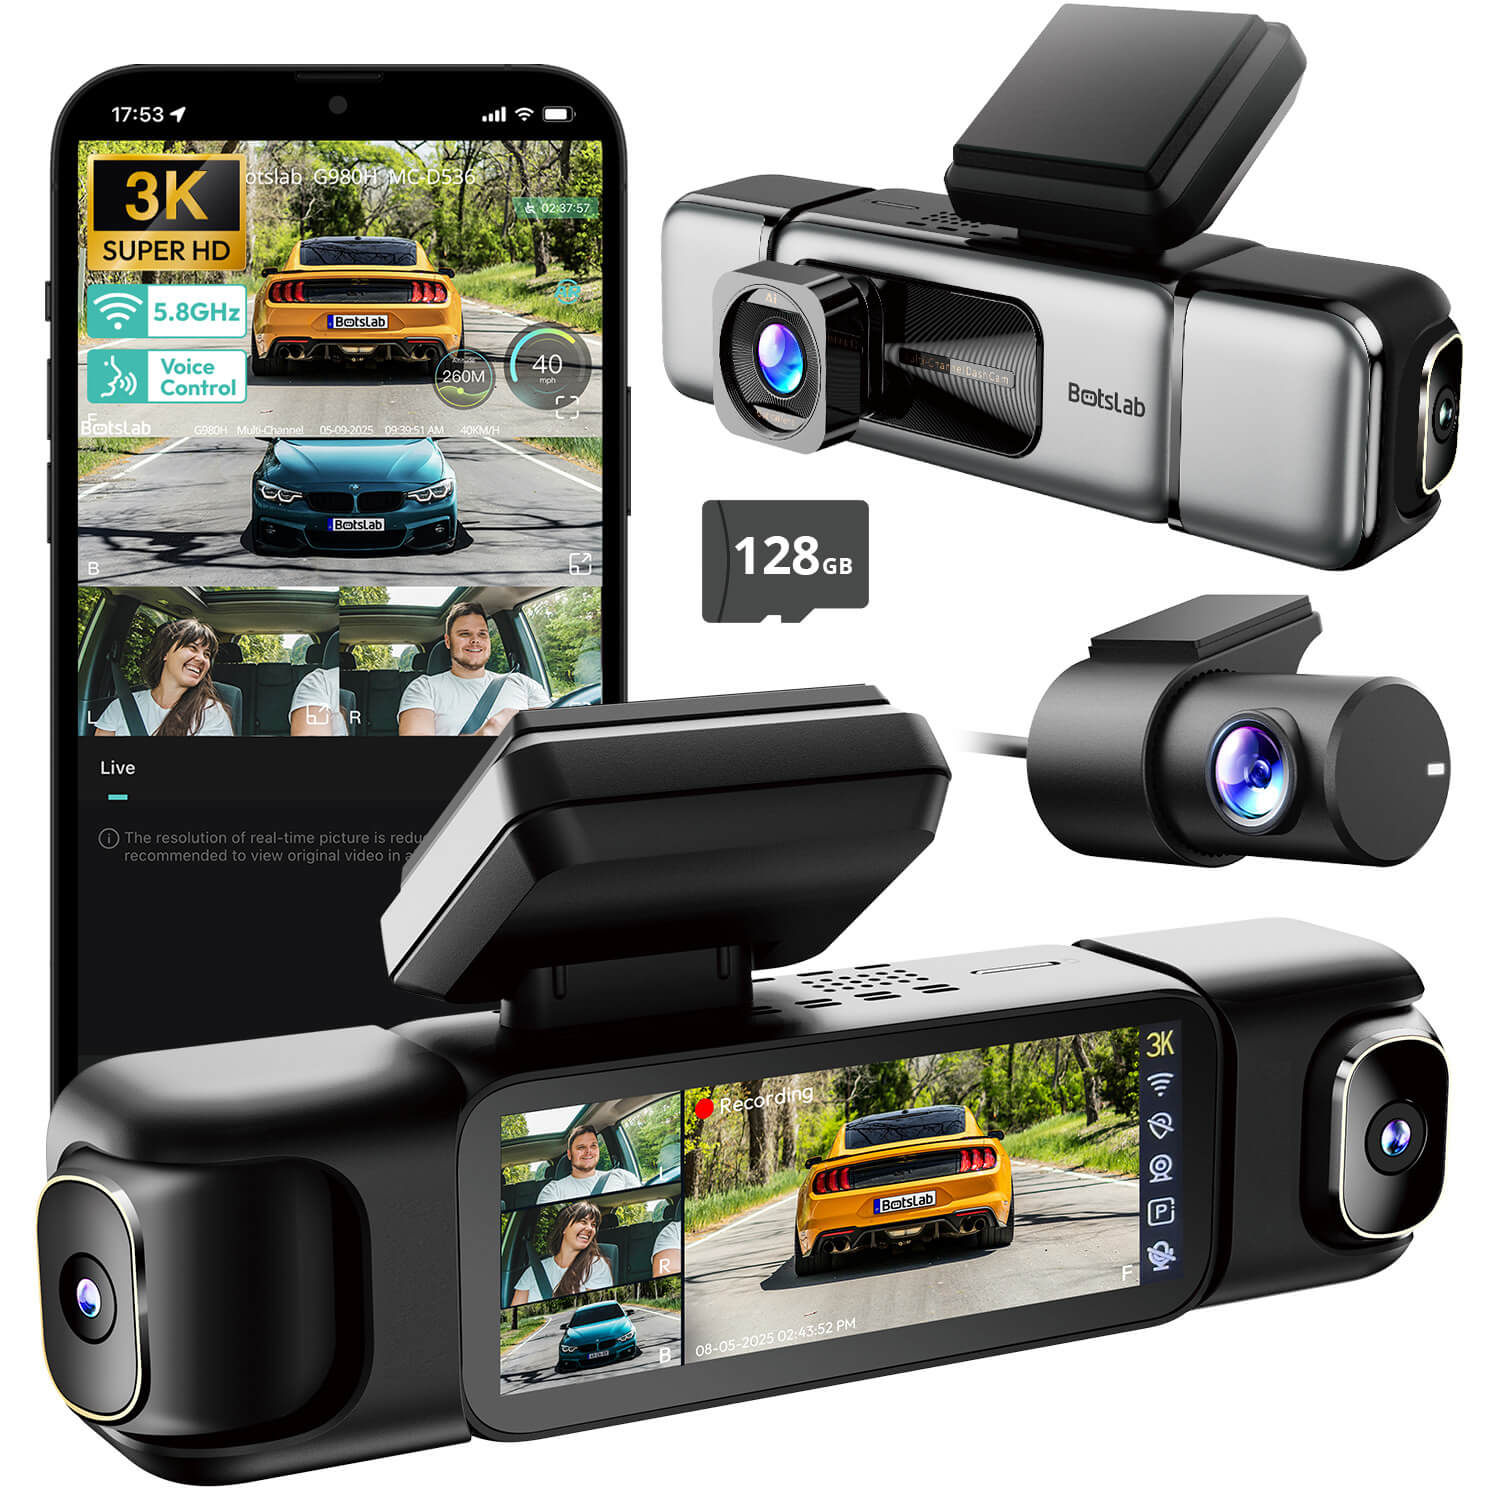
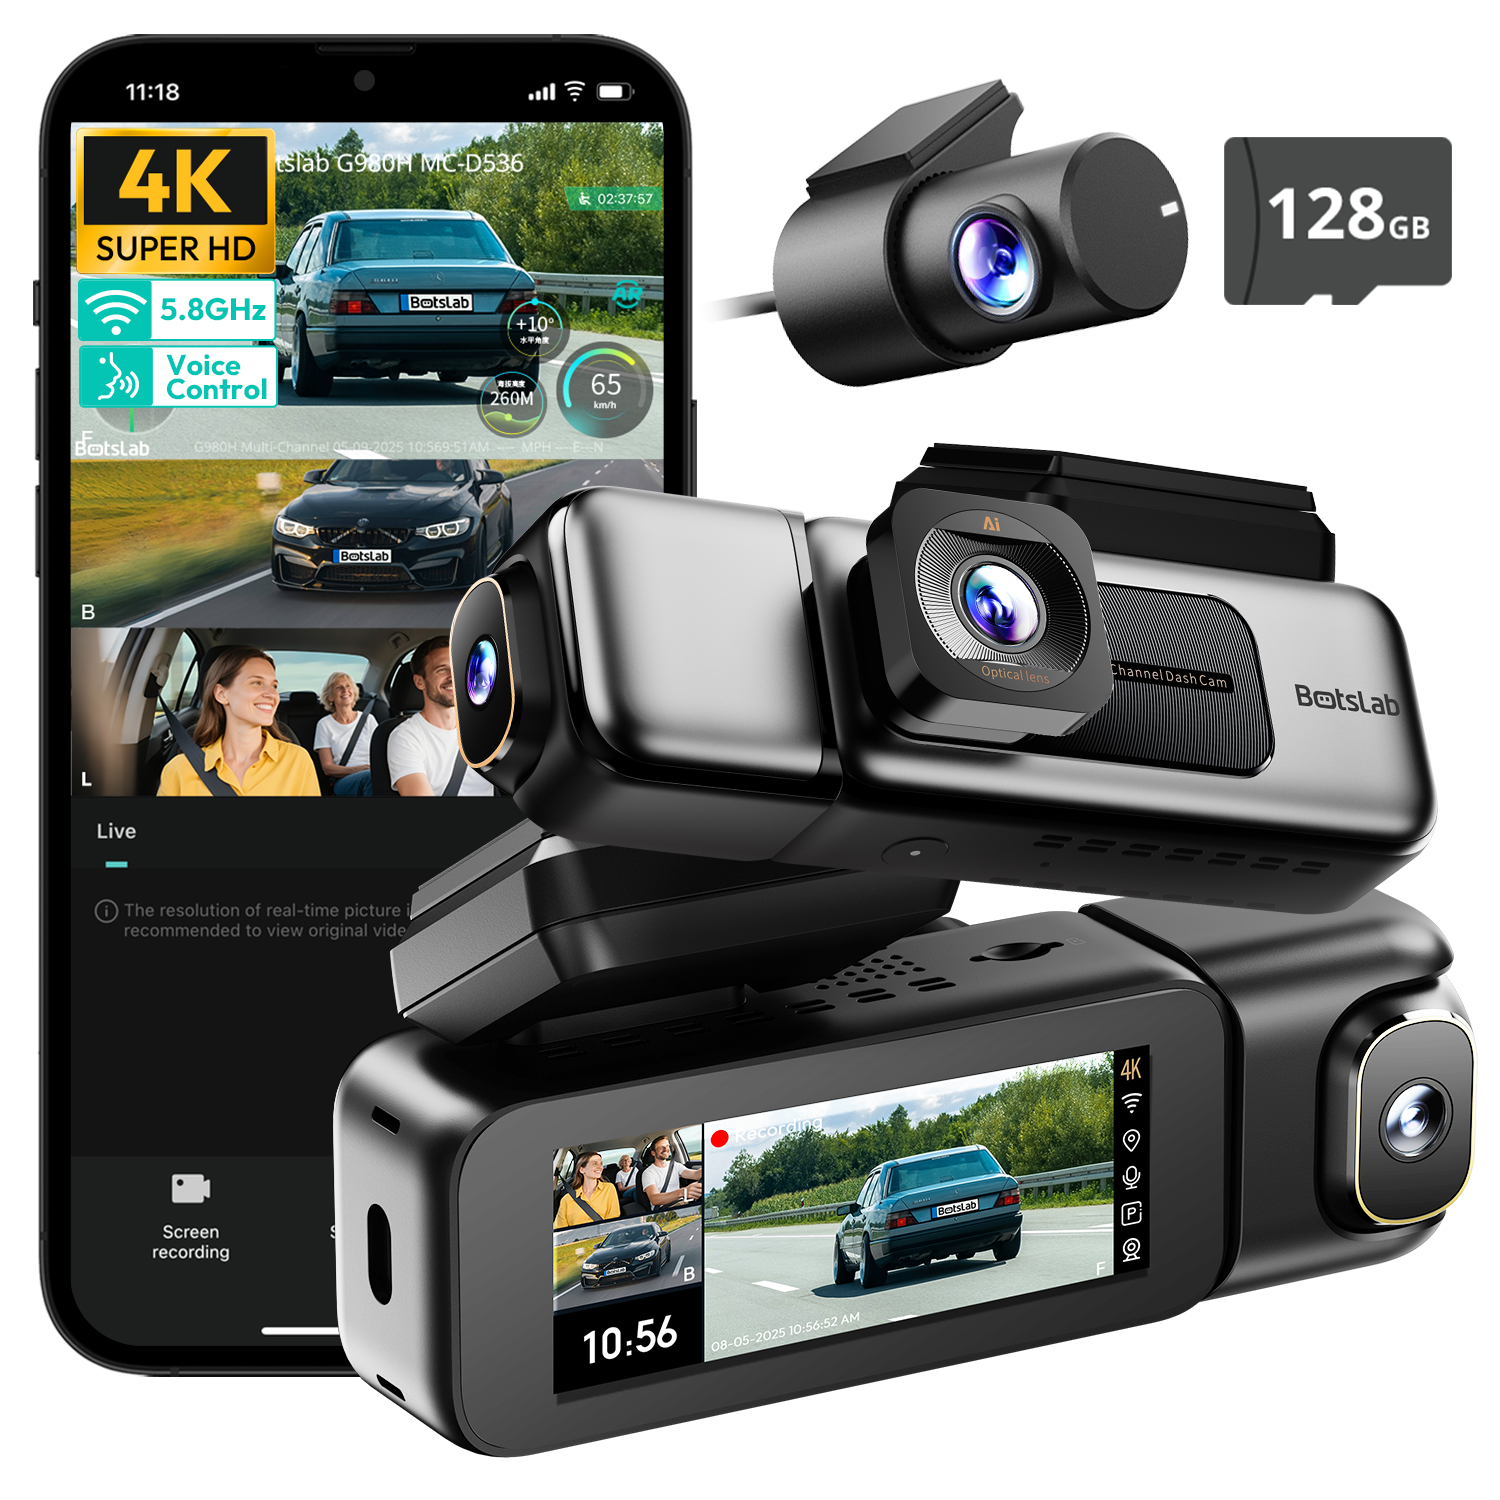
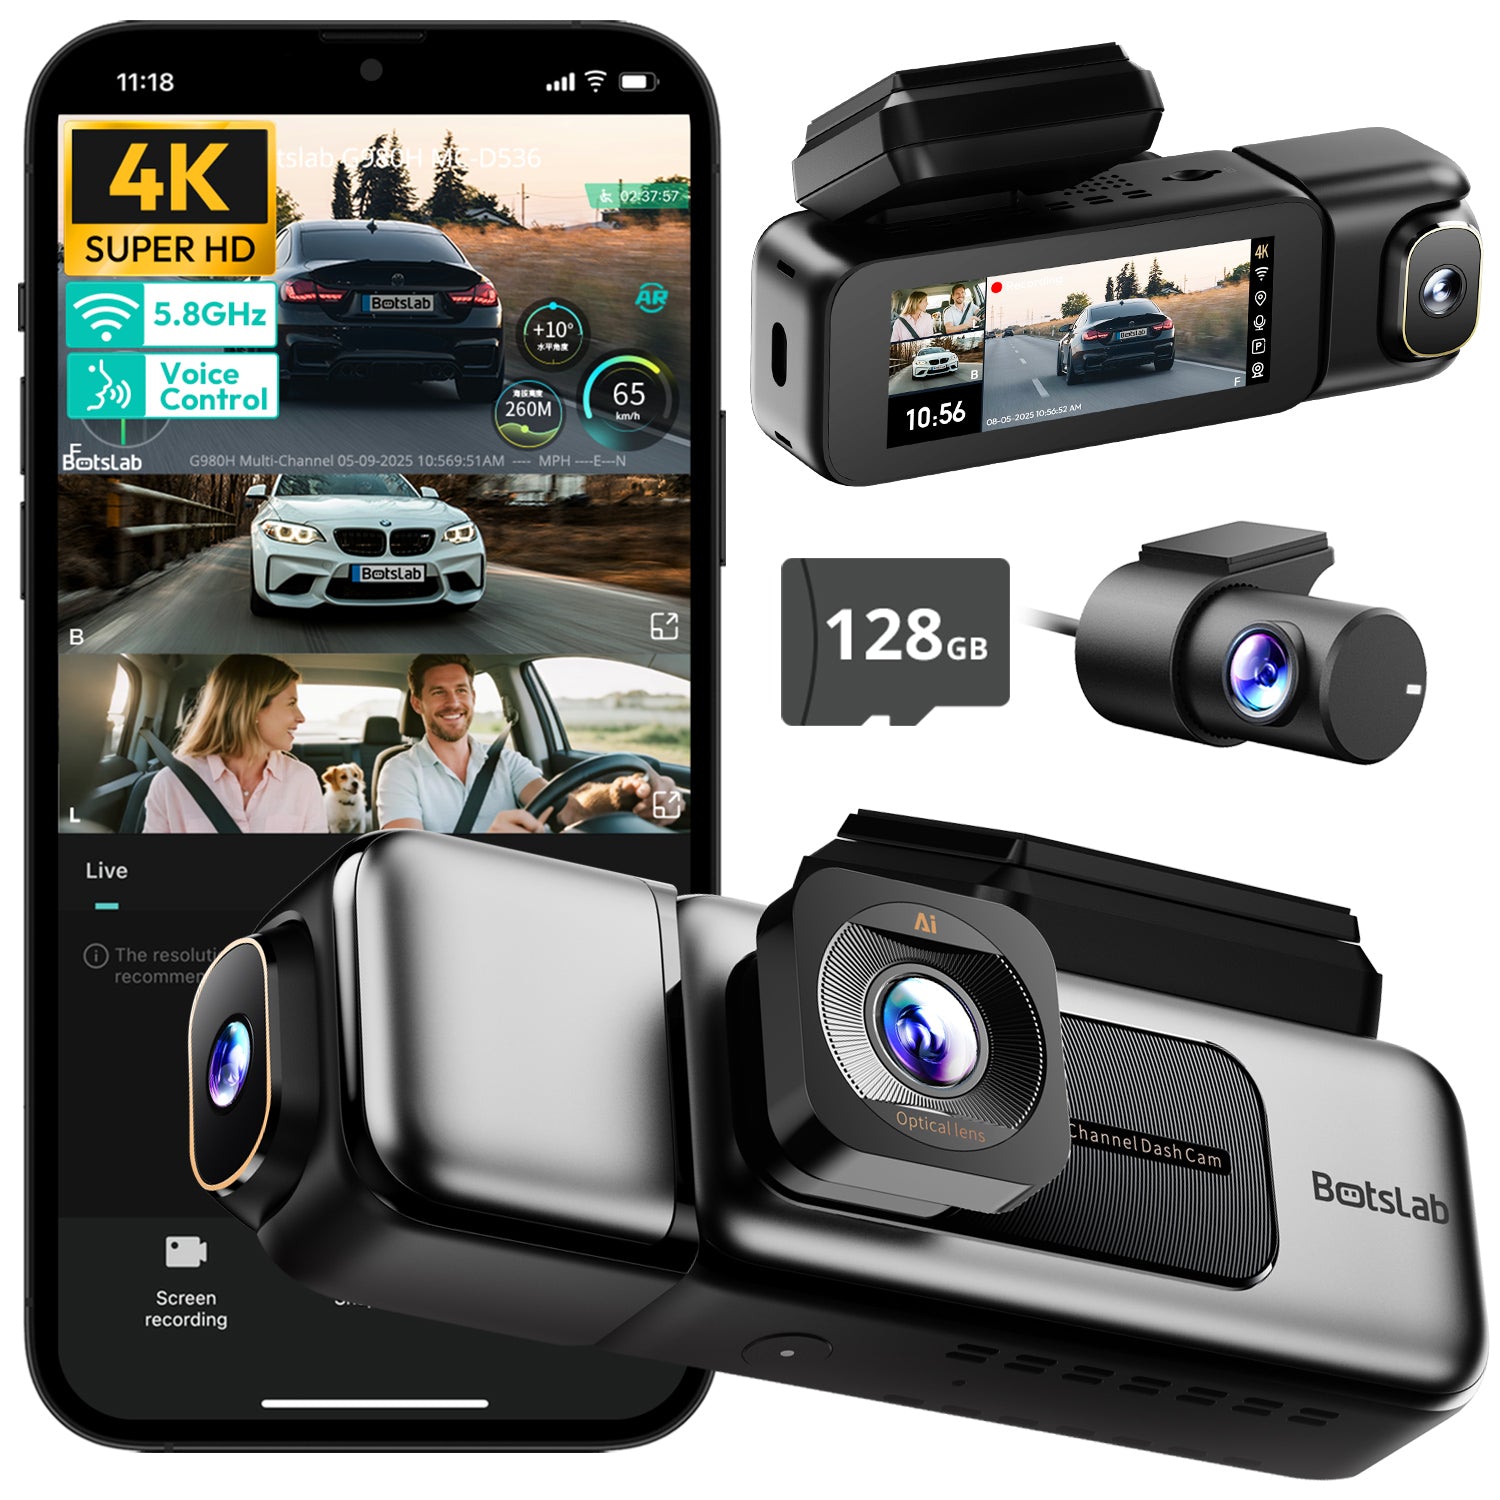
Modern dash cams do more than just record. Advanced features found in high-quality systems, like those from Botslab, can significantly enhance your rear-view awareness and security. Features such as High Dynamic Range (HDR) are particularly useful for rear cameras, as they help balance the bright headlights of following cars against the dark of night, preventing license plates from being washed out by glare.
Furthermore, some dash cams include AI-powered parking surveillance that can specifically detect and record impacts or motion behind the vehicle. When paired with a wide-angle lens and a high-resolution sensor, these smart features provide comprehensive protection. Choosing a camera with these capabilities ensures that your perfectly angled view is backed by technology that captures the clearest and most useful evidence possible, day or night.


Share:
Why is a Dash Cam for Car recording important?
Why should I choose No Monthly Fee Security Cameras?