


You want your Botslab dash cam G980H to work perfectly from the start. This guide will help you set it up quickly and correctly. You do not need special skills or tools. Each step uses clear instructions to make the process easy. Follow the guide for the best performance and safety on the road.
Key Takeaways
- Check all items in the box before starting to avoid missing parts and clean your windshield for better mounting.
- Plan the camera placement carefully near the center of the windshield for clear road view and ADAS accuracy.
- Use the electrostatic film and adhesive pad to mount the bracket securely, and align the camera level for best video quality.
- Route power and rear camera cables neatly using trim tools to keep your car tidy and protect the wires.
- Download the Botslab app to customize settings, connect via Wi-Fi, and manage footage easily from your phone.
Unboxing

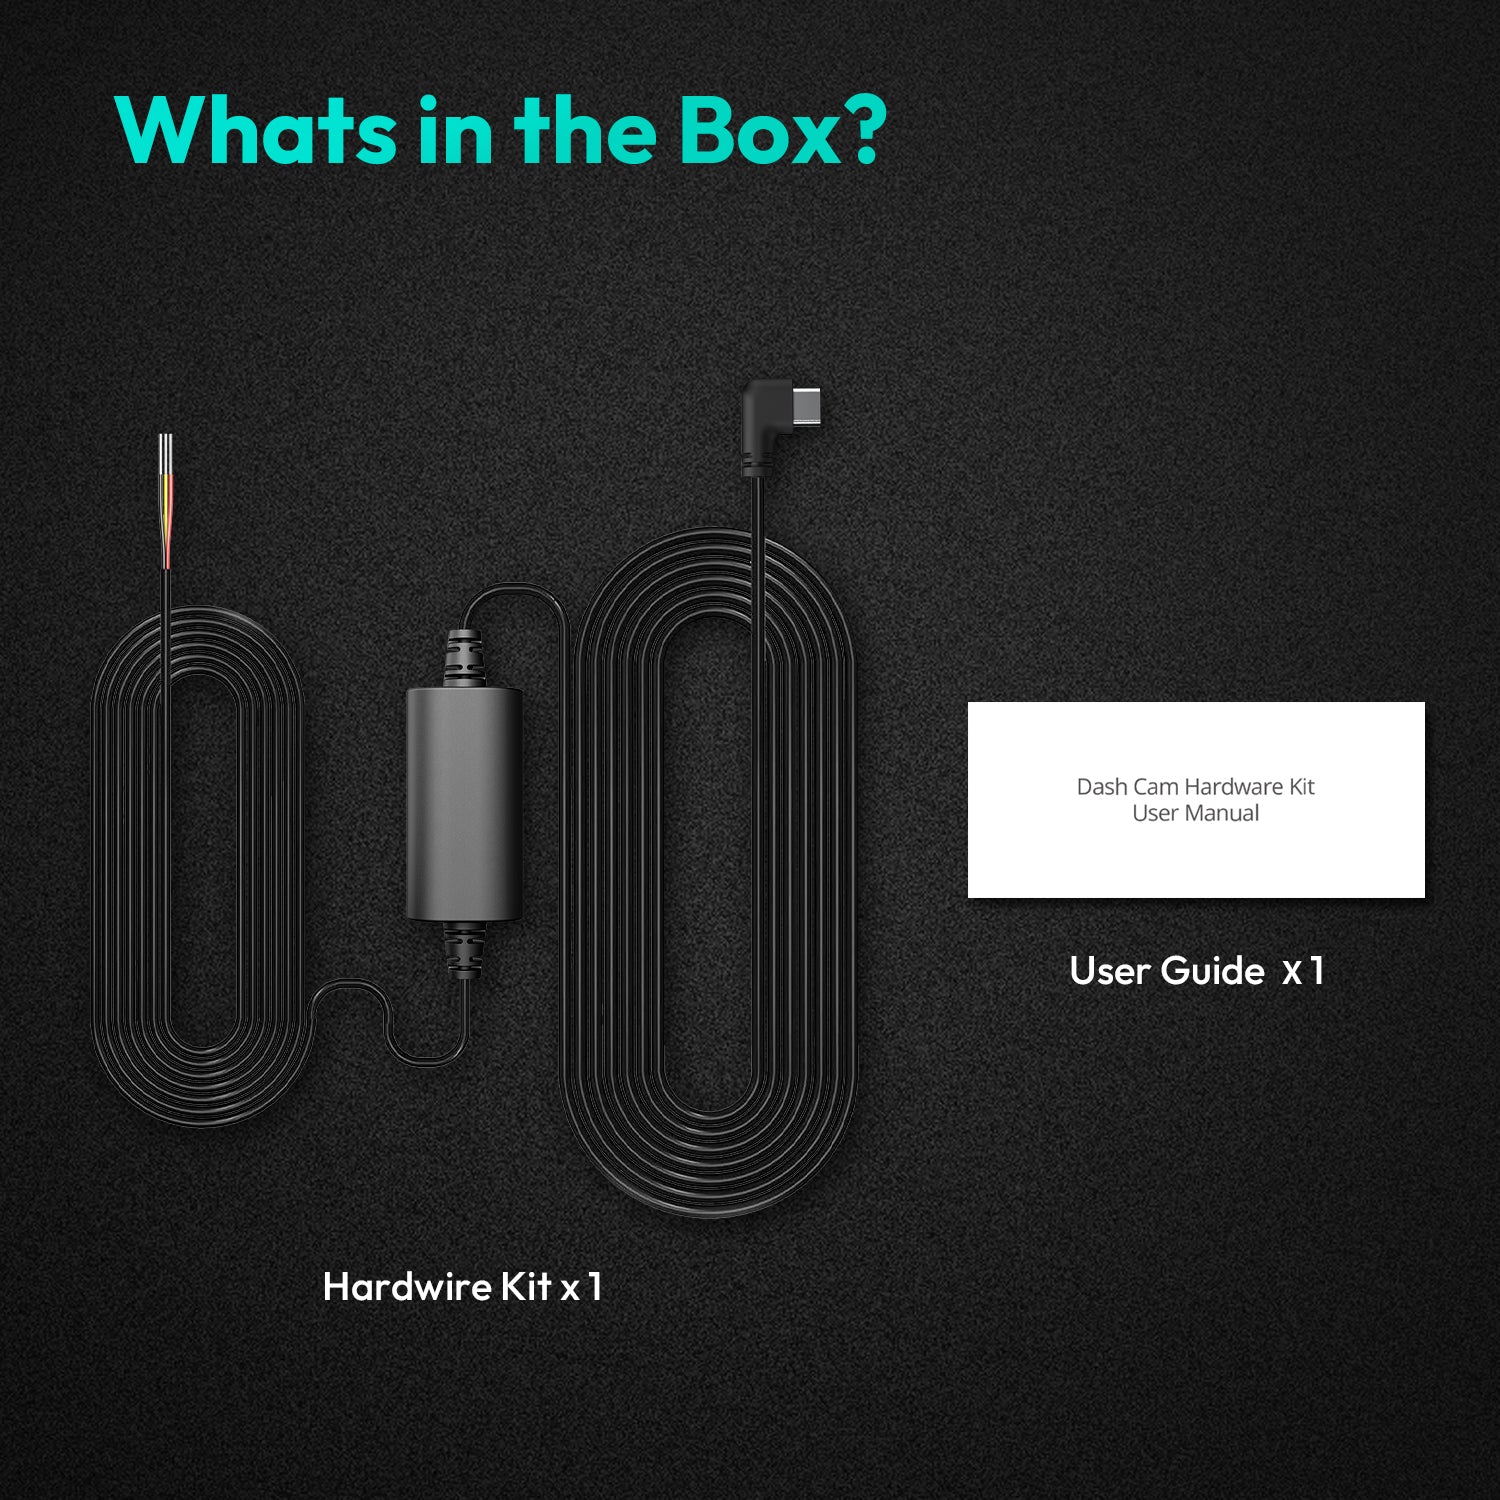
In the Box
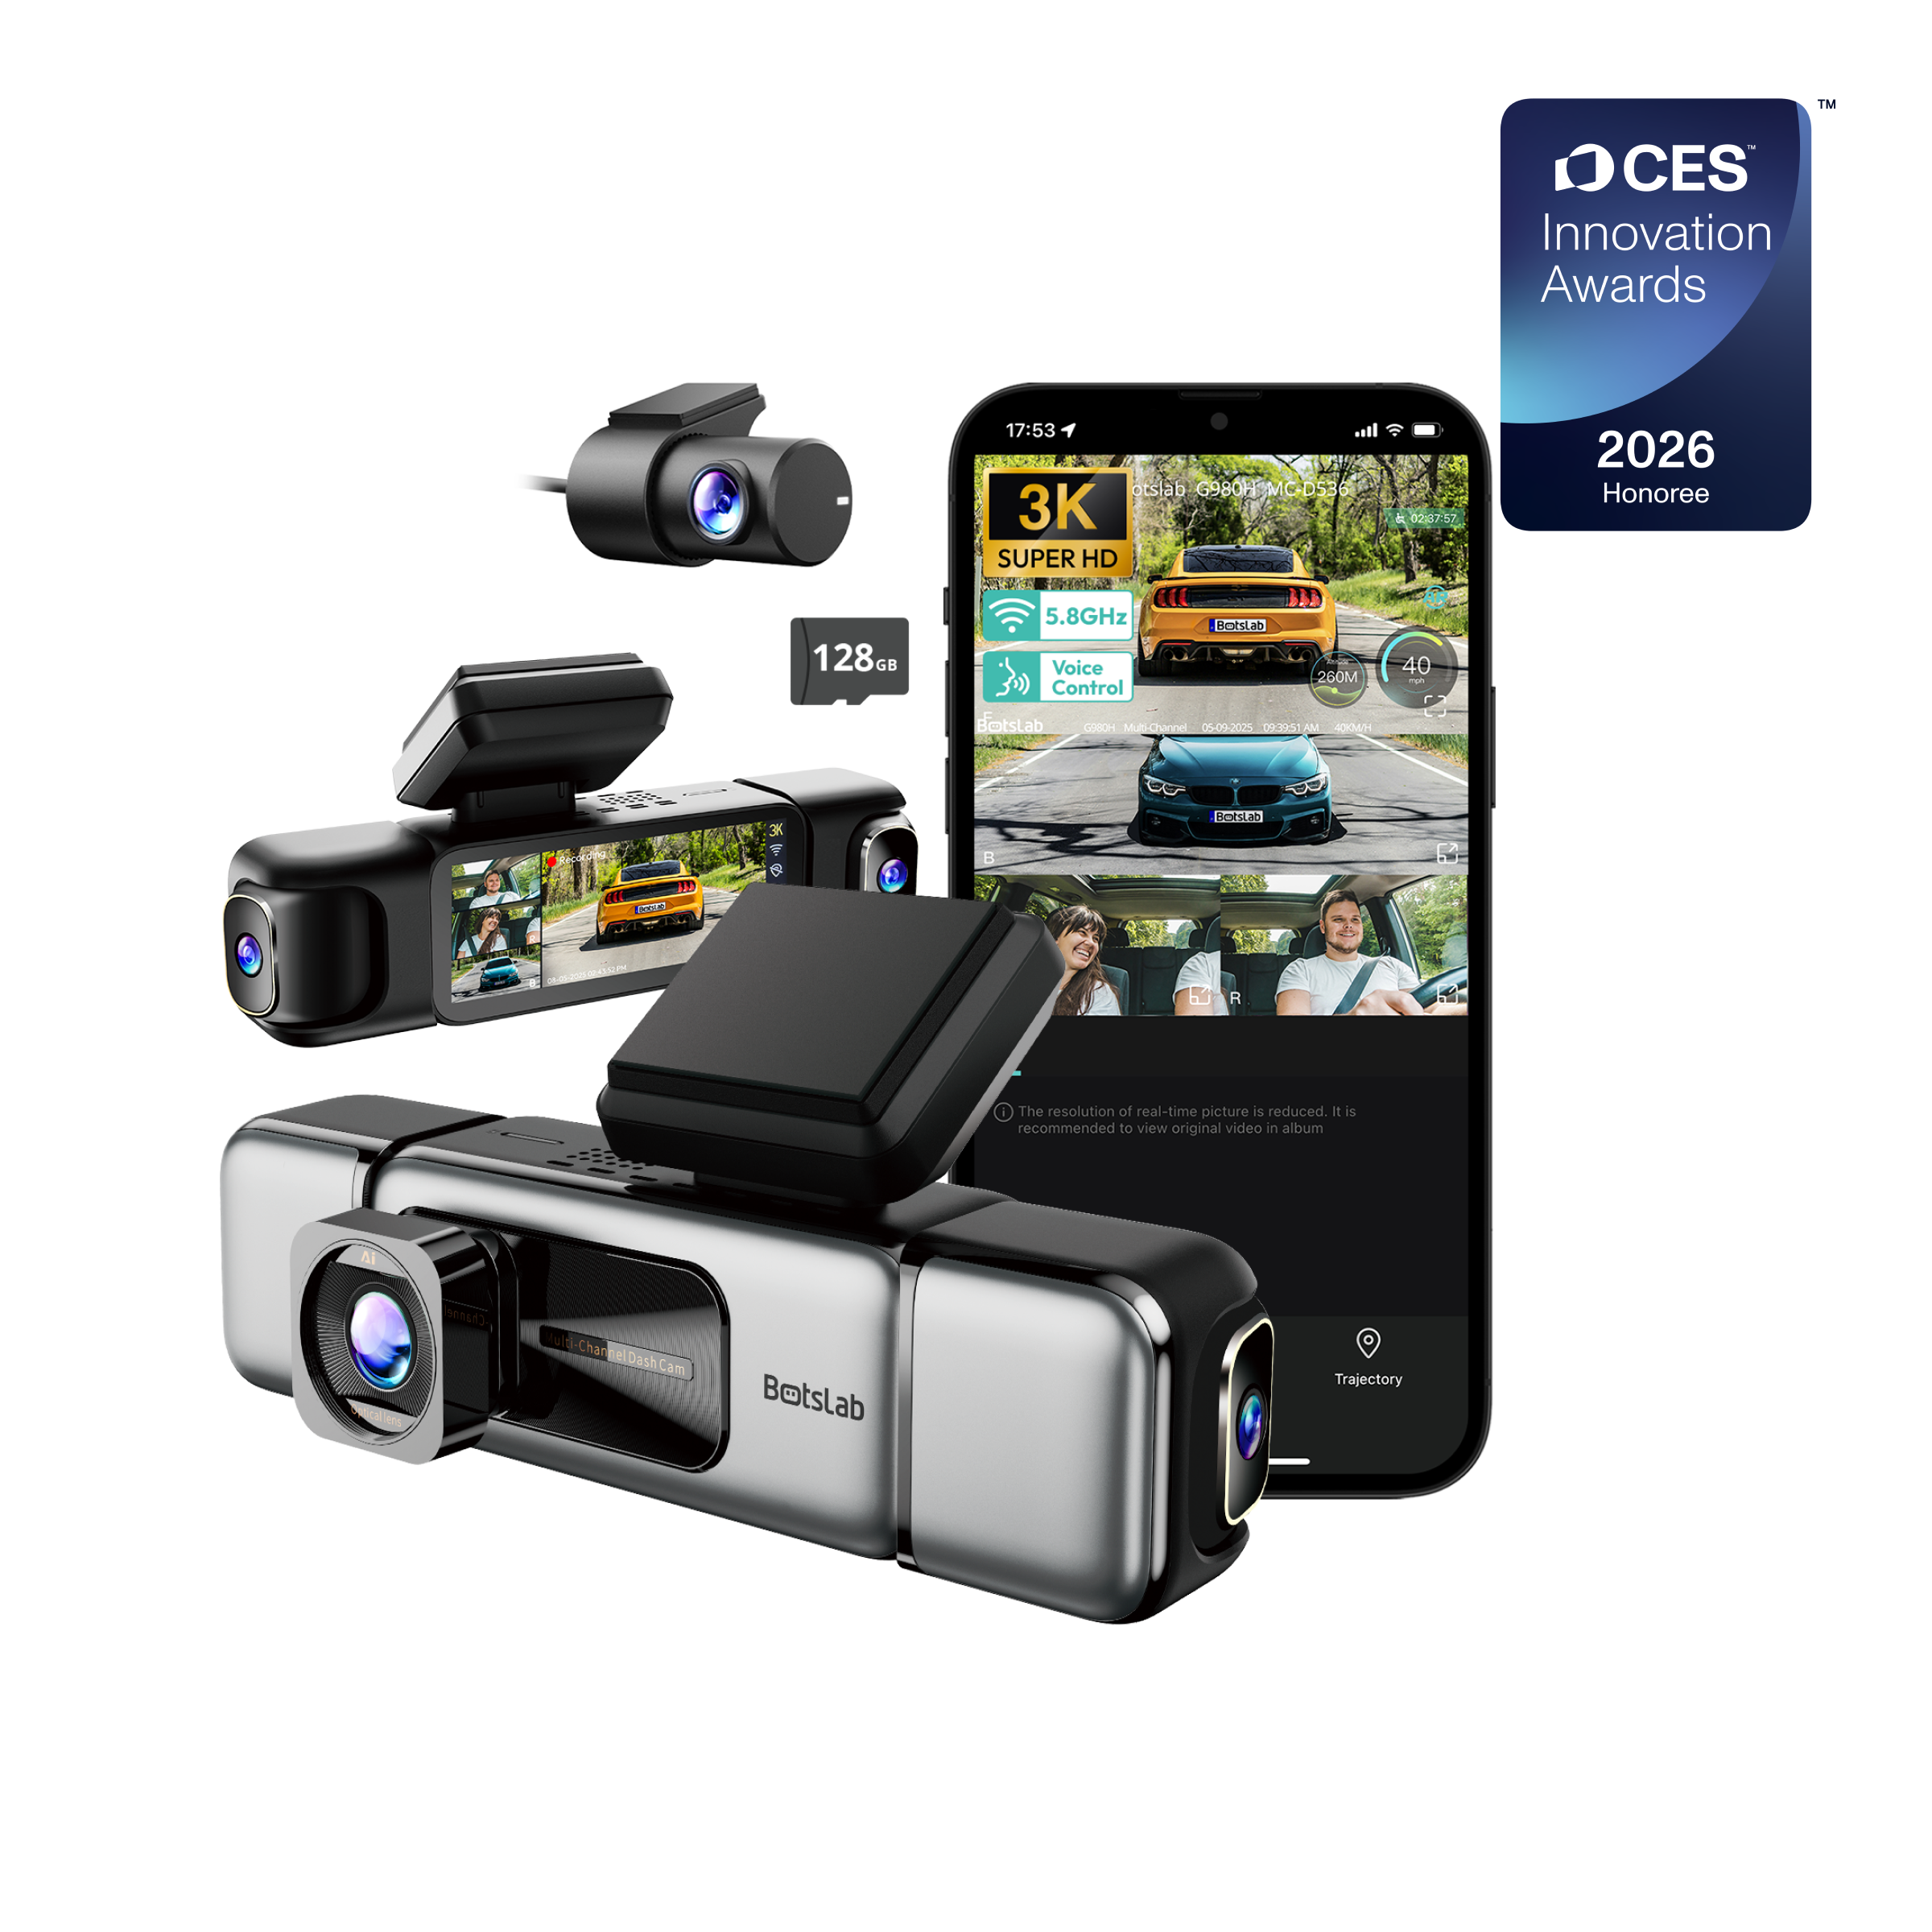
When you open your new dash cam package, you will find several important items. Each part helps you set up your device quickly and correctly. Here is what you should see inside the box:
- User manual
- Electrostatic film
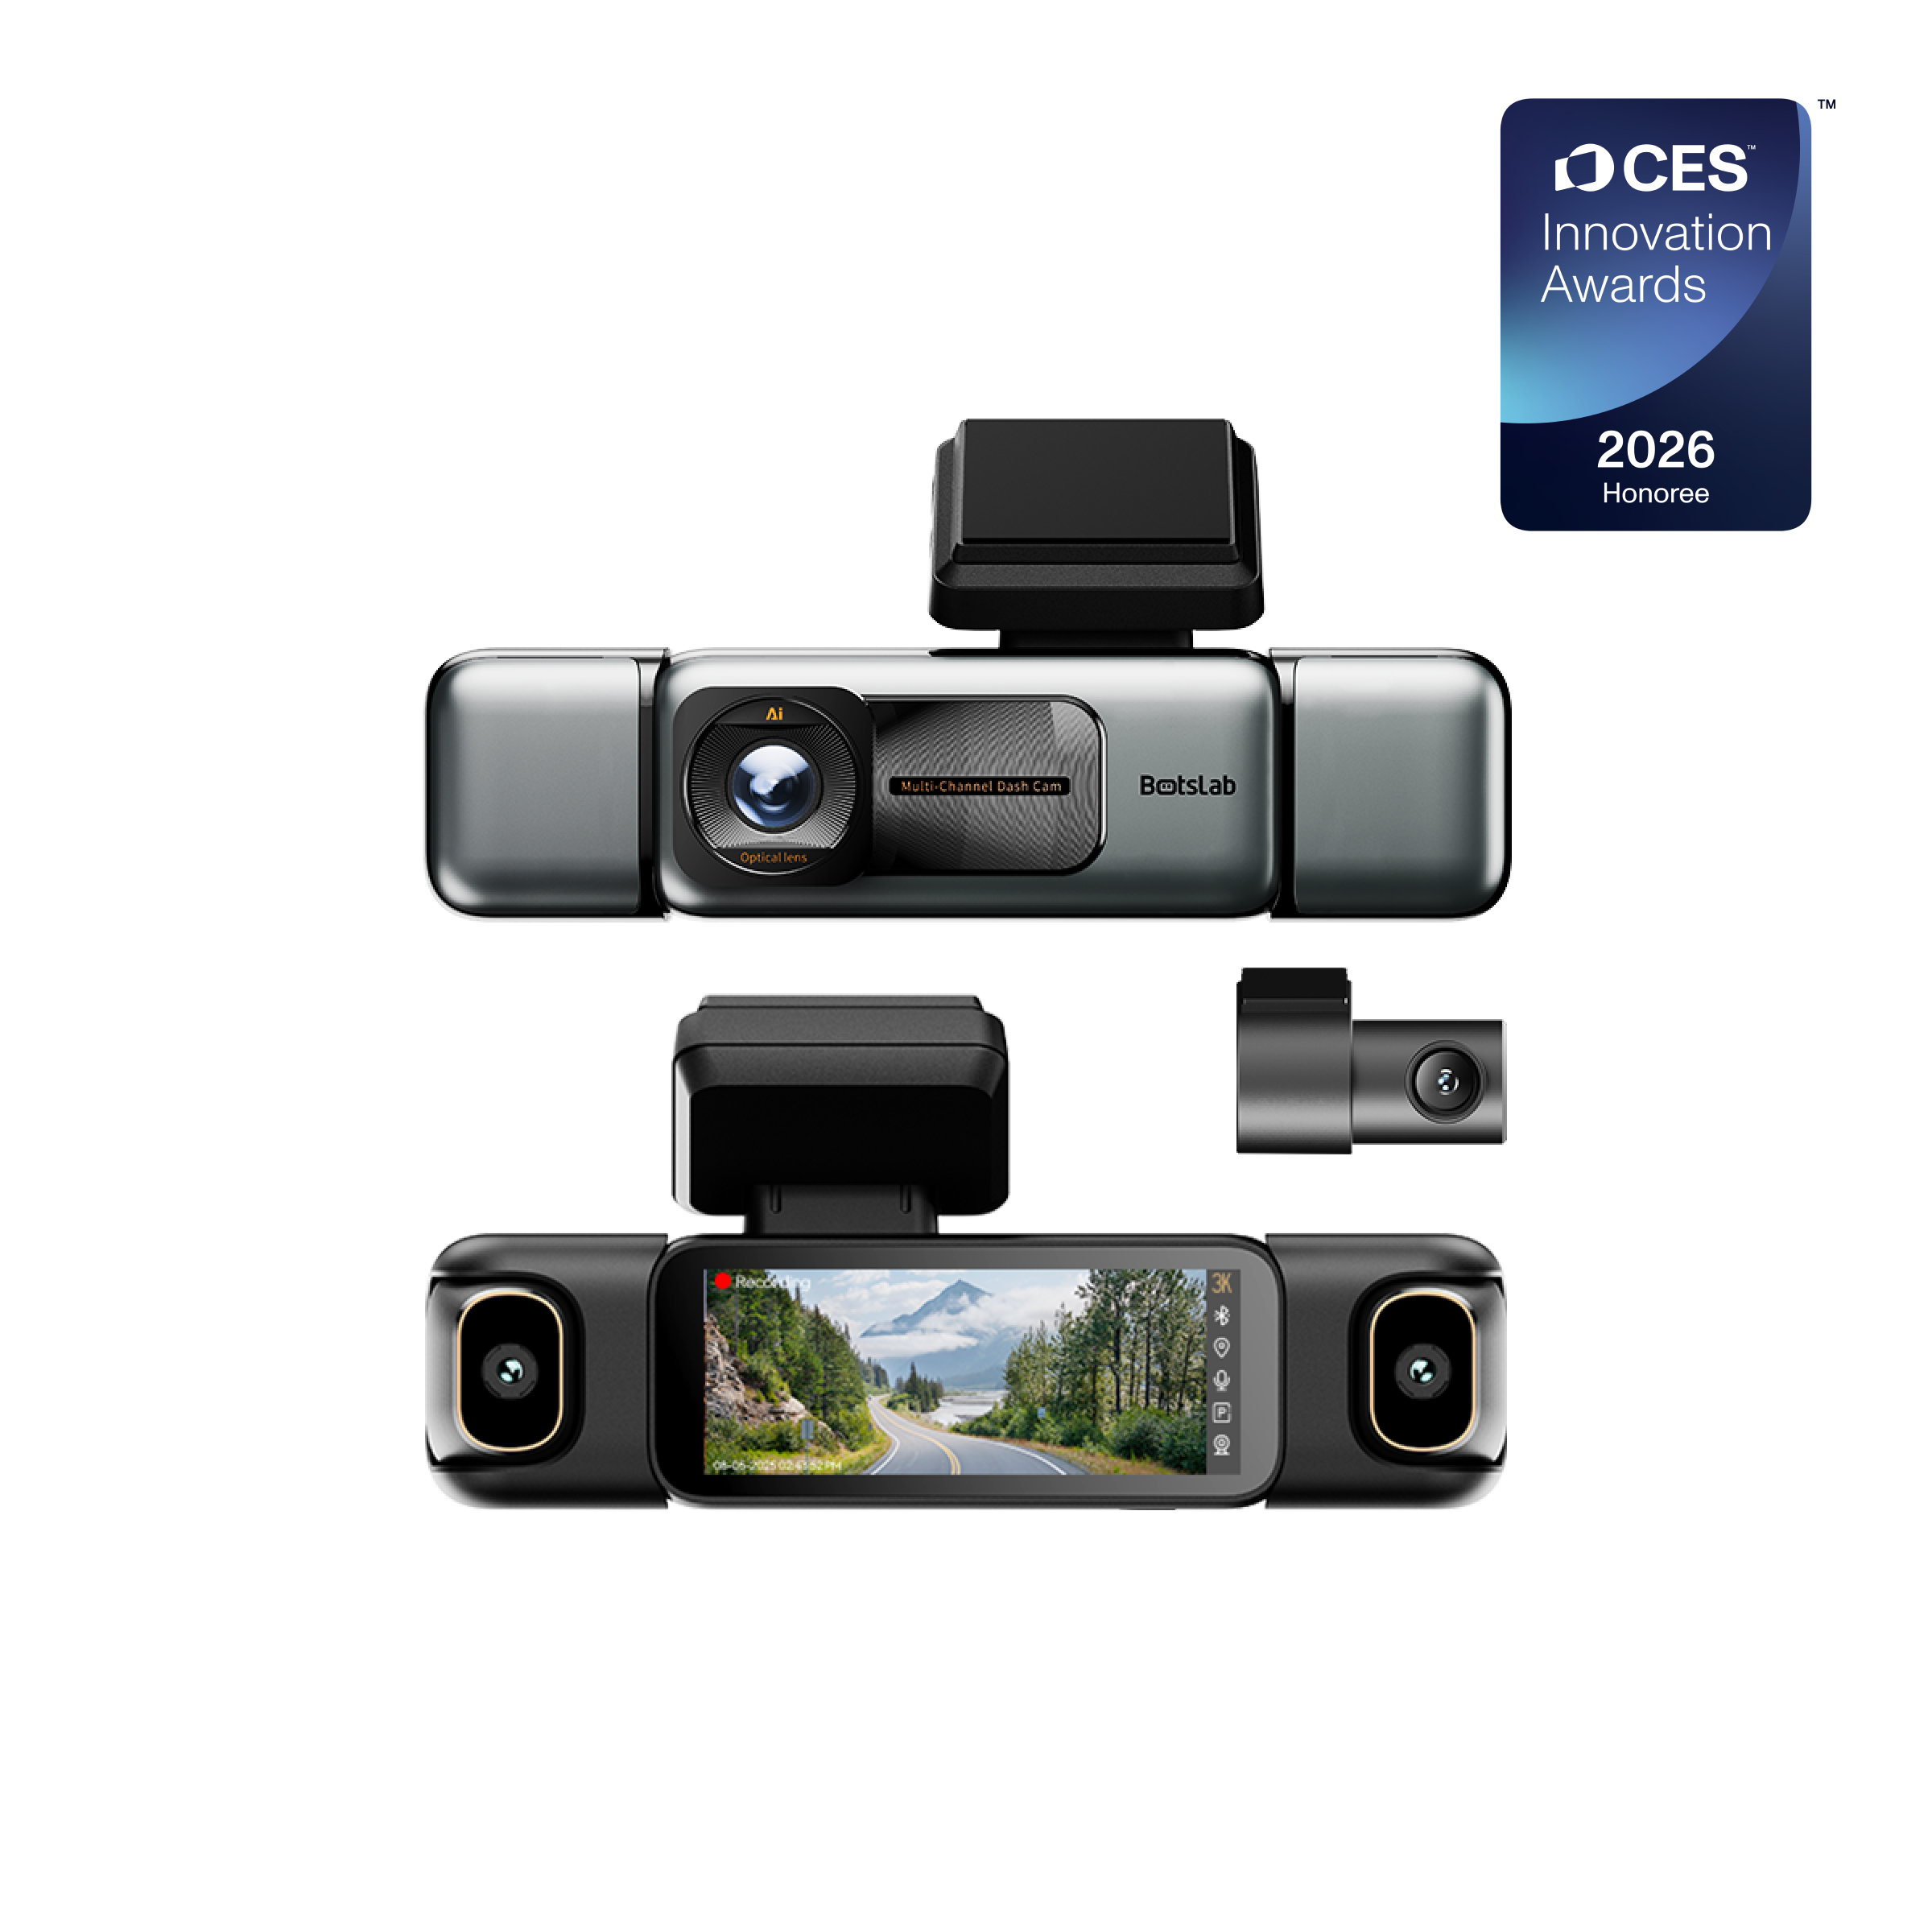
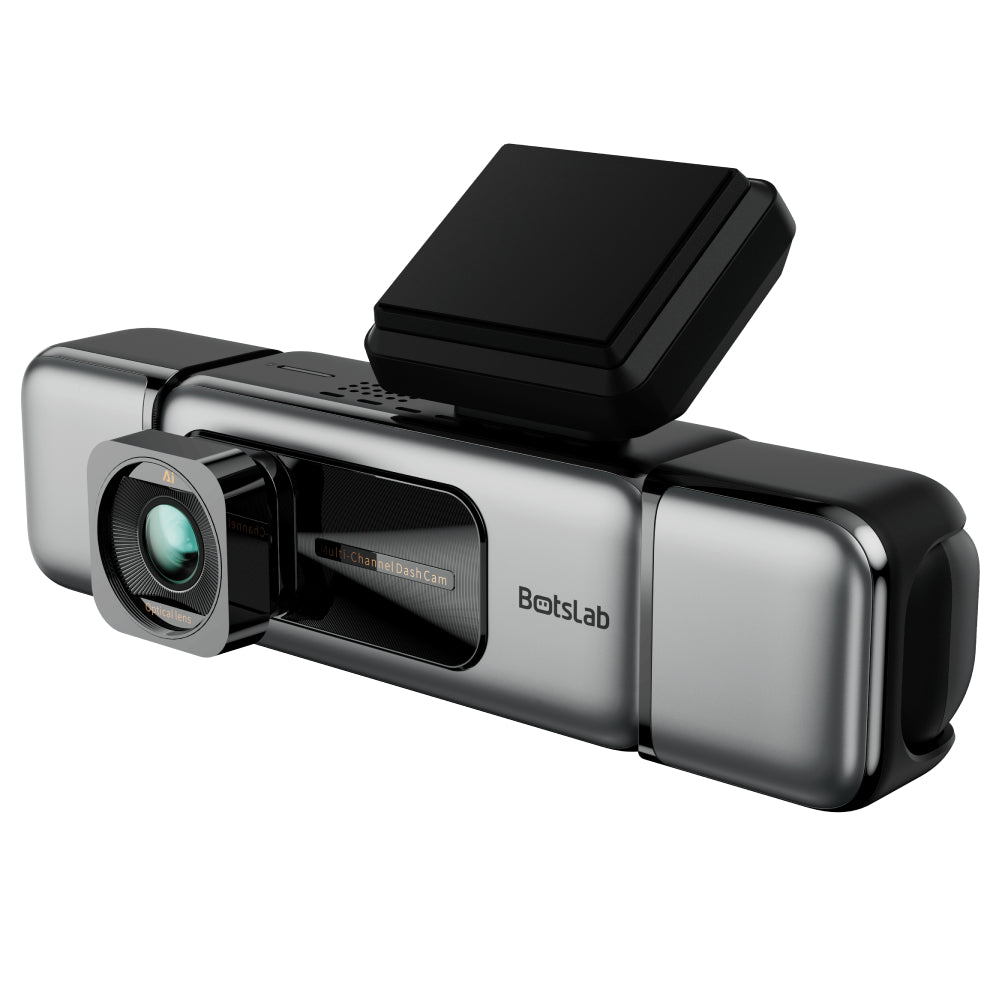
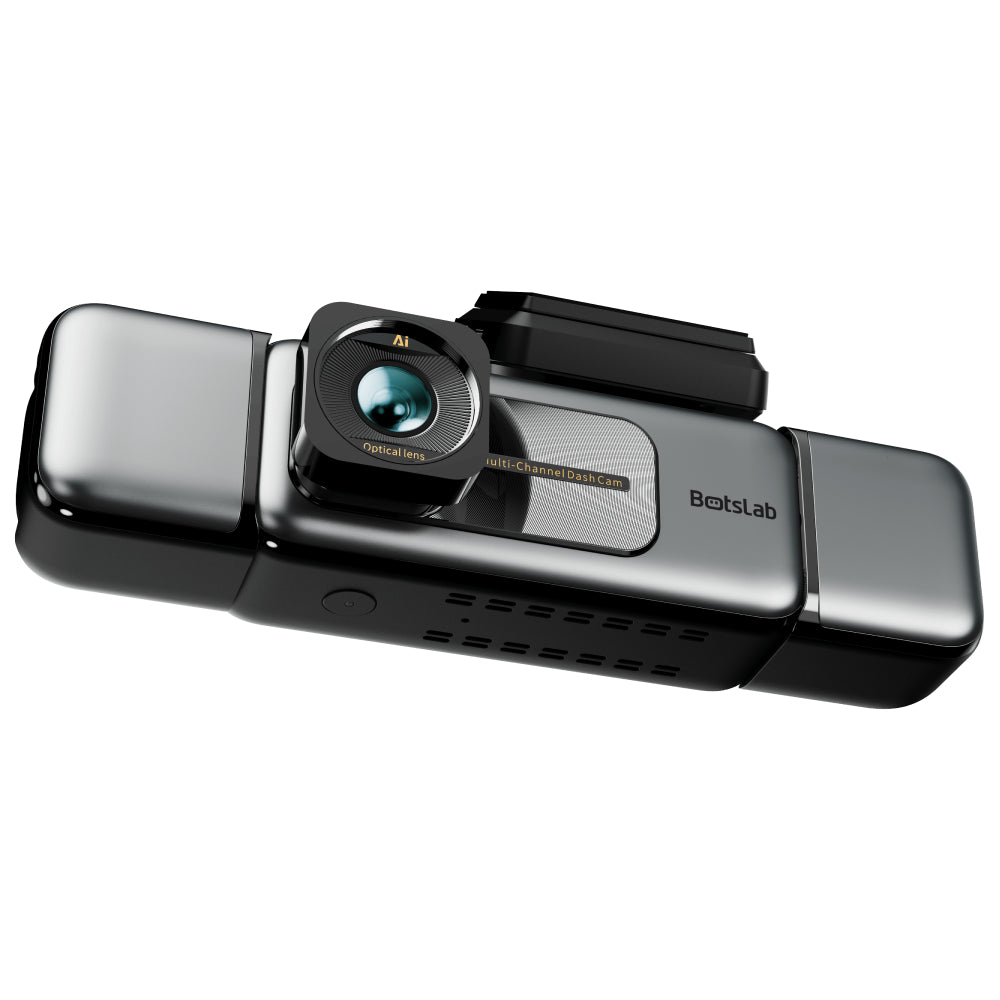
- Main unit
- Side cam
- Rear camera
- Installation pry bar
- 128GB MicroSDCard
- car charge
- Cleaning clothx
- Warning Card
- 3M Tape
Tip: Check each item before you start. If you notice anything missing, contact customer support right away. This step saves you time and prevents problems during installation.
You may also find a small cleaning cloth. Use it to wipe your windshield before you mount the camera. Clean glass helps the adhesive stick better.
Tools Needed
You do not need many tools to install your dash cam. Most of the items come in the box. However, a few extra tools can make the process easier and help you get a neat result.
| Tool | Purpose |
|---|---|
| Plastic trim tool | Tuck cables under car panels |
| Microfiber cloth | Clean windshield surface |
| Small screwdriver | Secure or adjust bracket |
| Fish tape (optional) | Guide cables through tight spots |
You can use your hands for most steps. The plastic trim tool helps you hide wires along the edges of your car’s interior. If you plan to hardwire the dash cam, you may need a small screwdriver. Fish tape is helpful if you want to install the rear camera and keep cables hidden.
Note: Gather all tools before you begin. This way, you will not need to stop in the middle of installation.
Preparation
Safety Tips
Before you start installing your dash cam, you need to think about safety. Working inside your car can be easy, but you should always protect yourself and your vehicle.
- Turn off your car’s engine before you begin.
- Remove the key from the ignition.
- Make sure your hands are dry and clean.
- Keep small parts away from children and pets.
- Do not force any cables or parts into tight spaces.
Tip: Open your car doors or windows for fresh air. Good lighting helps you see small parts and cables.
If you plan to hardwire the dash cam, use extra caution. Always check your car’s manual before touching the fuse box. If you feel unsure, ask a professional for help.
Planning Placement
You want your dash cam to capture the best view of the road. Take a few minutes to plan where you will place the camera.
- Choose a spot near the center of your windshield, behind the rearview mirror.
- Make sure the camera lens has a clear view with no obstructions.
- Avoid placing the camera where it blocks your view while driving.
- Check that the power cable can reach the car charger or fuse box.
- If you have a rear camera, plan the cable route from the front to the back.
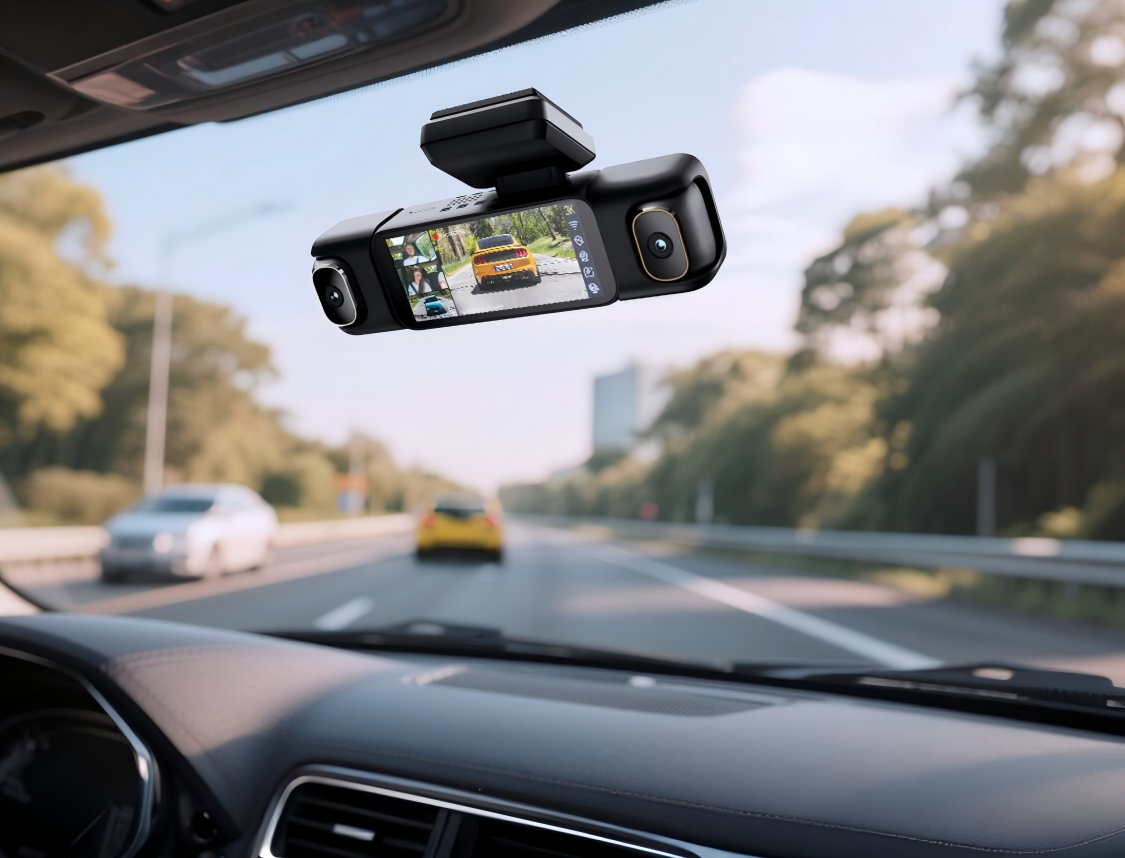
Note: The Botslab dash cam G980H works best when you place it high on the windshield. This position helps with ADAS features and gives a wide view of the road.
Take your time during this step. Careful planning makes the rest of the installation easier and safer.
Mounting

Electrostatic Film
You want your dash cam to stay secure and your windshield to look clean. The electrostatic film helps you mount the camera without leaving sticky marks on the glass. Follow these steps for the best results:
- Clean your windshield thoroughly. Use a microfiber cloth to remove dust, grease, and fingerprints. A clean surface helps the film stick better.
- Peel off the protective layer from the electrostatic film. Hold the edges to avoid touching the sticky side.
- Place the film on the inside of your windshield. Avoid the dotted area at the top, as this can trap air and reduce adhesion.
- Press the film gently from the center outward. Push out any bubbles with your fingers or a soft cloth, just like you would with a phone screen protector.
- Make sure the edges seal tightly. The film works like a suction cup, so sealed edges keep it in place.
Tip: The electrostatic film is usually for one-time use. If you make a mistake, you may need a new film. If the film does not stick well, you can attach the camera bracket directly to the glass with the 3M adhesive pad.
Bracket and Adhesive
After you apply the electrostatic film, you can attach the mounting bracket. The bracket holds the Botslab dash cam G980H in place and keeps it steady while you drive.
- Remove the red backing from the 3M adhesive pad on the bracket.
- Line up the bracket with the center of the electrostatic film. This spot should be behind your rearview mirror and near the center of the windshield.
- Press the bracket firmly onto the film. Hold it for about 30 seconds to help the adhesive bond.
- Wait at least 10 minutes before attaching the dash cam. This gives the adhesive time to set and ensures a strong hold.
Note: Do not rush this step. A secure bracket keeps your dash cam from falling, even on bumpy roads.
Camera Alignment
Proper alignment helps your dash cam capture the road clearly and supports ADAS (Advanced Driver Assistance Systems) features. You want the camera to face straight ahead and cover as much of the road as possible.
- Attach the Botslab dash cam G980H to the bracket. Adjust the angle so the lens points forward and captures both lanes.
- Make sure the camera sits level with the horizon. A tilted camera can affect ADAS accuracy and video quality.
- Check that the camera does not block your view while driving.
- If your dash cam supports ADAS, place it as close to the windshield center as possible. This helps the system detect lane markings and vehicles correctly.
- Before you start calibration, check your tire pressure and make sure your car sits on a level surface. Clean the windshield again if needed.
Tip: Good lighting and a clear windshield help the camera see better. If you move the camera or replace your windshield, you may need to realign and recalibrate the system.
A well-mounted dash cam gives you the best video and keeps your ADAS features working safely. Take your time with each step for a secure and accurate installation.
Wiring

Power Cable Routing
You want your dash cam installation to look neat and professional. Start by planning the path for your power cable. A clean cable route keeps your car tidy and prevents wires from getting in the way.
- Begin at the dash cam and run the power cable up toward the headliner.
- Use a plastic trim tool to gently tuck the cable behind the headliner and along the edge of the windshield.
- Guide the cable down the A-pillar. Carefully pry open the A-pillar cover and hide the cable inside. Make sure you do not block any airbags.
- Tuck the cable into the rubber weather strip along the door. This keeps the cable invisible and prevents bulges.
- Continue routing the cable behind the glove box and along the trim panels. This method hides the cable and keeps it secure.
- Bring the cable down to the center console or the fuse box, depending on your power source.
- If you notice any loose sections, use the included cable clips to secure them. This prevents sagging and keeps everything in place.
Tip: Professional installers often use special tools and scan the car’s interior to find the best cable paths. You can achieve a similar result by taking your time and checking each step.
A well-routed cable not only looks better but also keeps your car safe and organized.
Rear Camera Install
If your Botslab dash cam G980H includes a rear camera, you need to install it for full coverage. The rear camera helps you record what happens behind your car.
- Choose a spot on the rear windshield that gives a clear view of the road. Clean the glass before you start.
- Attach the rear camera using the adhesive pad or bracket provided.
- Plan the cable route from the rear camera to the front dash cam. The best path usually follows the edge of the headliner and down the side pillars.
- Use fish tape if you have it. Fish tape helps you pull the cable through tight spaces, like under the roof liner or behind trim panels.
- Tuck the cable into the rubber trim around the doors and windows. Avoid sharp bends or pinching the cable.
- Bring the cable forward to the main dash cam unit and connect it securely.
Note: Hiding the rear camera cable inside the trim and weather stripping keeps your car looking clean and prevents the cable from getting damaged.
Take your time with this step. A hidden cable protects your equipment and keeps your car’s interior looking neat.
Hardwiring
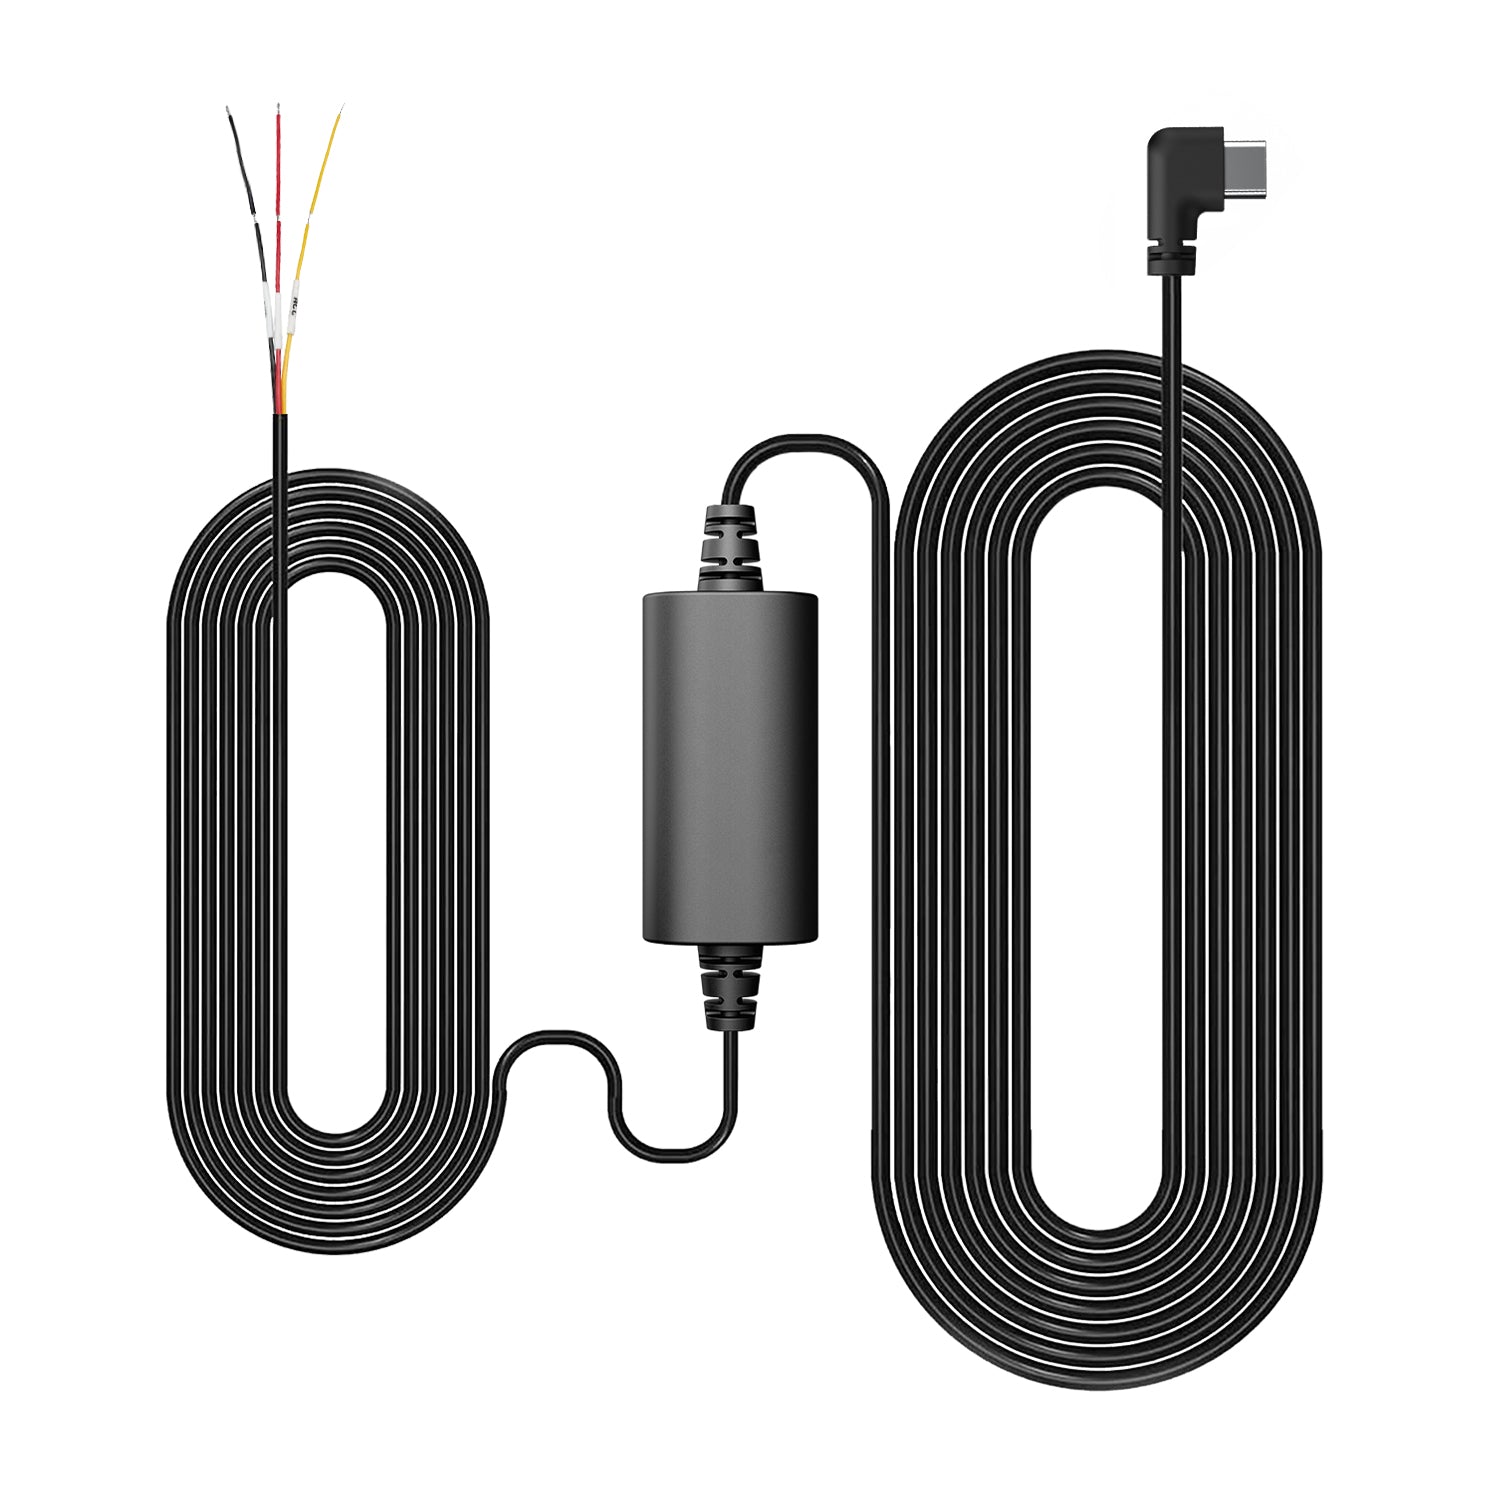
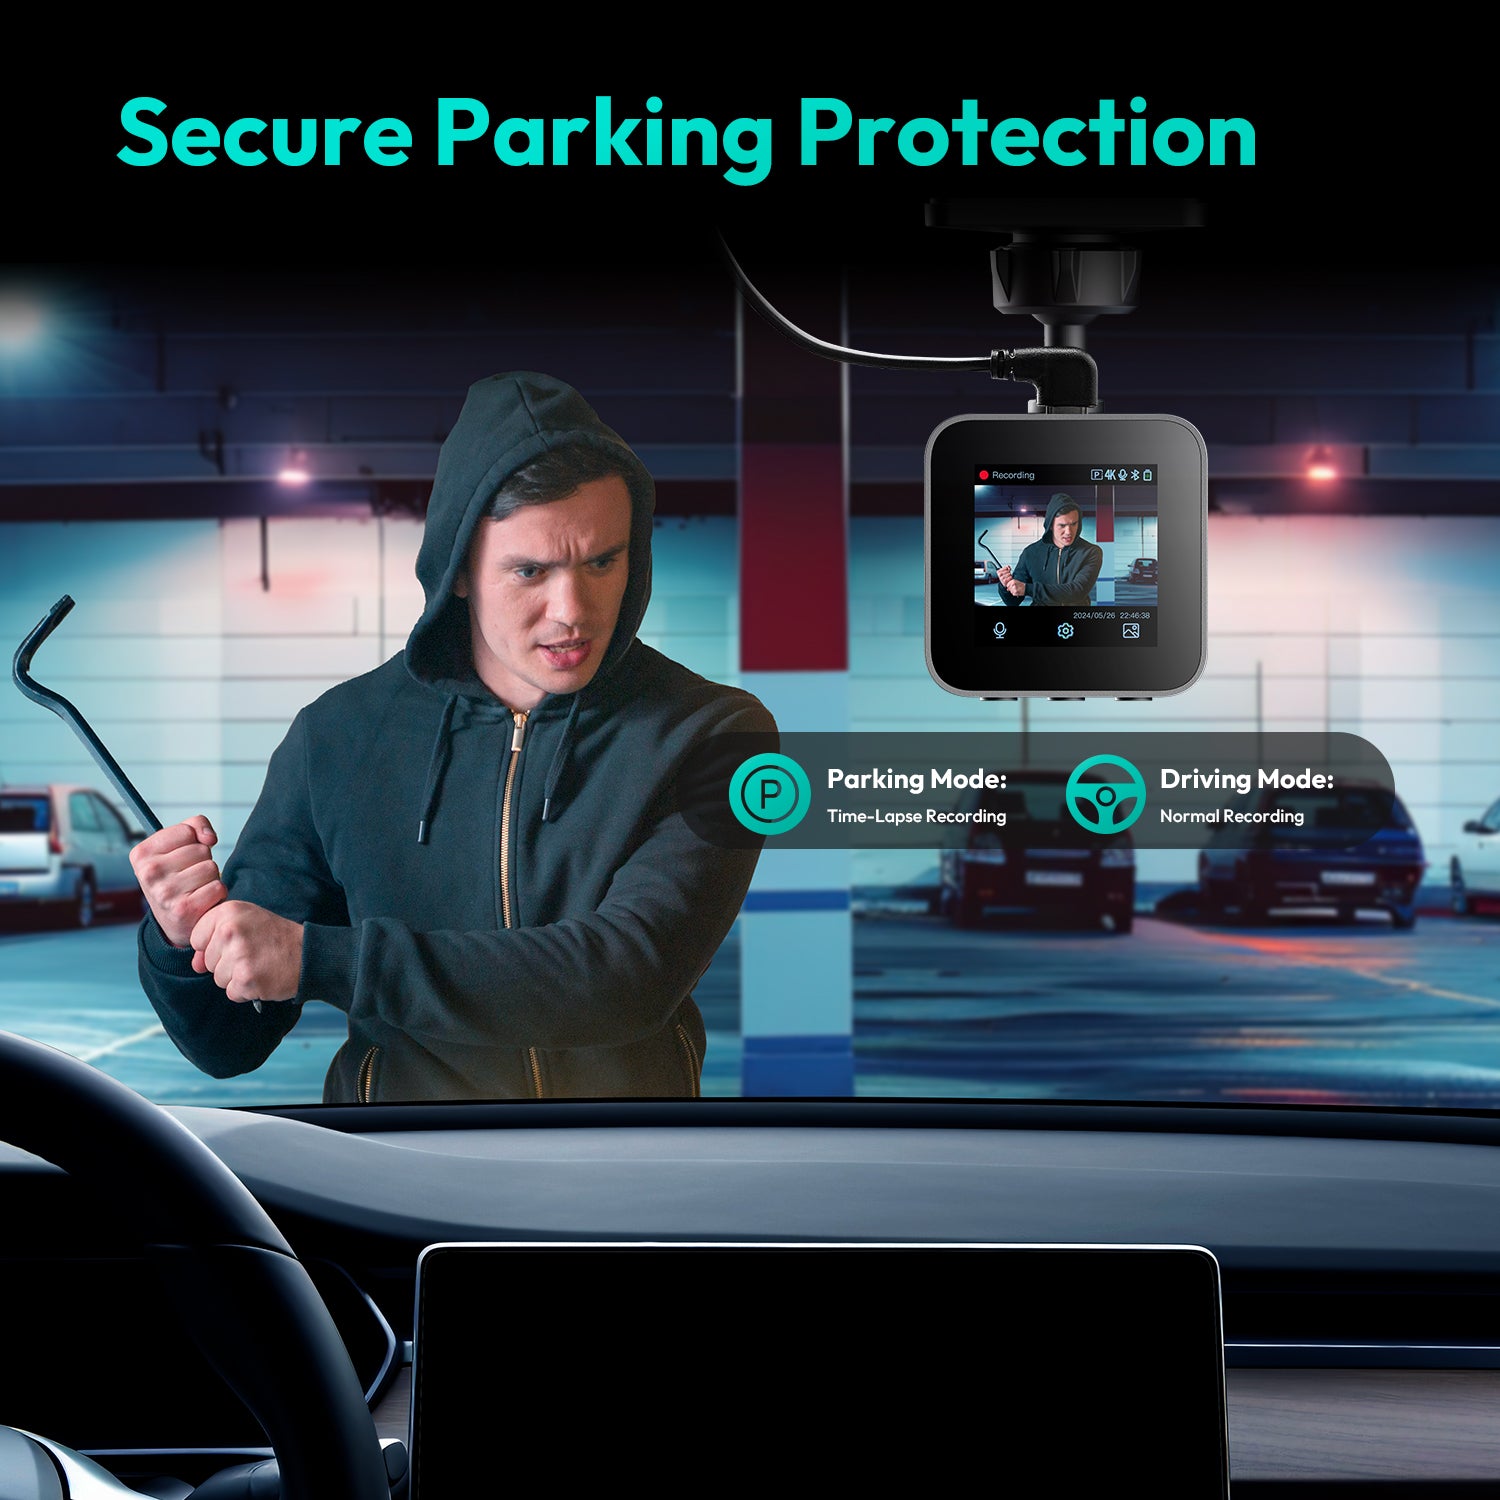
Hardwiring your dash cam gives you a cleaner look and allows features like parking mode. You connect the dash cam directly to your car’s fuse box for a steady power supply.
- Use a multimeter to find two types of fuses in your fuse box: one that always has power (constant 12V) and one that only has power when the car is on (ACC).
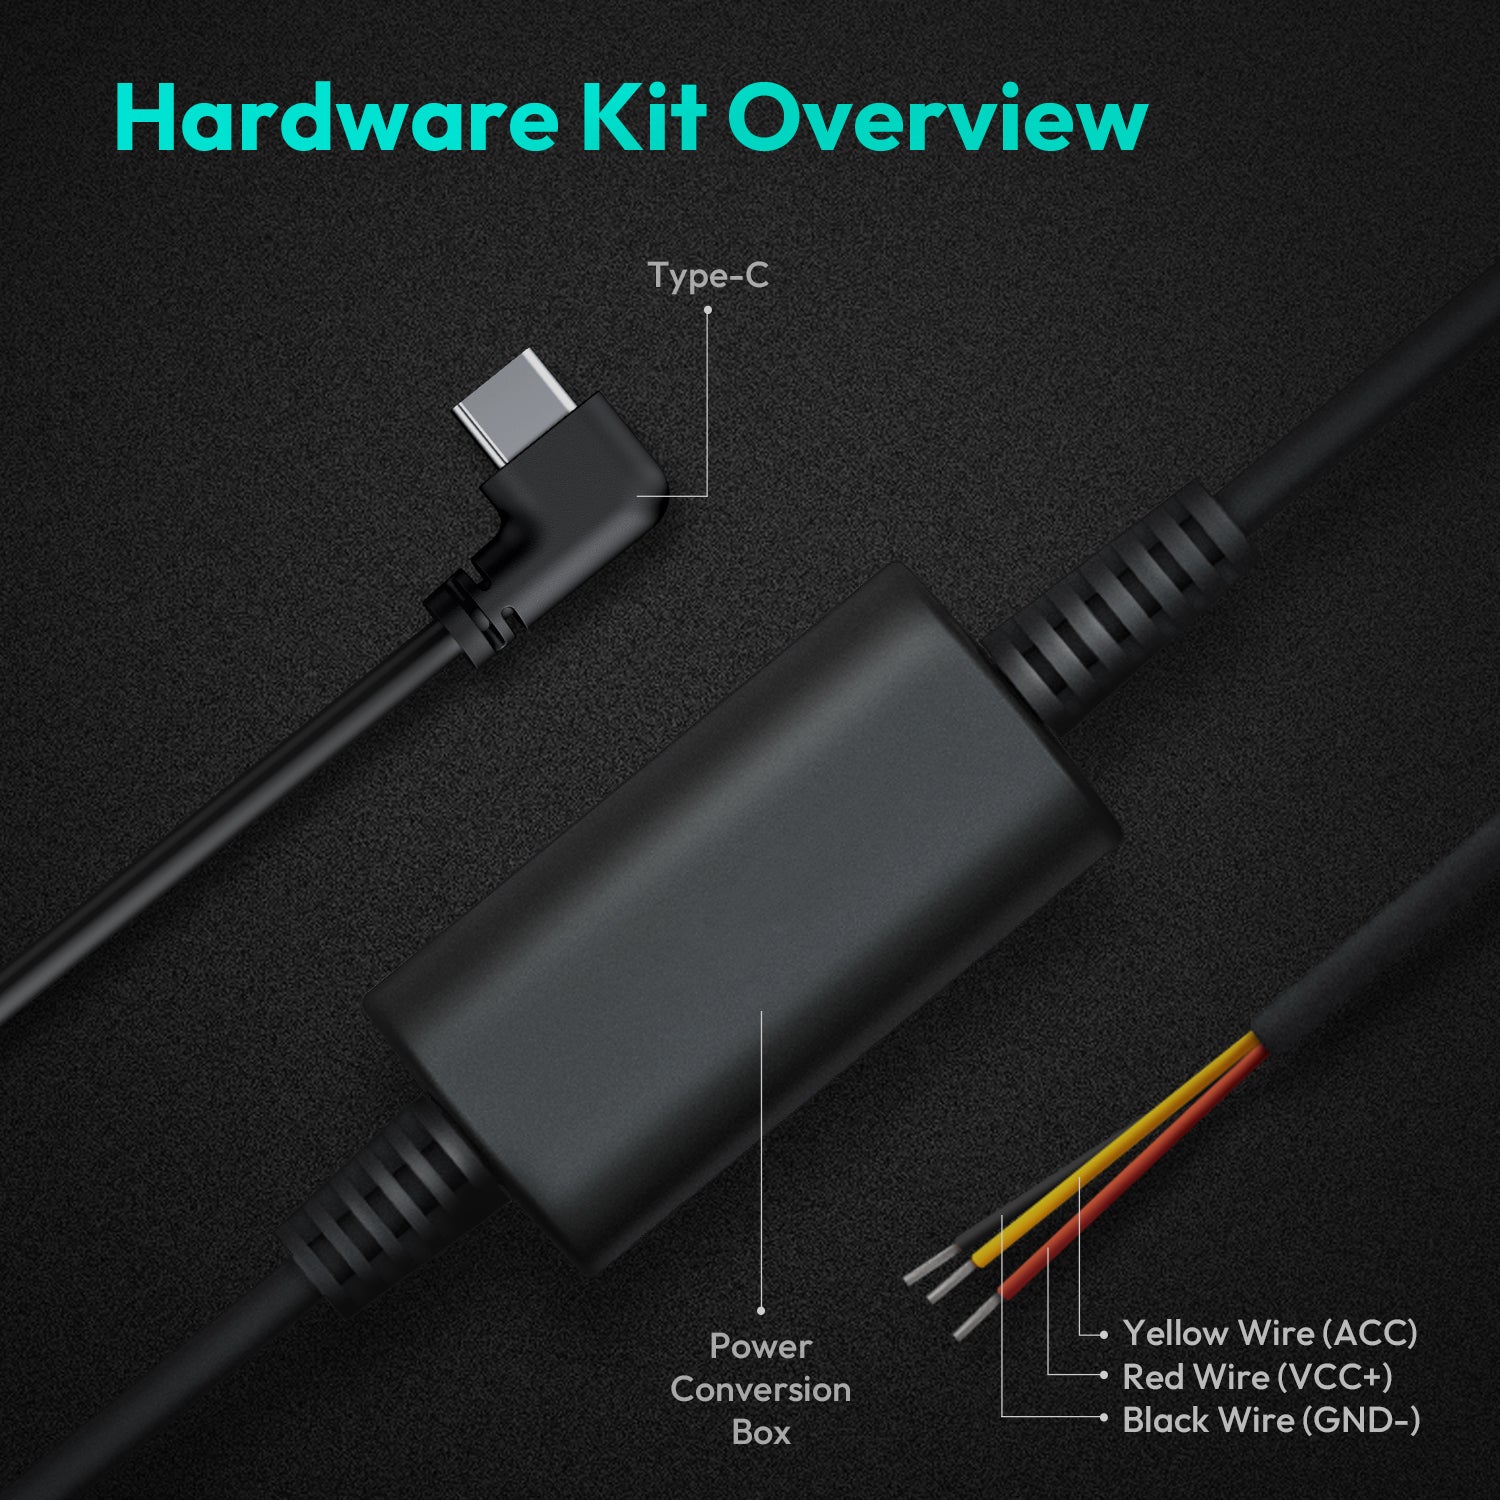
- Connect the yellow wire from the hardwire kit to the ACC fuse. This wire powers the dash cam when you start your car.
- Attach the red wire to the constant power fuse. This wire lets the dash cam record even when the car is off, which is important for parking mode.
- Secure the black wire to a metal part of your car’s body. This step grounds the system and keeps it safe.
- Plug the MicroUSB cable from the hardwire kit into your Botslab dash cam G980H.
- Double-check all connections. Make sure the wires are tight and the cables are hidden behind panels or under the dashboard.
Alert: The hardwire kit protects your car battery by cutting off power if the voltage drops too low. This feature keeps your battery from draining when the dash cam runs in parking mode.
The hardwire kit works with most cars and supports both driving and parking features. The cable is long enough for flexible installation, so you can hide it for a clean finish.
Botslab dash cam G980H Setup

Power On
You have finished mounting and wiring your dash cam. Now, you can power on your Botslab dash cam G980H for the first time. Plug the power cable into the dash cam. Use the car charger or the hardwire kit, depending on your setup. Start your car’s engine. The dash cam should turn on automatically. You will see lights on the device, and the screen will display the Botslab logo.
If the dash cam does not power on, check the cable connections. Make sure the power source works. Try another USB port or check the fuse if you used the hardwire kit.
Tip: If you see a low battery warning, drive your car for a few minutes. This helps the dash cam get enough power.
Initial Settings
After you power on the dash cam, you need to set up the basic settings. The Botslab dash cam G980H has a simple menu that you can control using the buttons on the device.
Follow these steps to get started:
- Set the date and time. This helps you keep accurate records of your trips.
- Choose your preferred language from the menu.
- Adjust the video resolution. Higher resolution gives you clearer footage.
- Turn on the audio recording if you want to capture sound.
- Check the storage. Insert a microSD card if you have not done so already.
- Format the microSD card using the dash cam menu. This step prepares the card for recording.
You can use the quick start guide for extra help. The menu is easy to understand, so you can finish setup in a few minutes.
Note: Setting up your dash cam correctly ensures you get the best performance and reliable video evidence.
ADAS Calibration
Alignment
You want your Botslab dash cam G980H to deliver accurate safety alerts. Proper alignment is the first step. Place the camera as close to the center of your windshield as possible. Make sure the lens faces straight ahead and sits level with the road. A tilted or off-center camera can cause the ADAS features to work incorrectly.
Before you start calibration, check a few things:
- Clean the windshield so the camera has a clear view.
- Inspect the camera for any dirt or adhesive residue.
- Confirm that your tires have the correct pressure.
- Park your car on a flat surface.
Tip: Even a small misalignment, like one degree or one millimeter, can cause the system to fail. Take your time to get the camera position right.
Calibration Steps
After you align the camera, you need to calibrate the ADAS system. Calibration helps the dash cam recognize lane markings, vehicles, and other important details on the road.
Follow these steps for a successful calibration:
- Turn on your dash cam and enter the settings menu.
- Select the ADAS calibration option.
- Follow the on-screen instructions. The dash cam may ask you to drive at a steady speed on a straight road.
- Watch for prompts to adjust the camera angle if needed.
- Complete the calibration process and save the settings.
Common calibration errors can happen if you skip steps or use the wrong tools. Here are some mistakes to avoid:
- Skipping calibration after windshield replacement.
- Using generic tools instead of vehicle-specific ones.
- Ignoring pre-calibration checks like tire pressure and camera cleanliness.
- Failing to inspect for camera damage or dirt.
- Not following the dash cam’s instructions.
Note: Always follow the manufacturer’s guidelines. If you see warning lights or the ADAS features do not work, recalibrate the system right away.
A well-calibrated dash cam improves your safety and helps you avoid false alerts.
App Connection
Download Botslab App
You need the Botslab app to control and customize your dash cam. You can find the app by scanning the QR code in your user manual or searching for "botslab" in your device’s app store. Follow these steps to download and install the app:
For iOS Devices:
- Go to the Botslab download page and tap the 'Continue To App' button. This will take you to the App Store.
- Find Botslab in the App Store.
- Tap the GET button to start the download.
- Enter your Apple ID and password if asked.
- Tap INSTALL to add the app to your device.
- Open the app from your home screen.
For Android Devices:
- Visit the Botslab download page and tap the 'Continue To App' button. You will go to Google Play.
- Search for Botslab in the Google Play listing.
- Tap Install.
- Review the permissions and tap Accept.
- Wait for the download and installation to finish.
- Open the app when you see the notification.
Tip: Make sure your phone has enough storage space before you start the download.
Wi-Fi Pairing
You must connect your Botslab dash cam G980H to the app using Wi-Fi. This step lets you control settings and view footage from your phone.
- Turn on your dash cam and make sure it is in pairing mode.
- Open the Botslab app on your phone.
- Follow the on-screen instructions to connect to the dash cam’s Wi-Fi network. You may need to enter a password shown on the dash cam screen.
- Wait for the app to confirm the connection.
Note: Stay close to your dash cam during pairing for a strong signal.
Feature Settings
The Botslab app gives you many ways to customize your dash cam. You can adjust motion detection, set alert preferences, and change the detection distance. These settings help you focus on important areas and reduce unwanted alerts. You can also receive instant notifications and use two-way audio if your device supports it. Many users often adjust motion detection and alert settings to match their needs.
Tip: Explore the app’s settings menu to find features that work best for you. Adjusting these options helps you get the most from your Botslab dash cam G980H.
Usage Tips
First Drive
Your first drive after installation is important for checking that everything works as expected. Follow these steps to ensure your dash cam operates smoothly:
- Mount the dash cam on the windshield using the electrostatic sticker. Attach the adhesive pad and hold it firmly for at least 30 seconds.
- Carefully adjust the camera’s horizontal angle before pressing the adhesive pad, since it will not move easily afterward.
- Route the power and rear camera cables neatly along the windshield, headliner, and A-pillar. Tuck them into trim panels where possible.
- Connect the power cable to the 12V DC port using the car charger.
- Download the Botslab app on your smartphone. Connect your phone to the dash cam’s Wi-Fi to access live video and settings.
- Begin your drive. The dash cam will start recording automatically in a loop.
- Test both day and night recording to check video quality. Explore the app and camera settings, including ADAS safety alerts. Adjust or turn off alerts if they seem too sensitive.
Tip: Use the easy-peel window stickers for easier removal of the mounting plate in the future.
Managing Footage
Managing and backing up your dash cam footage helps you keep important videos safe and organized. The table below shows best practices for handling your recordings:
| Feature/Capability | Best Practice for Managing and Backing Up Footage |
|---|---|
| Multi-channel Recording | Record all angles for complete coverage and backup. |
| Loop Recording (up to 512GB) | Store footage continuously without manual deletion. |
| Built-in GPS with Google Maps | Track routes and speeds for easier review and organization. |
| G-Sensor Emergency Recording | Lock and protect collision videos from being overwritten. |
| Parking Mode (with Hardwire Kit) | Capture incidents 24/7, even when parked. |
| Wi-Fi Transfer (5.8 GHz) | Quickly transfer and back up videos to your phone or computer. |
| Built-in App with Video Editor | View, edit, and share footage directly from your device. |
| Supercapacitor Power Supply | Prevent data loss during power failures or extreme temperatures. |
| Touchscreen Interface | Easily manage and review videos on the dash cam itself. |
Note: Regularly back up important videos to your phone or cloud storage to prevent accidental loss.
Daily Use
You can get the most out of your dash cam by following a few simple habits each day. Check that the camera powers on when you start your car. Make sure the lens stays clean for clear recordings. Review the app for any locked emergency videos or ADAS alerts. Adjust settings as needed to match your driving style. If you use parking mode, confirm that the hardwire kit works and the camera records while parked.
Tip: Clean the windshield and camera lens weekly to keep your footage sharp and reliable.
Troubleshooting
Common Issues
You may face some problems when using your Botslab dash cam G980H. Most issues have simple solutions. Here are some common problems and what you can do:
-
Dash cam does not power on
Check the power cable and make sure it connects firmly. Try another power source or check the fuse if you use the hardwire kit. -
No video recording
Confirm that the microSD card is inserted. Format the card in the dash cam menu. Use a card that meets the recommended speed and capacity. -
Blurry or unclear footage
Clean the camera lens and windshield. Adjust the camera angle if needed. Make sure nothing blocks the lens. -
ADAS alerts not working
Recalibrate the ADAS system. Place the camera in the center of the windshield. Check for software updates in the app. -
Wi-Fi connection fails
Move your phone closer to the dash cam. Restart both devices. Make sure you use the correct Wi-Fi password shown on the dash cam screen.
If you see error messages, restart your dash cam. Many problems go away after a quick reset.
Support Resources
You have many ways to get help with your Botslab dash cam G980H. Botslab offers customer service, online FAQs, and more. The table below shows the main support resources:
| Support Resource Type | Details / Links |
|---|---|
| Customer Service Email | service@botslab.com |
| US Hotline Number | 1-866-3600505 |
| Response Time | Within 24 hours on weekdays; 24/7 service with fast replies |
| FAQs | Available on official Botslab website |
| Policy Pages | Shipping, Refund, Privacy, Warranty, Terms of Service, Subscription, Disclaimer of Warranties |
| App Download | Available via official Botslab website |
| Additional Resources | Product collections, About Us page, Contact Info |
You can email or call for quick answers. The website has FAQs and policy pages for extra details. You can also find the app and other product information online.
Save the customer service email and hotline number. Fast help is always available if you need it.
You have learned how to set up your Botslab dash cam G980H from start to finish. You followed steps for unboxing, mounting, wiring, and calibration. You also connected the app and learned daily tips. If you face any issues, check the troubleshooting section or contact Botslab support. By following this guide, you help keep your car safe. Enjoy peace of mind every time you drive! 🚗
FAQ
How do you update the firmware on your Botslab dash cam G980H?
You can update the firmware through the Botslab app. Open the app, connect to your dash cam, and check for updates in the settings menu. Follow the on-screen instructions to complete the process.
What type of microSD card should you use?
You should use a high-speed microSD card, Class 10 or above. The dash cam supports cards up to 512GB. Format the card in the dash cam before first use for best performance.
Can you use the dash cam without the app?
Yes, you can use the dash cam without the app. The device records video and saves it to the microSD card. The app gives you more control and features, but it is not required for basic recording.
Why does your dash cam turn off suddenly?
Your dash cam may turn off if the power cable is loose or the car battery is low. Check all connections. Make sure the power source works. If the problem continues, try a different cable or contact support.
How do you reset your Botslab dash cam G980H?
Press and hold the reset button on the dash cam for 5 seconds. The device will restart and return to default settings. You can find the reset button on the side or bottom of the camera.


Share:
How to Choose Your Perfect Outdoor Security Camera: The Essential Guide
Beyond Locks: The Modern Home Security Revolution Starts at Your Front Door