

Installing a rear dash cam involves mounting the camera on the rear windshield, routing its connection cable along the vehicle's headliner and trim panels to the front dash cam, and connecting it for power. The key is to carefully tuck the wire into the gap between the headliner and the roof, using a plastic trim tool to gently pry open panels around the pillars for a clean, hidden installation. This process ensures full-road visibility without obstructing your view or leaving messy wires exposed.

In This Article
- Why Should You Install a Rear-Facing Dash Cam?
- What Do You Need Before Starting the Installation?
- Where is the Best Place to Mount a Rear Dash Cam?
- How to Run and Hide the Rear Dash Cam Wires: A Step-by-Step Process
- Which Power Source is Right for Your Setup?
- What is the Red Wire For on a Rear Dash Cam?
- How Do You Test the System After Installation?
- Common Installation Mistakes and How to Avoid Them
- Frequently Asked Questions About Rear Dash Cam Installation
- Why Choose a System Designed for Simplicity?
Why Should You Install a Rear-Facing Dash Cam?
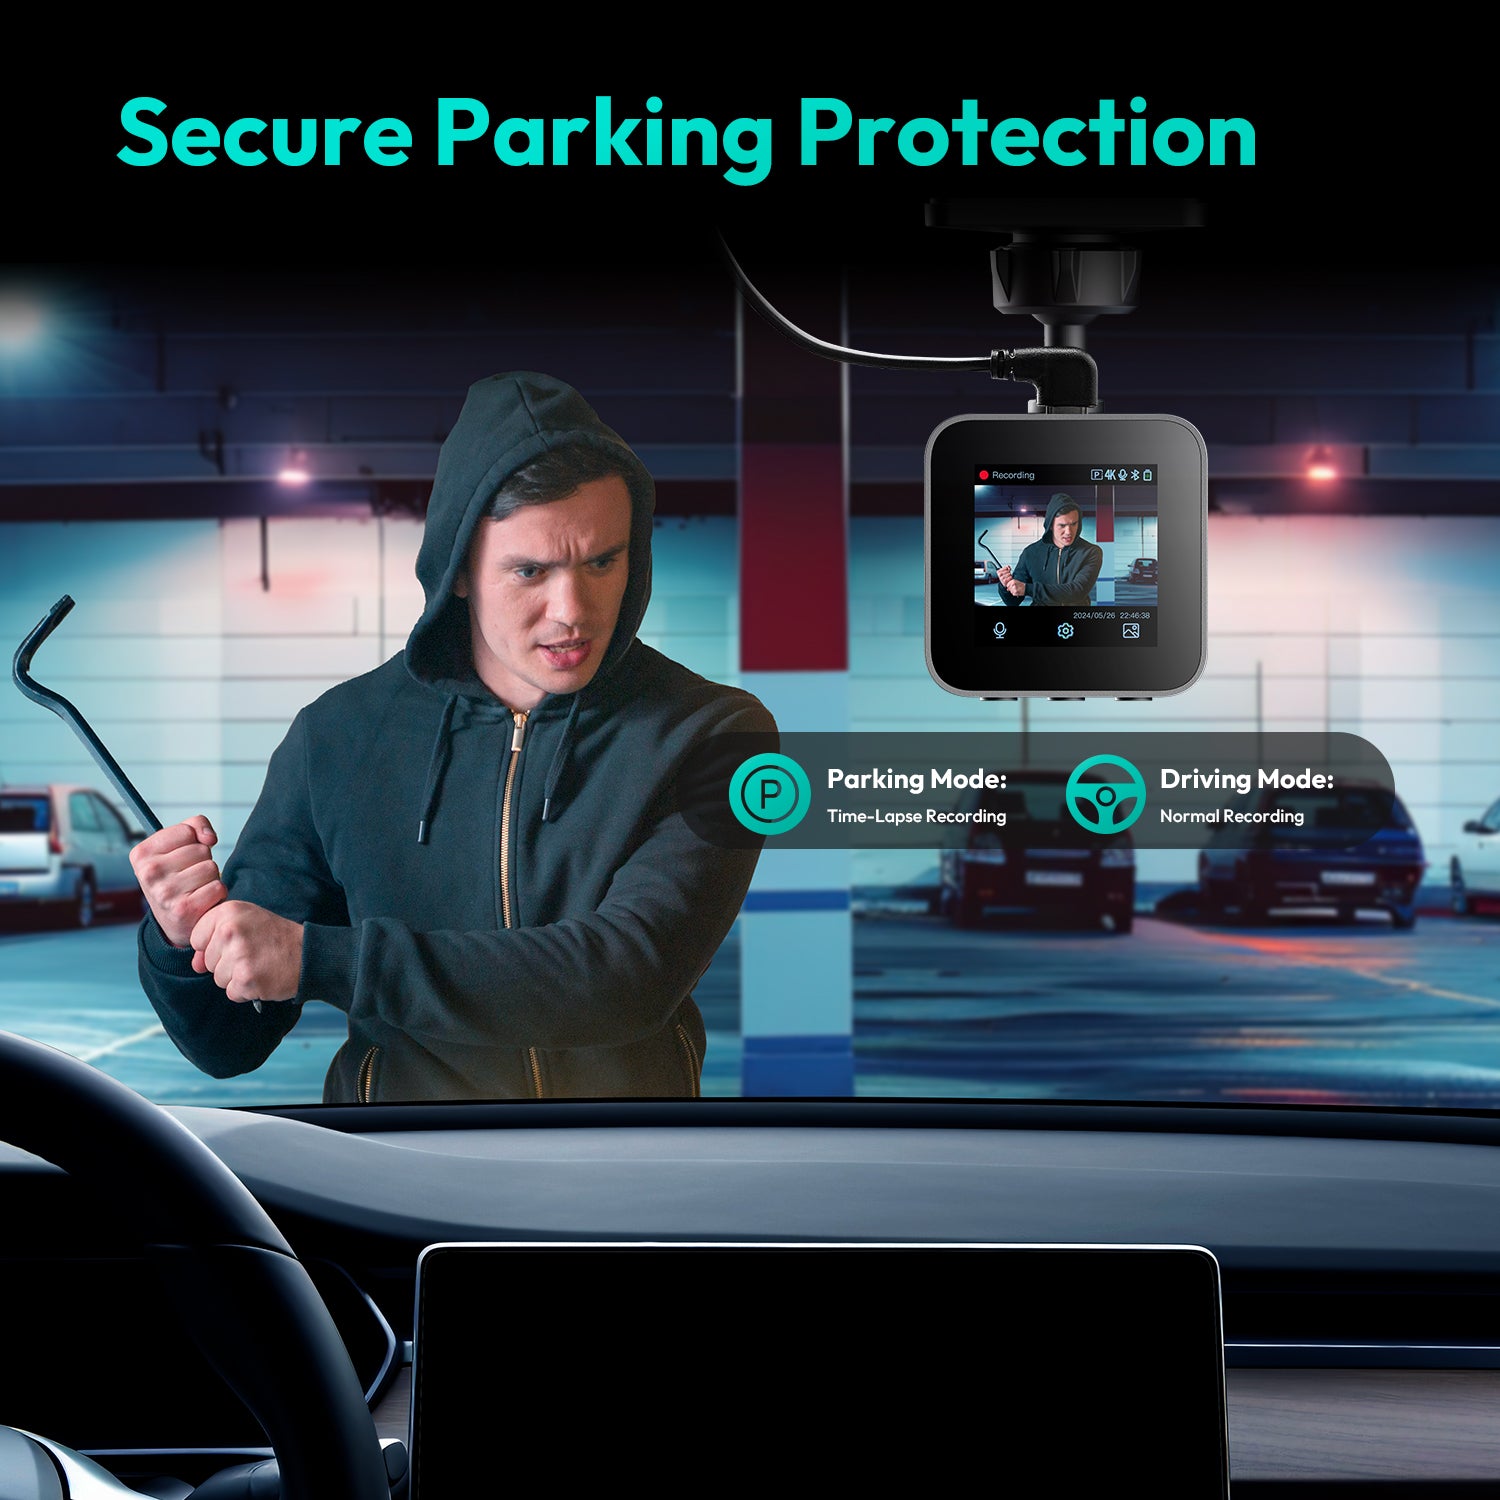
While a front-facing dash cam captures events ahead, a significant number of traffic incidents, including rear-end collisions and parking lot bumps, occur at the back of your vehicle. A rear dash cam provides a complete record of your surroundings, offering crucial evidence in the event of a dispute. This dual-camera setup ensures comprehensive 360-degree surveillance, capturing tailgaters, and hit-and-runs, and providing invaluable footage for insurance claims. It acts as a silent witness, protecting you from false accusations and ensuring peace of mind whether you are driving or parked.
What Do You Need Before Starting the Installation?
Proper preparation is the key to a smooth and professional-looking installation. Before you begin, gather all the necessary tools and familiarize yourself with the components of your dash cam system. Having everything on hand prevents interruptions and helps you complete the job efficiently.
Essential Tools Checklist
Most dash cam kits come with the basics, but a few extra tools will make the process much easier and safer for your car's interior. You won't need a professional mechanic's toolbox, just a few simple items.
| Tool | Purpose |
|---|---|
| Plastic Trim Removal Tool | Safely pry open interior plastic panels without scratching or breaking them. This is highly recommended. |
| Microfiber Cloth & Glass Cleaner | Clean the windshield area to ensure strong adhesion for the camera mount. |
| Zip Ties or Cable Clips | Secure loose wiring under the dashboard or along existing cable looms. |
| Scissors or Wire Cutters | Trim excess length from zip ties. |
| Flashlight or Headlamp | Illuminate dark areas like the footwell and fuse box. |
Understanding Your Dash Cam Components
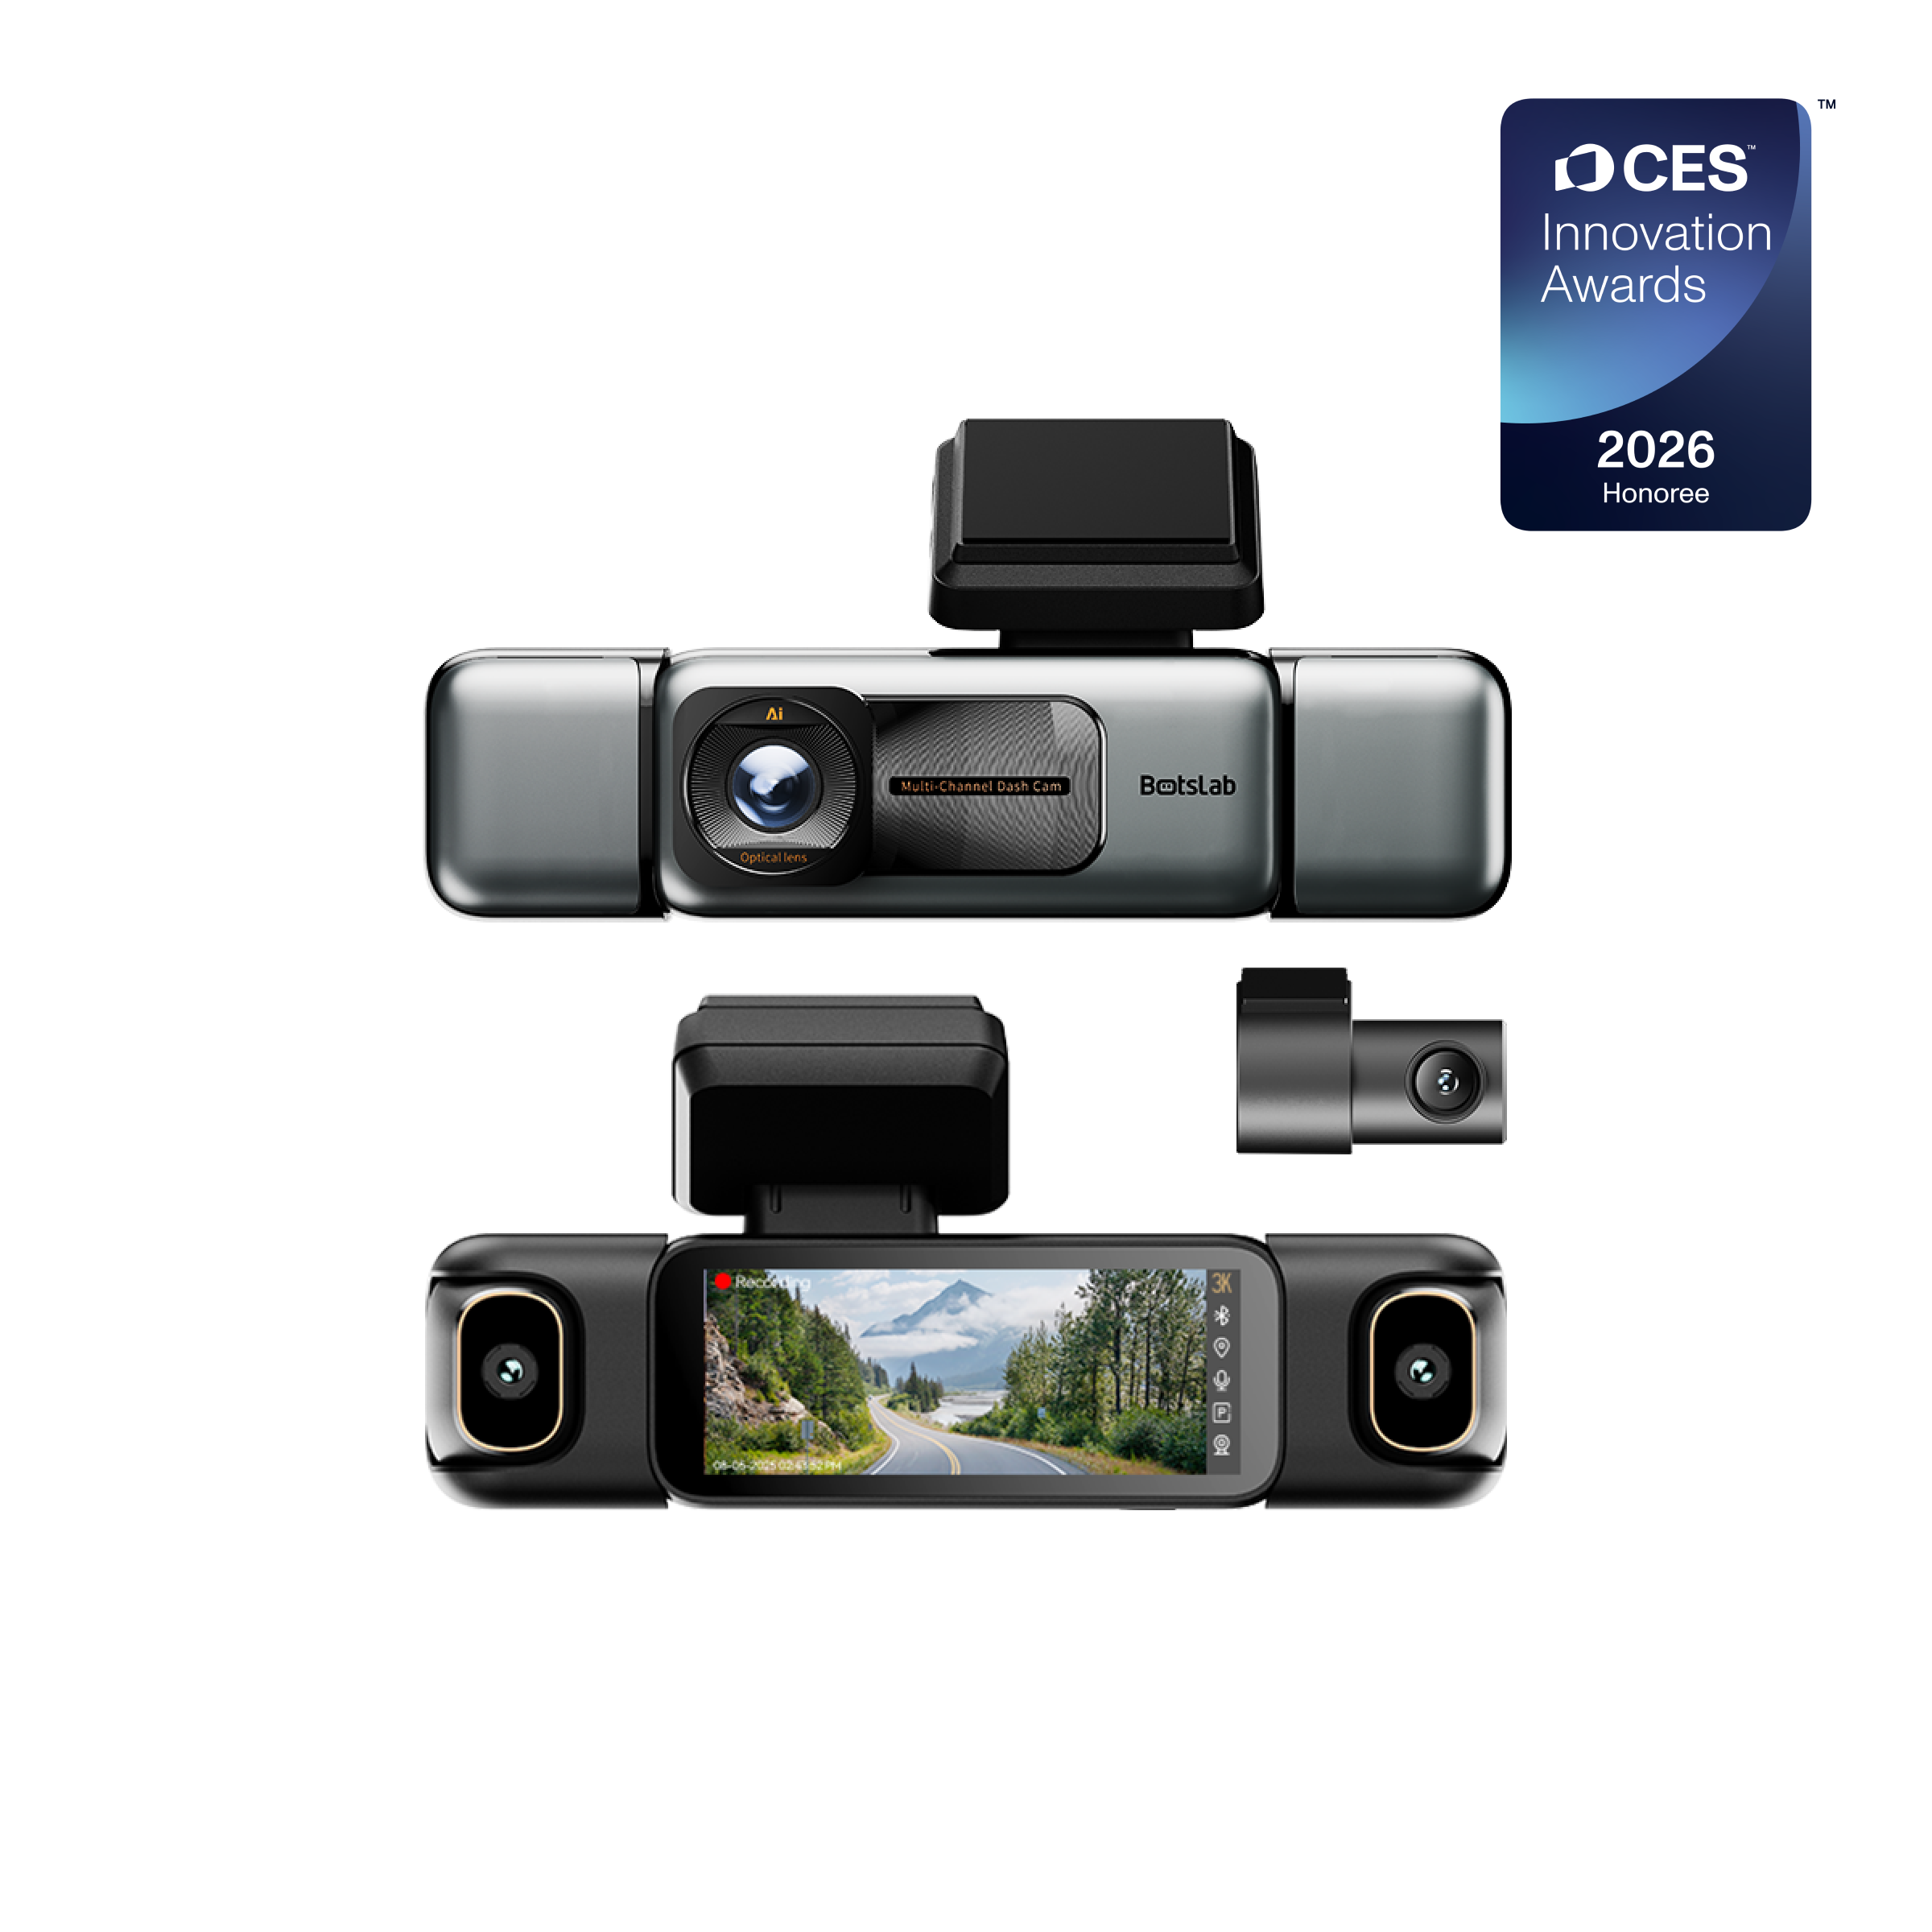
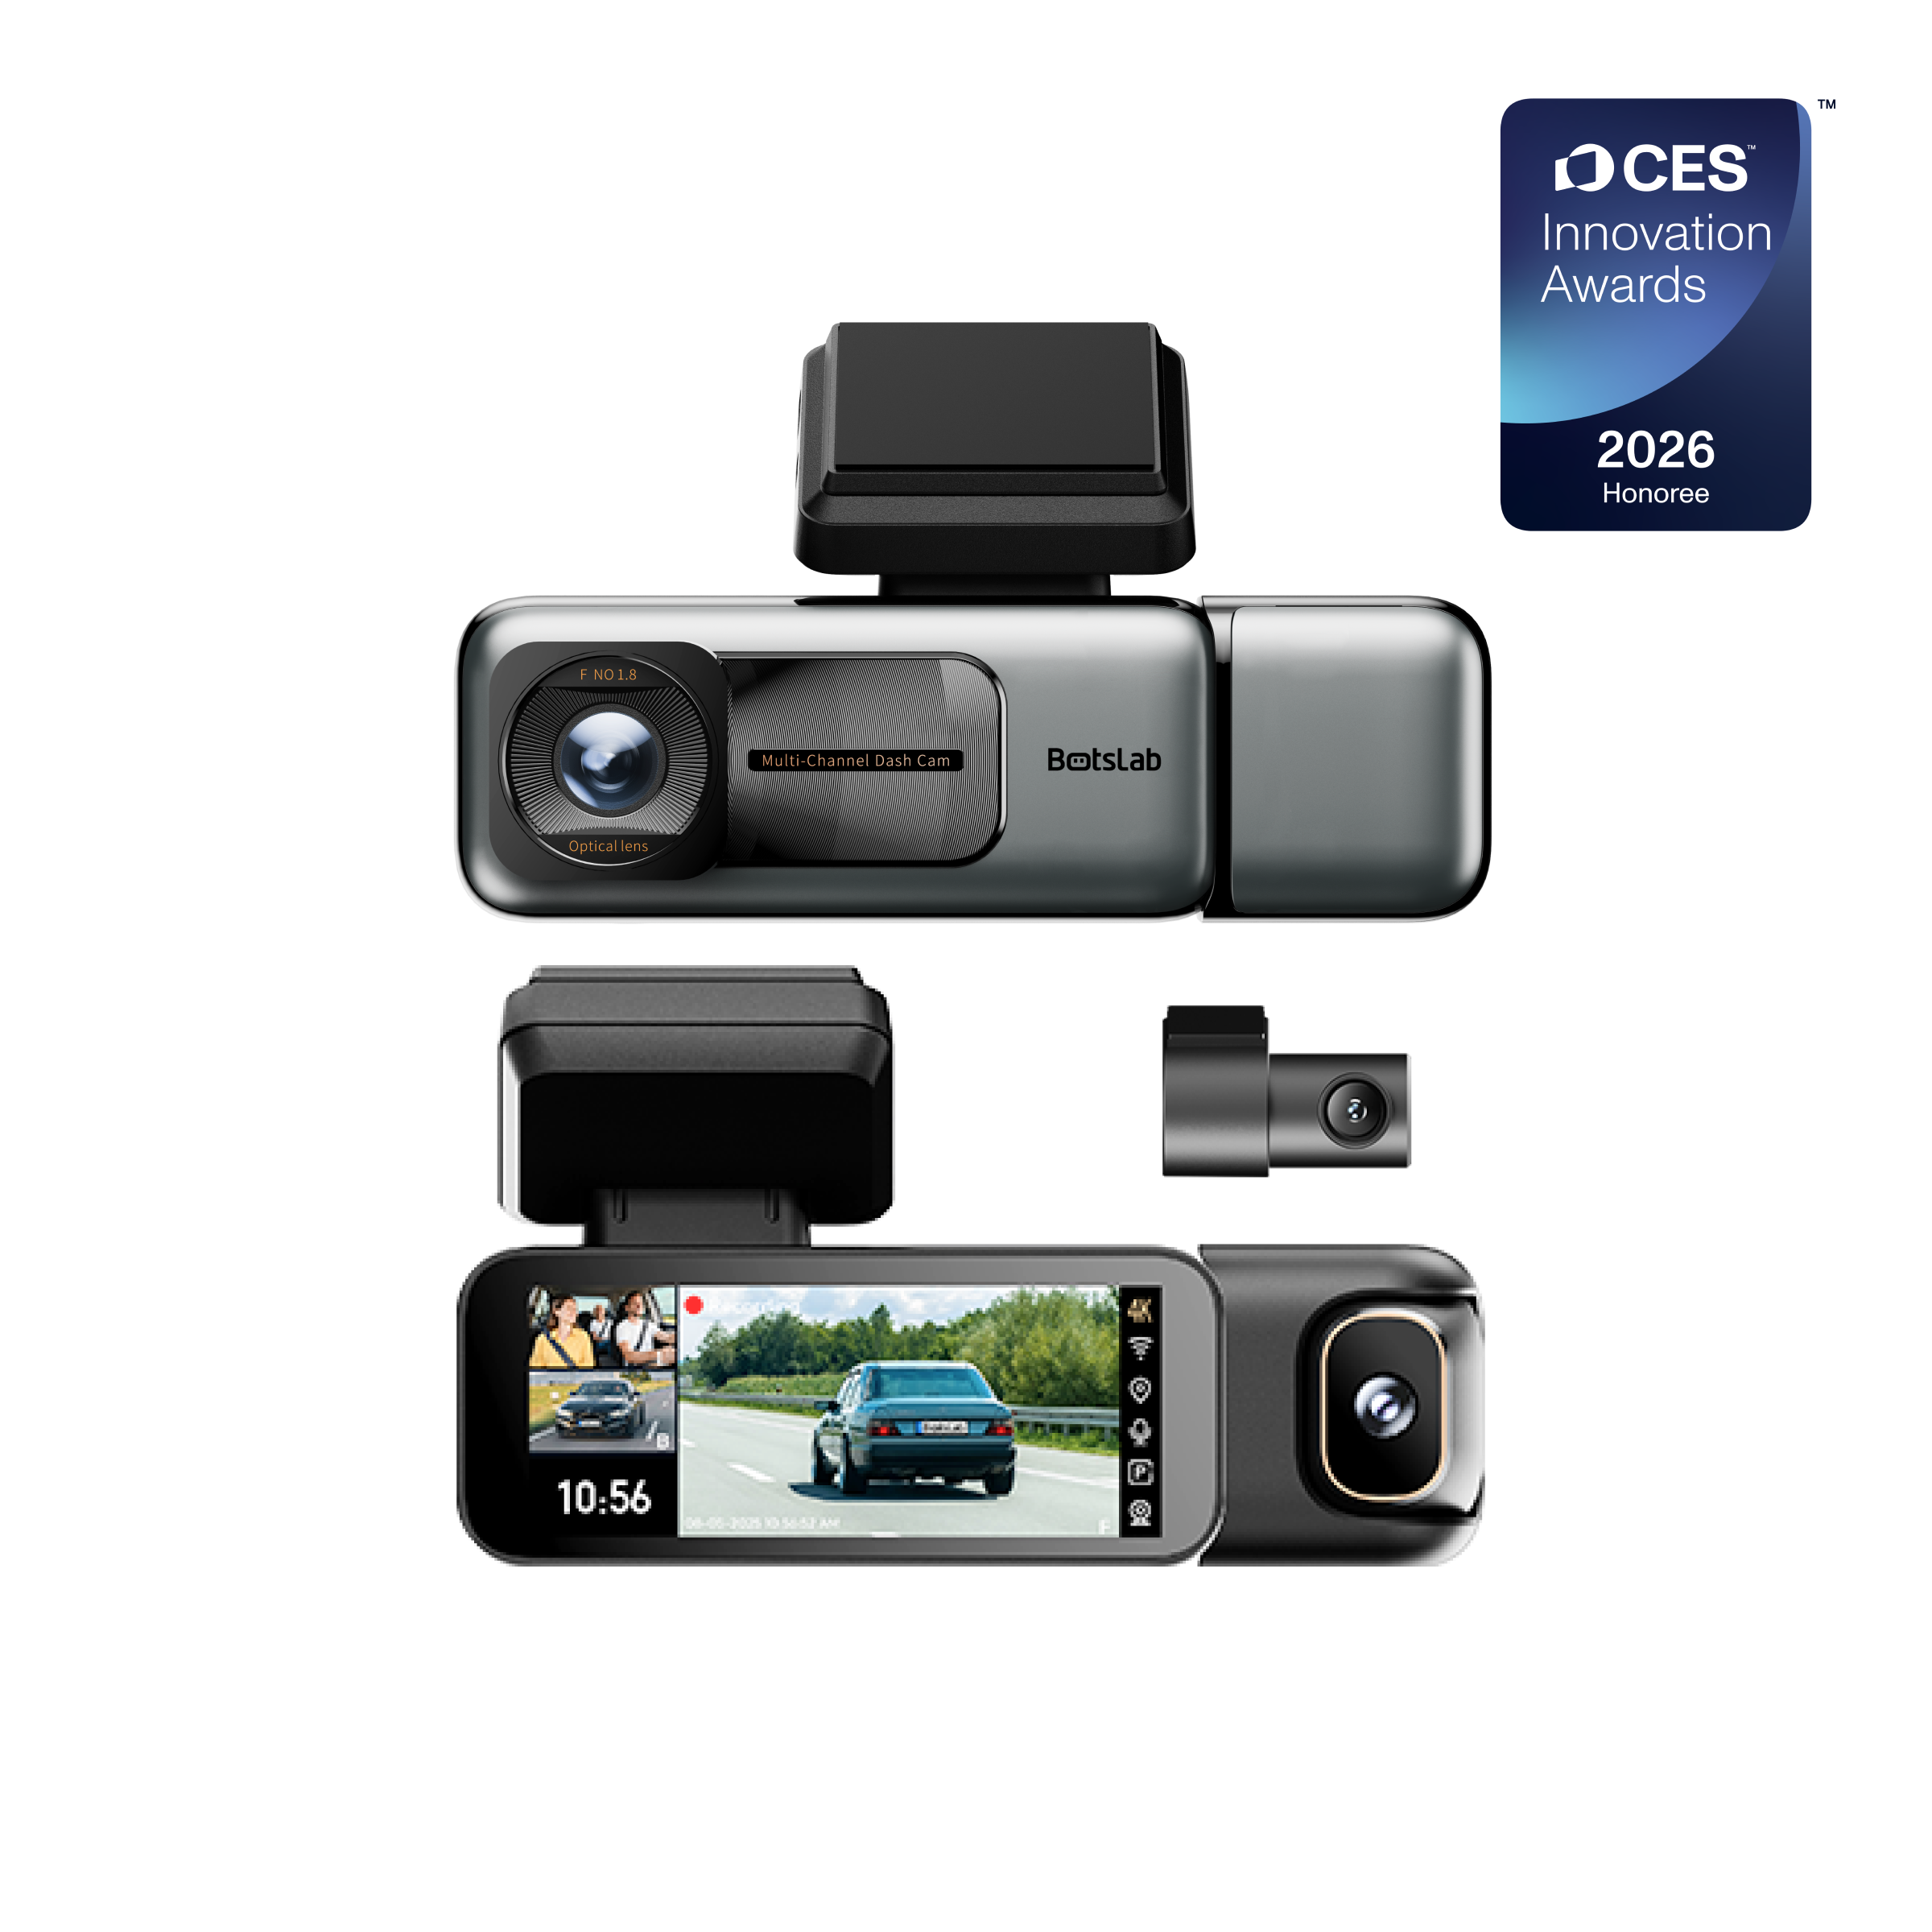
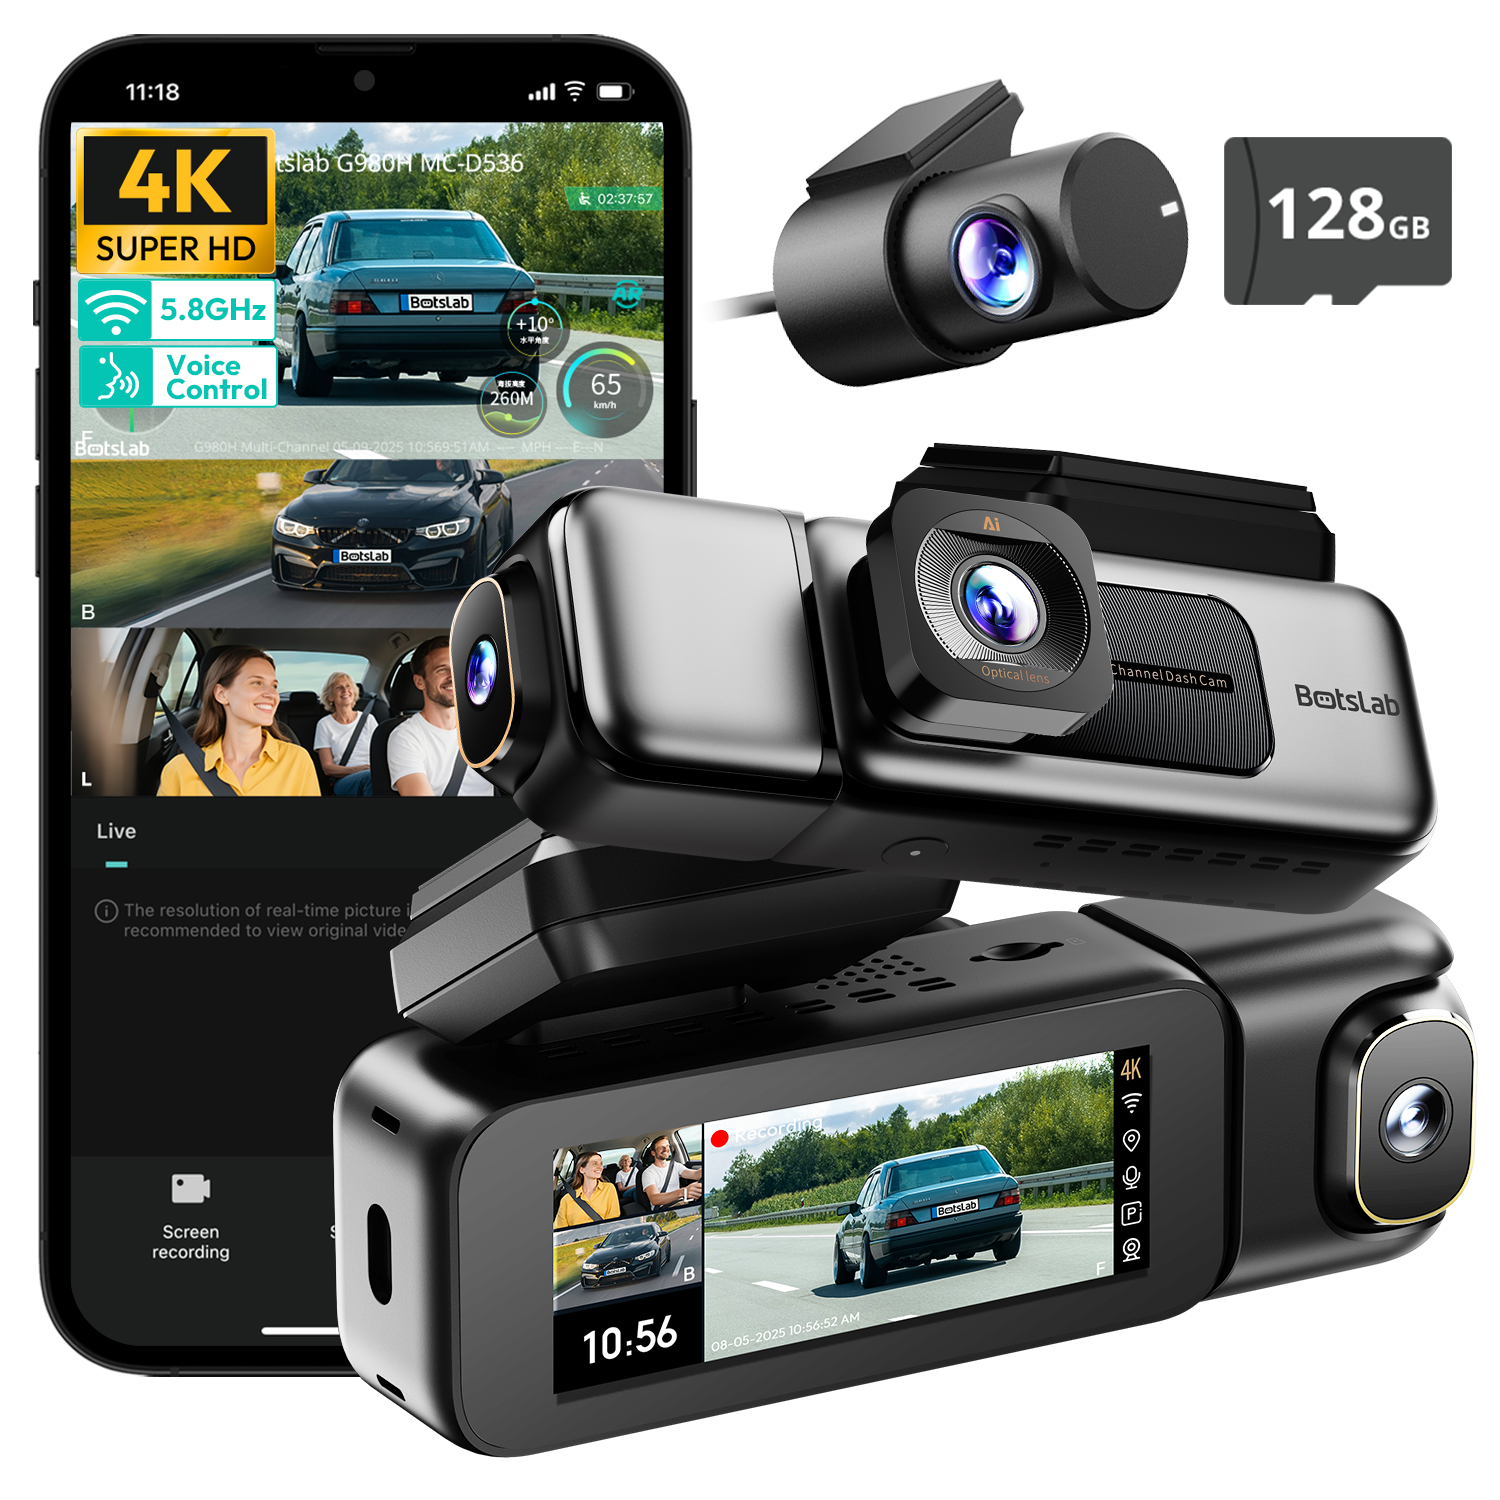
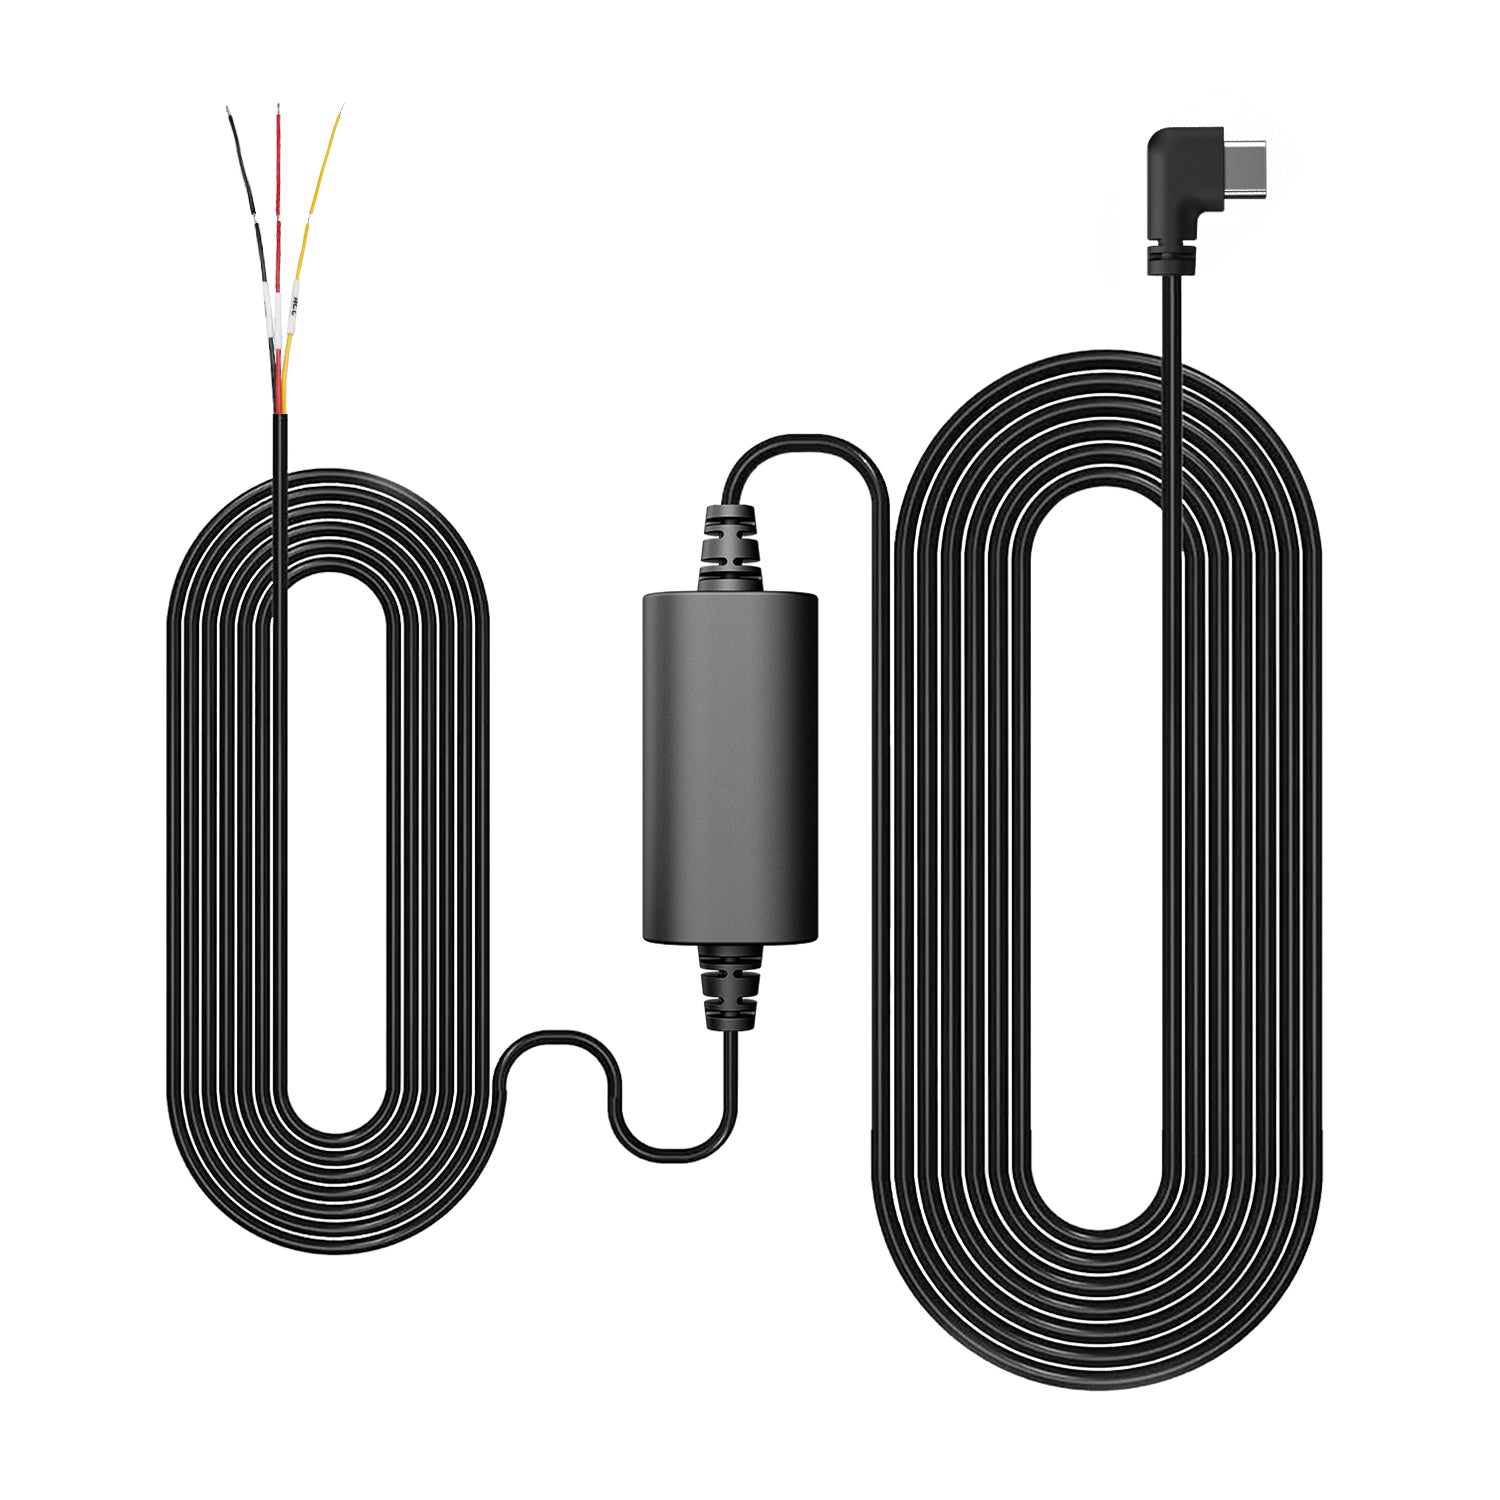
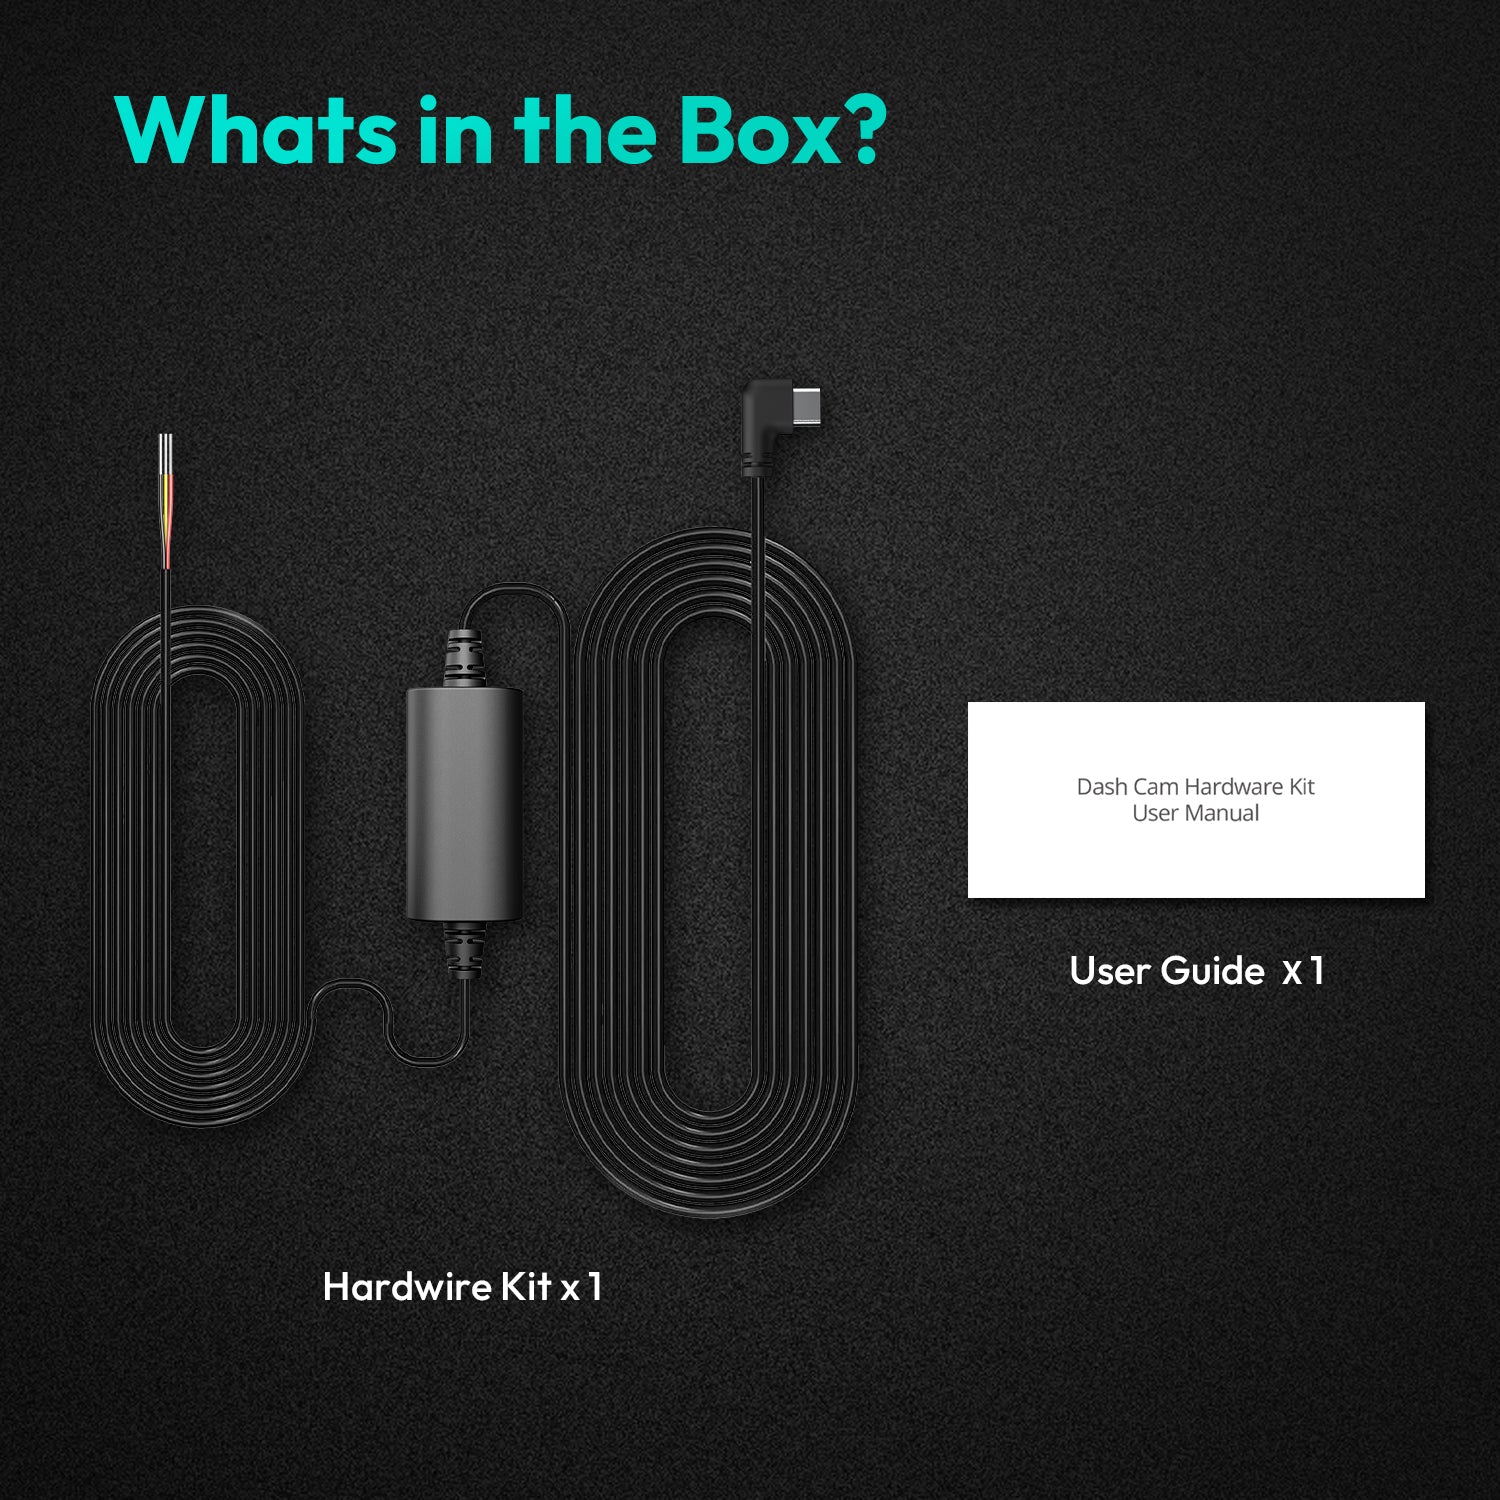
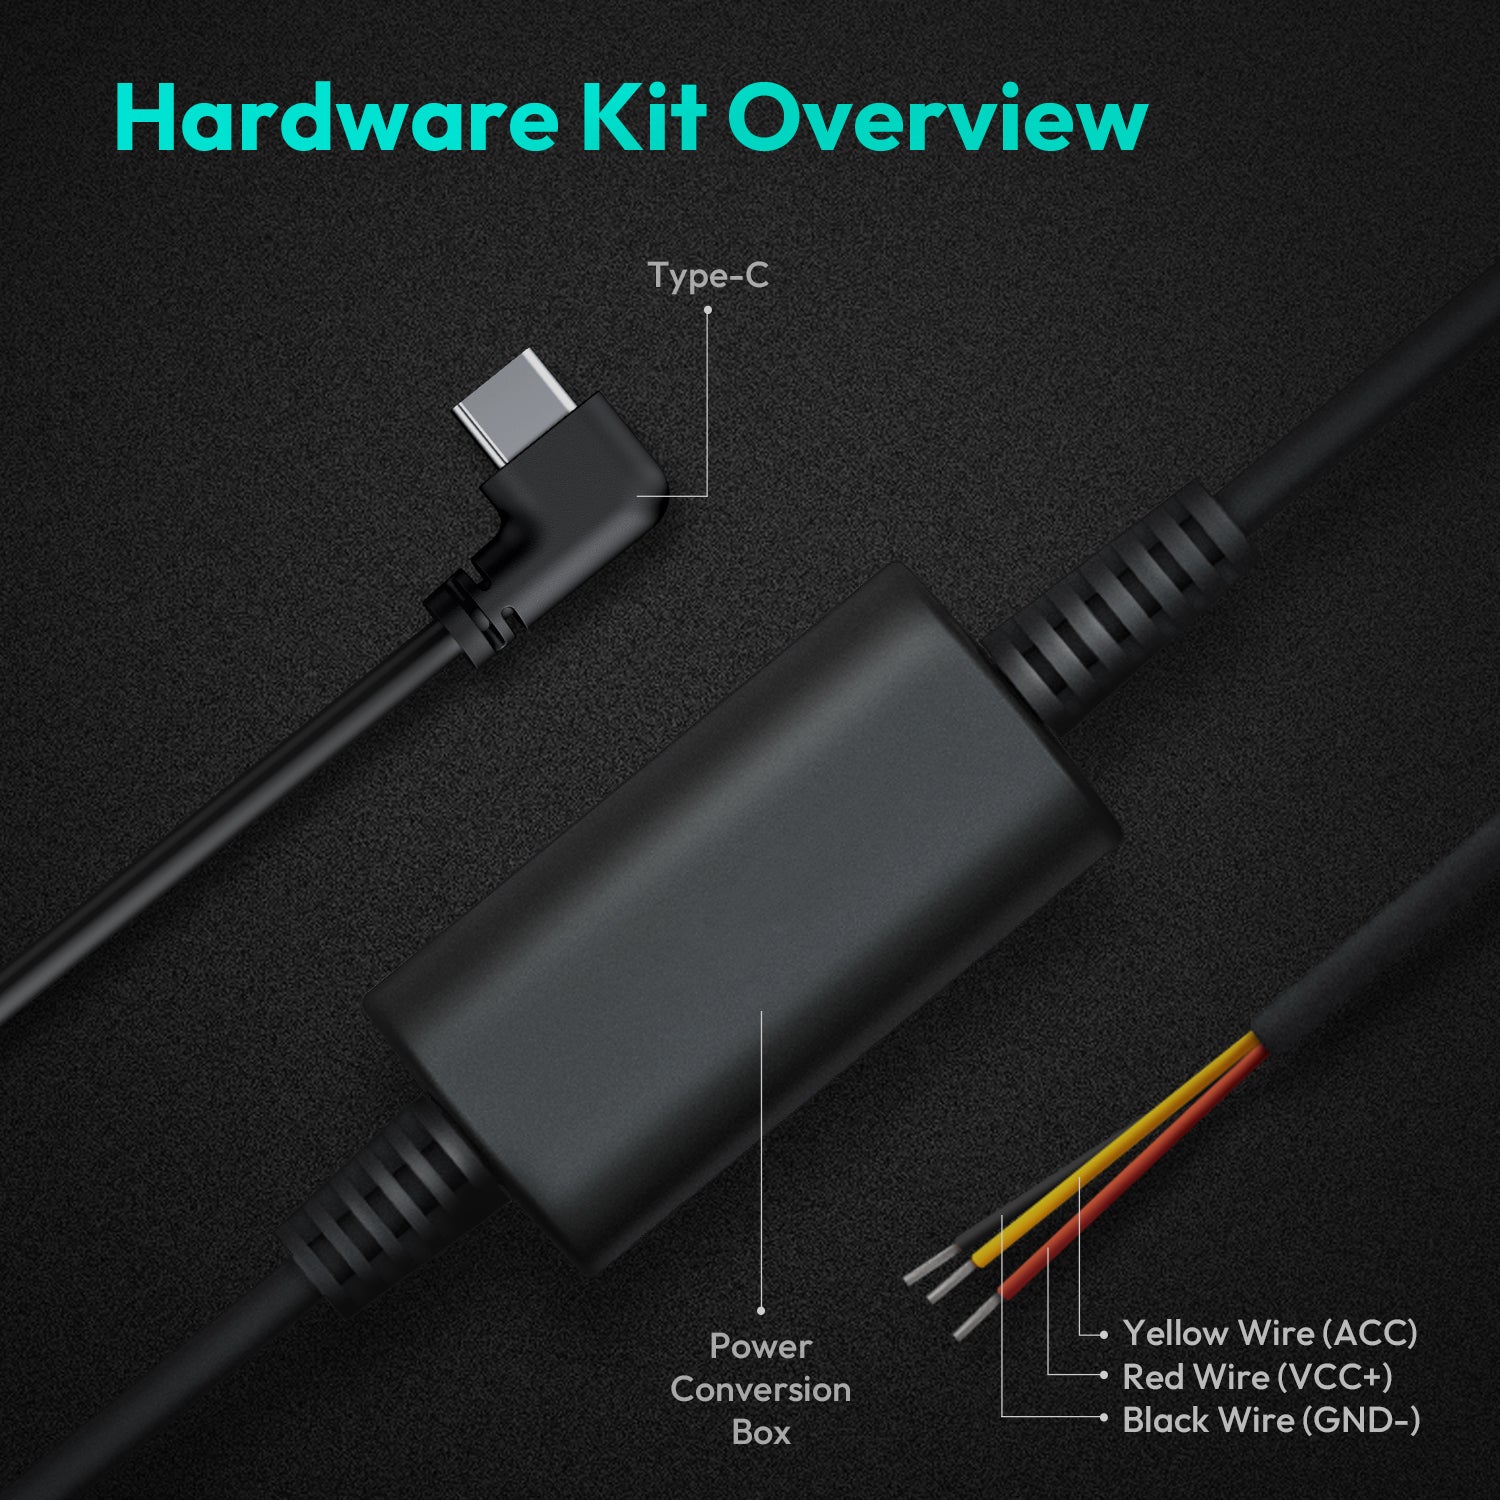
Unpack your dual-channel dash cam system and lay out all the parts. Typically, you will find a front camera unit, which is the main "brain" of the system, a smaller rear camera unit, a long video cable to connect the two, and a power cable. The long video cable is specifically designed to be routed from the back of the car to the front. The power cable will either be a 12V adapter for the cigarette lighter or a hardwire kit for connecting directly to the fuse box.
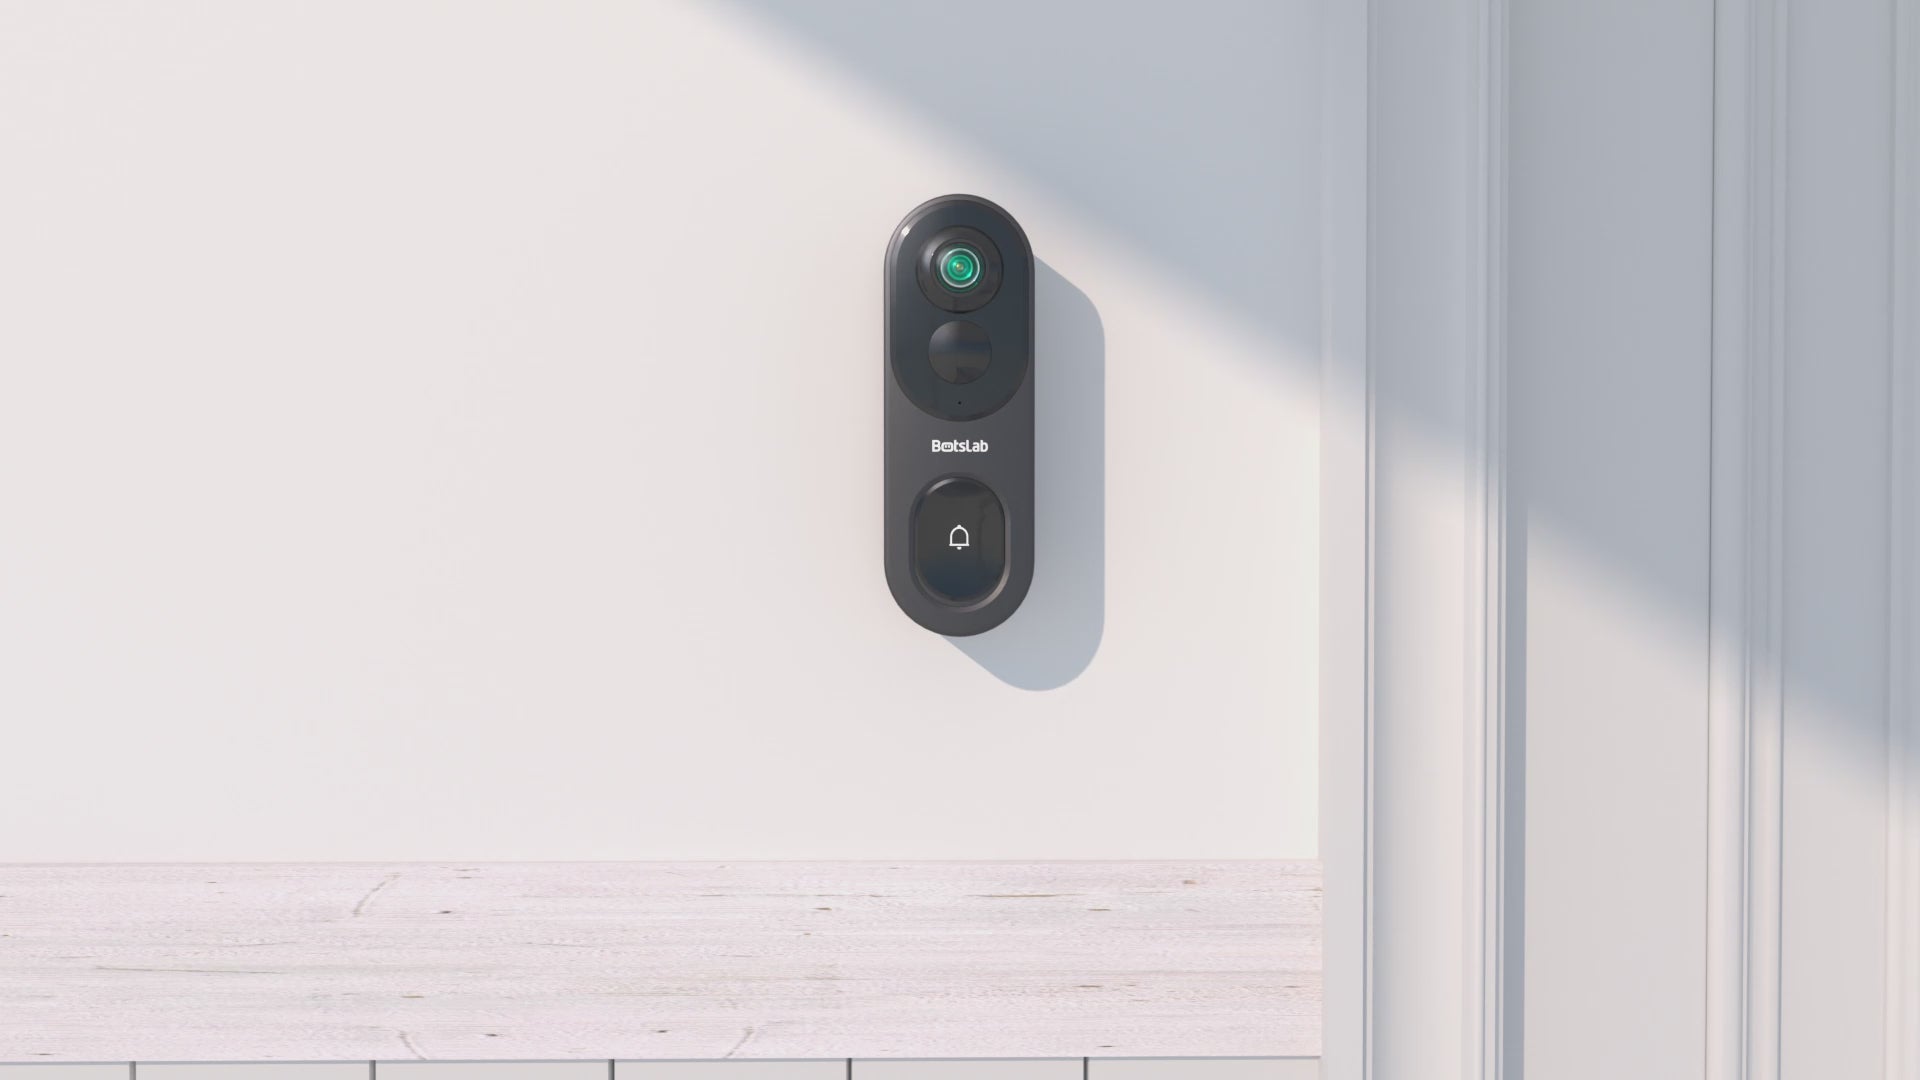
Where is the Best Place to Mount a Rear Dash Cam?
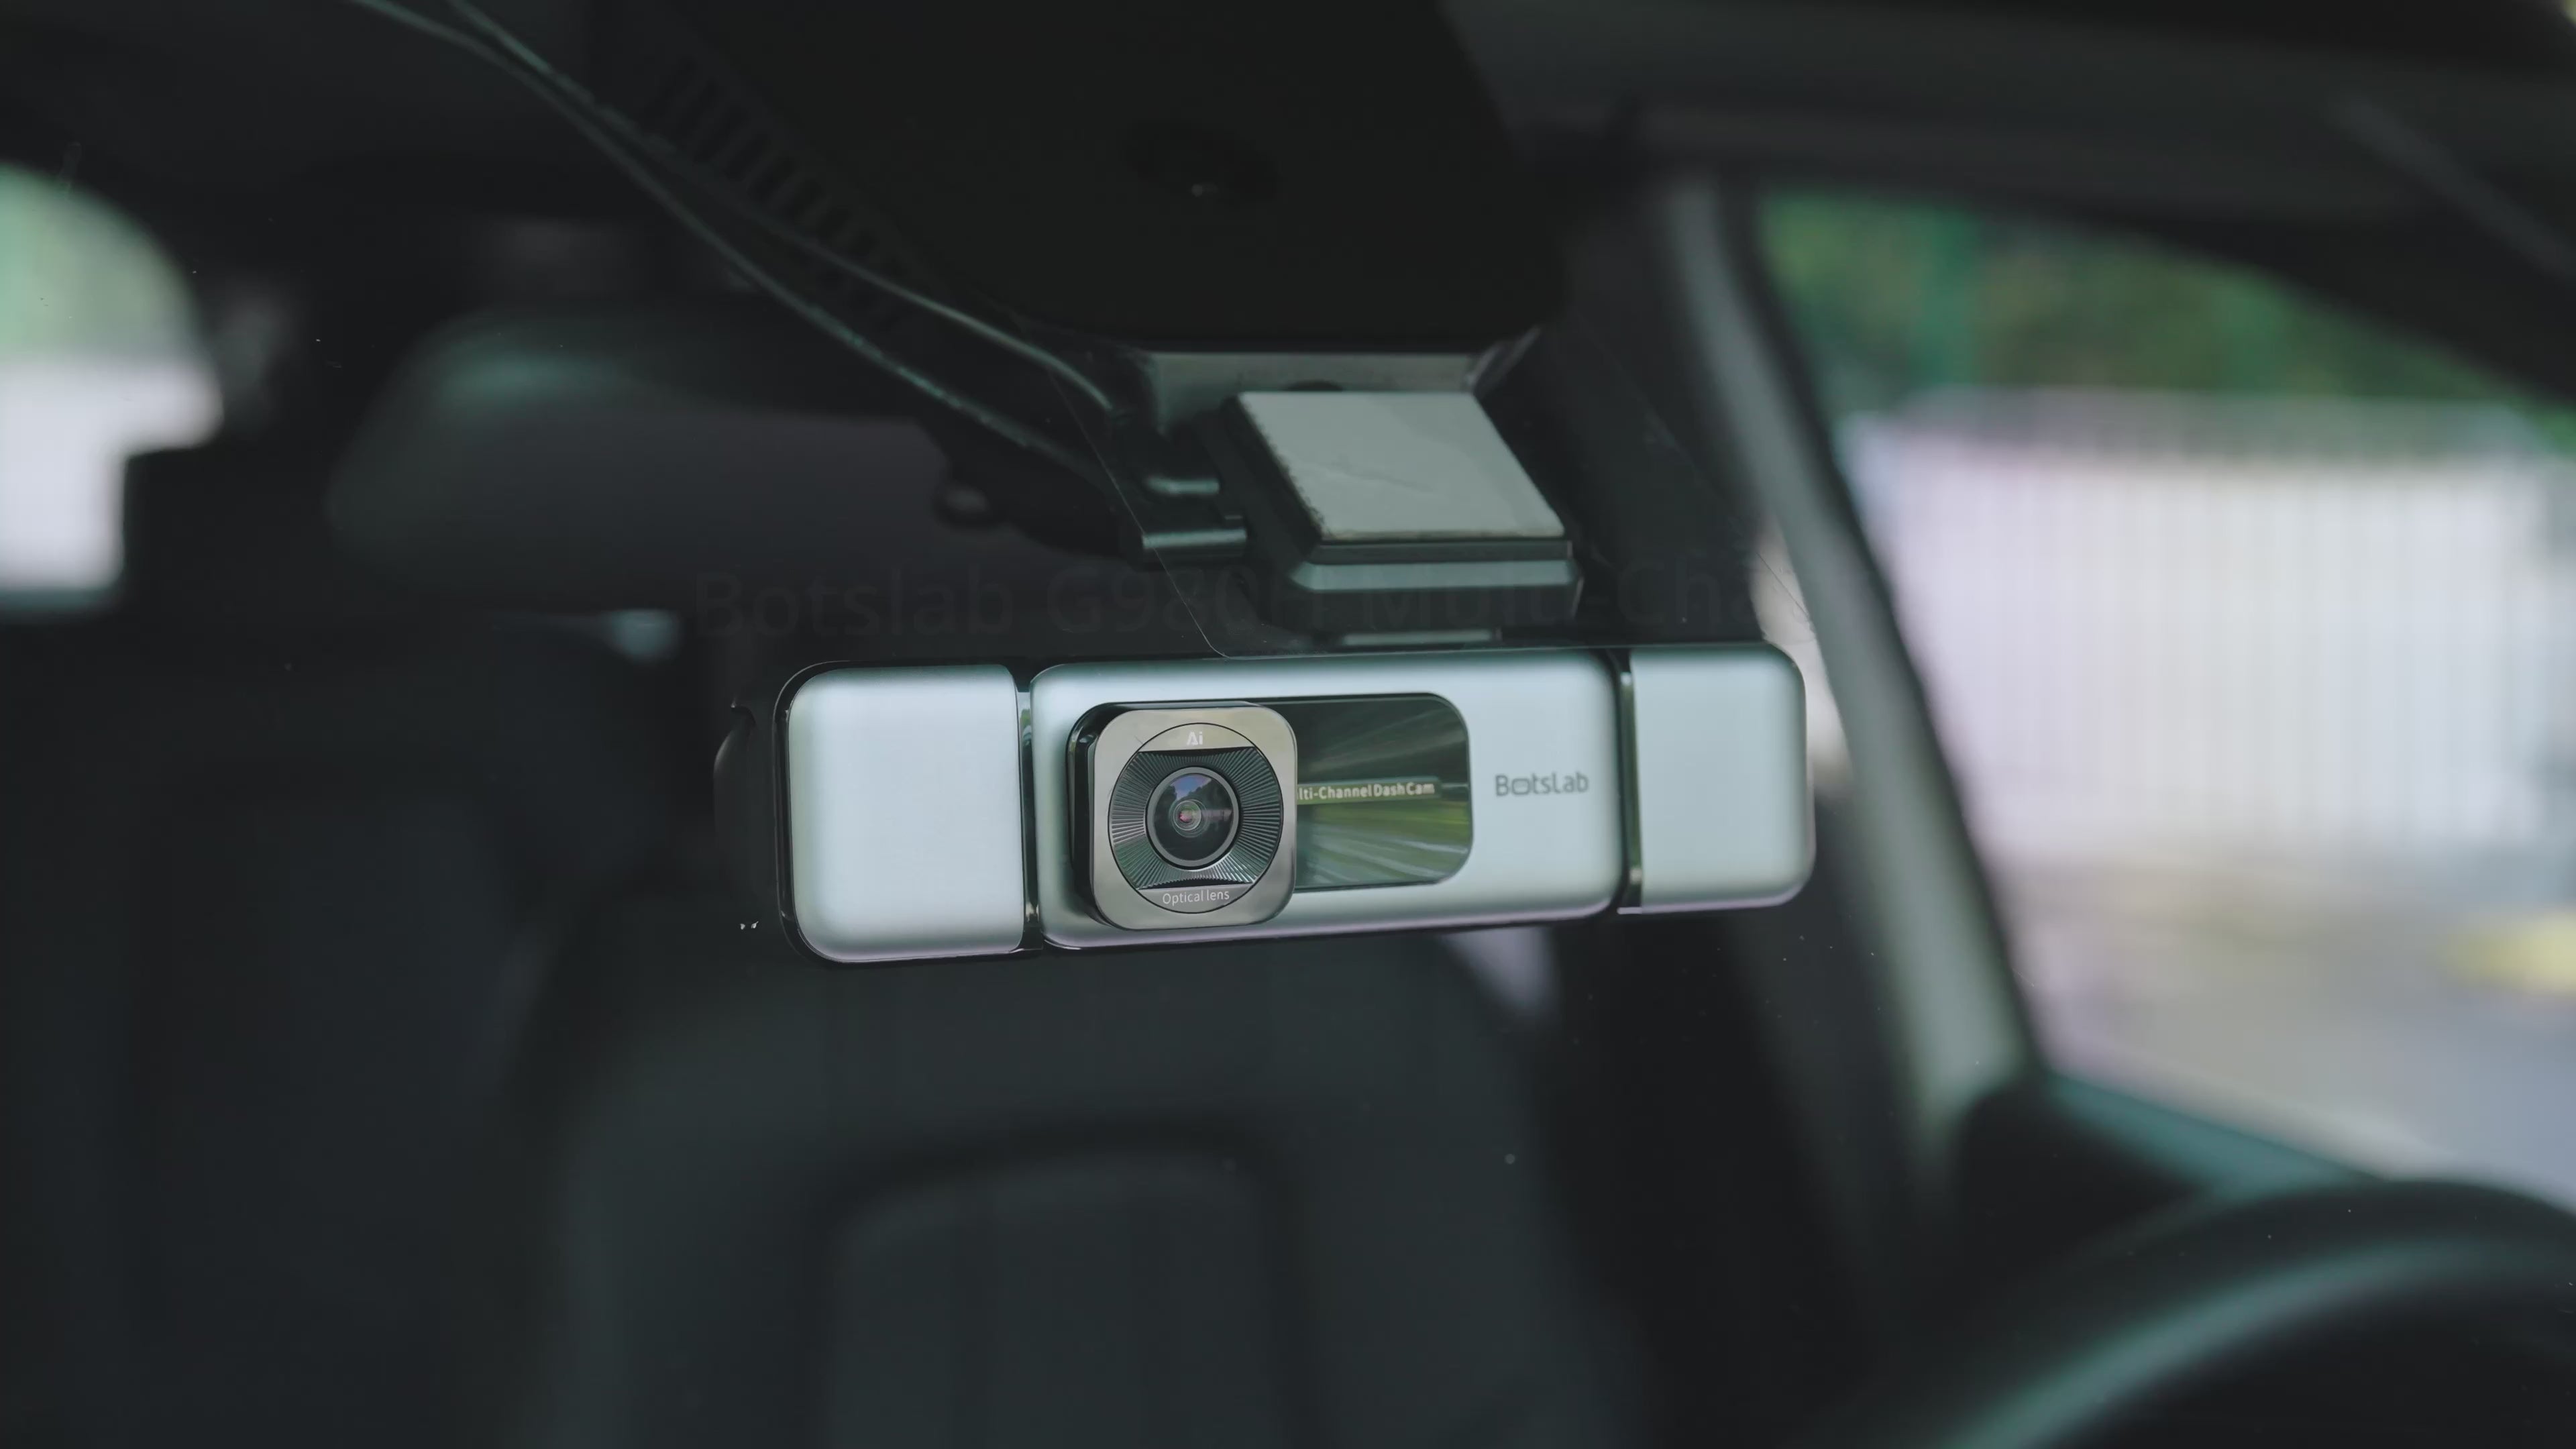
The placement of your rear camera is critical for capturing a clear and unobstructed view. The ideal location is high up in the center of the rear windshield, ensuring the lens sits within the path of the rear windshield wiper for a clear view during rain or snow.
Interior Mounting Considerations
For most vehicles like sedans, hatchbacks, and SUVs, mounting the camera inside the rear window is the best option. Before peeling off the adhesive backing, hold the camera in your desired position and check the live view on the front dash cam's screen or a connected smartphone app. Check for the following:
- Wiper Path: Ensure the camera lens is within the area cleared by the rear wiper.
- Defroster Lines: Try to place the adhesive pad between defroster lines, not directly on top of one, to ensure a secure bond and avoid potential damage.
- Window Tint: Most modern dash cams can see through standard window tint, but very dark or metallic tints may slightly reduce video quality, especially at night.
Exterior Mounting
For commercial vehicles, trucks, or RVs where an internal view is not possible, an exterior-mounted camera may be necessary. These cameras are weatherproof and more rugged. However, installation is more complex as it often requires drilling and routing wires through the vehicle's body. For standard passenger cars, an interior mount is nearly always the simpler and better choice.
How to Run and Hide the Rear Dash Cam Wires: A Step-by-Step Process
The main challenge of this project is routing the cable from the rear camera to the front unit neatly. The goal is to hide the wire completely, making the installation look as if it were done by a professional.
Step 1: Mounting the Rear Camera
After identifying the perfect spot, clean the glass thoroughly with glass cleaner and a microfiber cloth. Let it dry completely. Peel the protective film from the adhesive pad on the camera mount, press it firmly against the glass, and hold for at least 30 seconds to create a strong bond. Plug the long connection cable into the rear camera.
Step 2: Routing the Cable Along the Headliner
Starting from the newly mounted rear camera, begin tucking the wire into the gap between the headliner and the roof of your car. You can usually push the wire in with your fingers. For tighter spots, the plastic trim tool is perfect for gently creating a small gap to slide the wire in. Work your way along the headliner toward one side of the car (either driver or passenger side).
Step 3: Navigating the C-Pillar or B-Pillar Trim
When you reach the pillar (the vertical panel between the side and rear windows), use the trim tool to carefully pry the top edge of the plastic panel open just enough to tuck the wire behind it. Do not attempt to fully remove the panel, as it may contain airbag systems. Simply create enough space to hide the wire. Continue this process down the pillar and along the door's rubber weatherstripping until you reach the front of the car.
Step 4: Connecting to the Front Dash Cam
Once you have routed the cable to the front windshield area where the main dash cam is mounted, run the wire across the headliner to the front unit. Leave a little slack, then plug the connector into the appropriate port on the front dash cam (often labeled "AV-IN" or "REAR"). Any excess cable can be neatly bundled with a zip tie and tucked away under the dashboard or inside the glove box.
Which Power Source is Right for Your Setup?
You have two primary options for powering your dash cam system. The method you choose depends on whether you want a simple setup for driving-only recording or a more advanced installation that enables parking surveillance.
Option 1: Using the 12V Cigarette Lighter Socket (The Easiest Method)
This is the simplest and quickest method. Simply plug the included 12V power adapter into your car's cigarette lighter socket. The wire can be hidden along the passenger side of the dashboard and door frame. The system will automatically power on when you start your car and turn off when you shut it down. This is ideal for users who do not require parking mode functionality.
Option 2: Hardwiring to the Fuse Box (For Parking Mode)
Hardwiring connects the dash cam directly to your car's fuse box. This method is required to use features like parking mode, which allows the camera to record incidents even when the car is turned off. A hardwire kit includes wires for a constant power source, an accessory power source, and a ground. This provides a cleaner installation with no visible wires and frees up your 12V socket. If you are not comfortable working with your vehicle's electrical system, it is best to have this done by a professional.
What is the Red Wire For on a Rear Dash Cam?
On many rear dash cam connection cables, you will find a thin, separate red wire. This is the reverse signal trigger wire. Its purpose is to tell the front dash cam unit when your car is in reverse. When connected properly, this feature will automatically switch the front unit's display to show the rear camera's view, acting as a makeshift backup camera.
To enable this function, the red wire must be "tapped" into the positive wire of your vehicle's reverse light. This is typically done at the rear light assembly. Finding the correct wire usually requires a multimeter or a vehicle-specific wiring diagram. For many users, this feature is optional, and if you choose not to connect it, the rear camera will still record video perfectly; it just won't automatically switch the screen view when you reverse.
How Do You Test the System After Installation?
Before you tidy up the last of the wires, it is crucial to test the full system. Power on your vehicle to turn on the dash cam. Check the screen on the front unit or the app on your phone to confirm that both the front and rear cameras are displaying a live feed. Check the angle and orientation of the rear camera and make any final adjustments. If you connected the red reverse signal wire, put the car in reverse (with the engine off but the ignition on) to ensure the display switches correctly. Finally, let it record for a minute, then remove the memory card and verify that both front and rear video files are being saved properly.
Common Installation Mistakes and How to Avoid Them
A few common pitfalls can turn a simple project into a frustrating one. By being aware of them beforehand, you can ensure a flawless setup.
- Improper Placement: Mounting the camera outside the wiper's path will result in a useless, rain-covered view. Always test placement before adhering the mount.
- Visible Wires: Rushing the job and not taking the time to tuck wires into the headliner and trim leads to a messy look and can be a distraction. Use a trim tool for a clean finish.
- Damaging Trim Panels: Using metal tools like a screwdriver to pry open plastic panels will almost certainly cause scratches or cracks. Always use a plastic trim tool.
- Incorrect Fuse Tapping: When hardwiring, tapping into a critical fuse (like one for airbags or engine management) can cause serious issues. Always use a fuse for a non-essential component, such as the radio or sunroof.
Frequently Asked Questions About Rear Dash Cam Installation
Can a rear dash cam be installed on an SUV or truck?
Yes, the process is largely the same. In fact, it can be easier in larger vehicles due to more space behind trim panels. The main consideration is ensuring the included video cable is long enough to reach the front, which is rarely an issue with modern kits.
Will a hardwired dash cam drain my car's battery?
High-quality hardwire kits have a built-in voltage cutoff feature. This intelligent function monitors your car's battery voltage and automatically shuts off the dash cam if the voltage drops below a certain level, ensuring you always have enough power to start your engine.
How long does it take to install a rear dash cam?
For a first-time DIYer, a standard installation using the 12V power adapter can take between 30 to 60 minutes. A hardwired installation may take 1 to 2 hours, depending on your experience with vehicle electronics.
Why Choose a System Designed for Simplicity?
While the process is straightforward, the quality of the dash cam system itself can make a significant difference. A well-designed system simplifies installation with long, flexible cables, intuitive plug-and-play connections, and clear instructions. Systems from Botslab, for instance, are engineered for user-friendliness without compromising on advanced features. The Botslab G980H 4K Dash Cam provides stunningly clear front and rear video, making the effort of installation worthwhile by ensuring every detail on the road is captured with precision, day or night. Choosing an integrated and reliable system means you spend less time troubleshooting and more time driving with confidence.


Share:
What are some security cameras that don't require a monthly fee?
How to prevent your car dashcam from running out of power?