

Installing a front and rear dash cam involves mounting the cameras, routing and concealing the cables through the vehicle's trim, and connecting to a power source. The process begins with positioning the front camera near the rearview mirror and the rear camera at the top-center of the rear windshield. Cables are then tucked into the headliner, run down the vehicle's pillars, and connected to either the 12V power outlet or the fuse box for a cleaner, more permanent installation that can enable parking mode.

Table of Contents
- What Tools and Equipment Do You Need for Dash Cam Installation?
- Where is the Best Placement for Your Front and Rear Dash Cam?
- How Do You Mount the Dash Cams Securely?
- Which Power Connection Method is Right for You?
- How to Route the Front Dash Cam Power Cable?
- How to Install and Route the Rear Dash Cam Cable?
- How to Hardwire Your Dash Cam to the Fuse Box?
- What Are the Final Steps and Checks?
- What Common Installation Mistakes Should You Avoid?
- Why Choose a High-Quality Dash Cam for Your Installation?
What Tools and Equipment Do You Need for Dash Cam Installation?
Before you begin, gathering the right tools will make the installation process significantly smoother and more professional. While most dash cam kits come with the essentials, a few extra items can make a world of difference. A clean installation is not just about aesthetics; it is about ensuring safety and reliability.
The primary tools help you pry open interior trim panels without causing damage and test electrical circuits safely. Proper tools prevent scratches, broken clips, and electrical mishaps. Below is a breakdown of what you will need.
| Essential Tools | Optional (but Recommended) Tools |
|---|---|
| Your Front and Rear Dash Cam Kit | Circuit Tester (for hardwiring) |
| Plastic Trim Removal Tool | Fuse Puller |
| Microfiber Cloth & Glass Cleaner | Wire Stripper/Crimper |
| Zip Ties or Cable Clips | Needle-Nose Pliers |
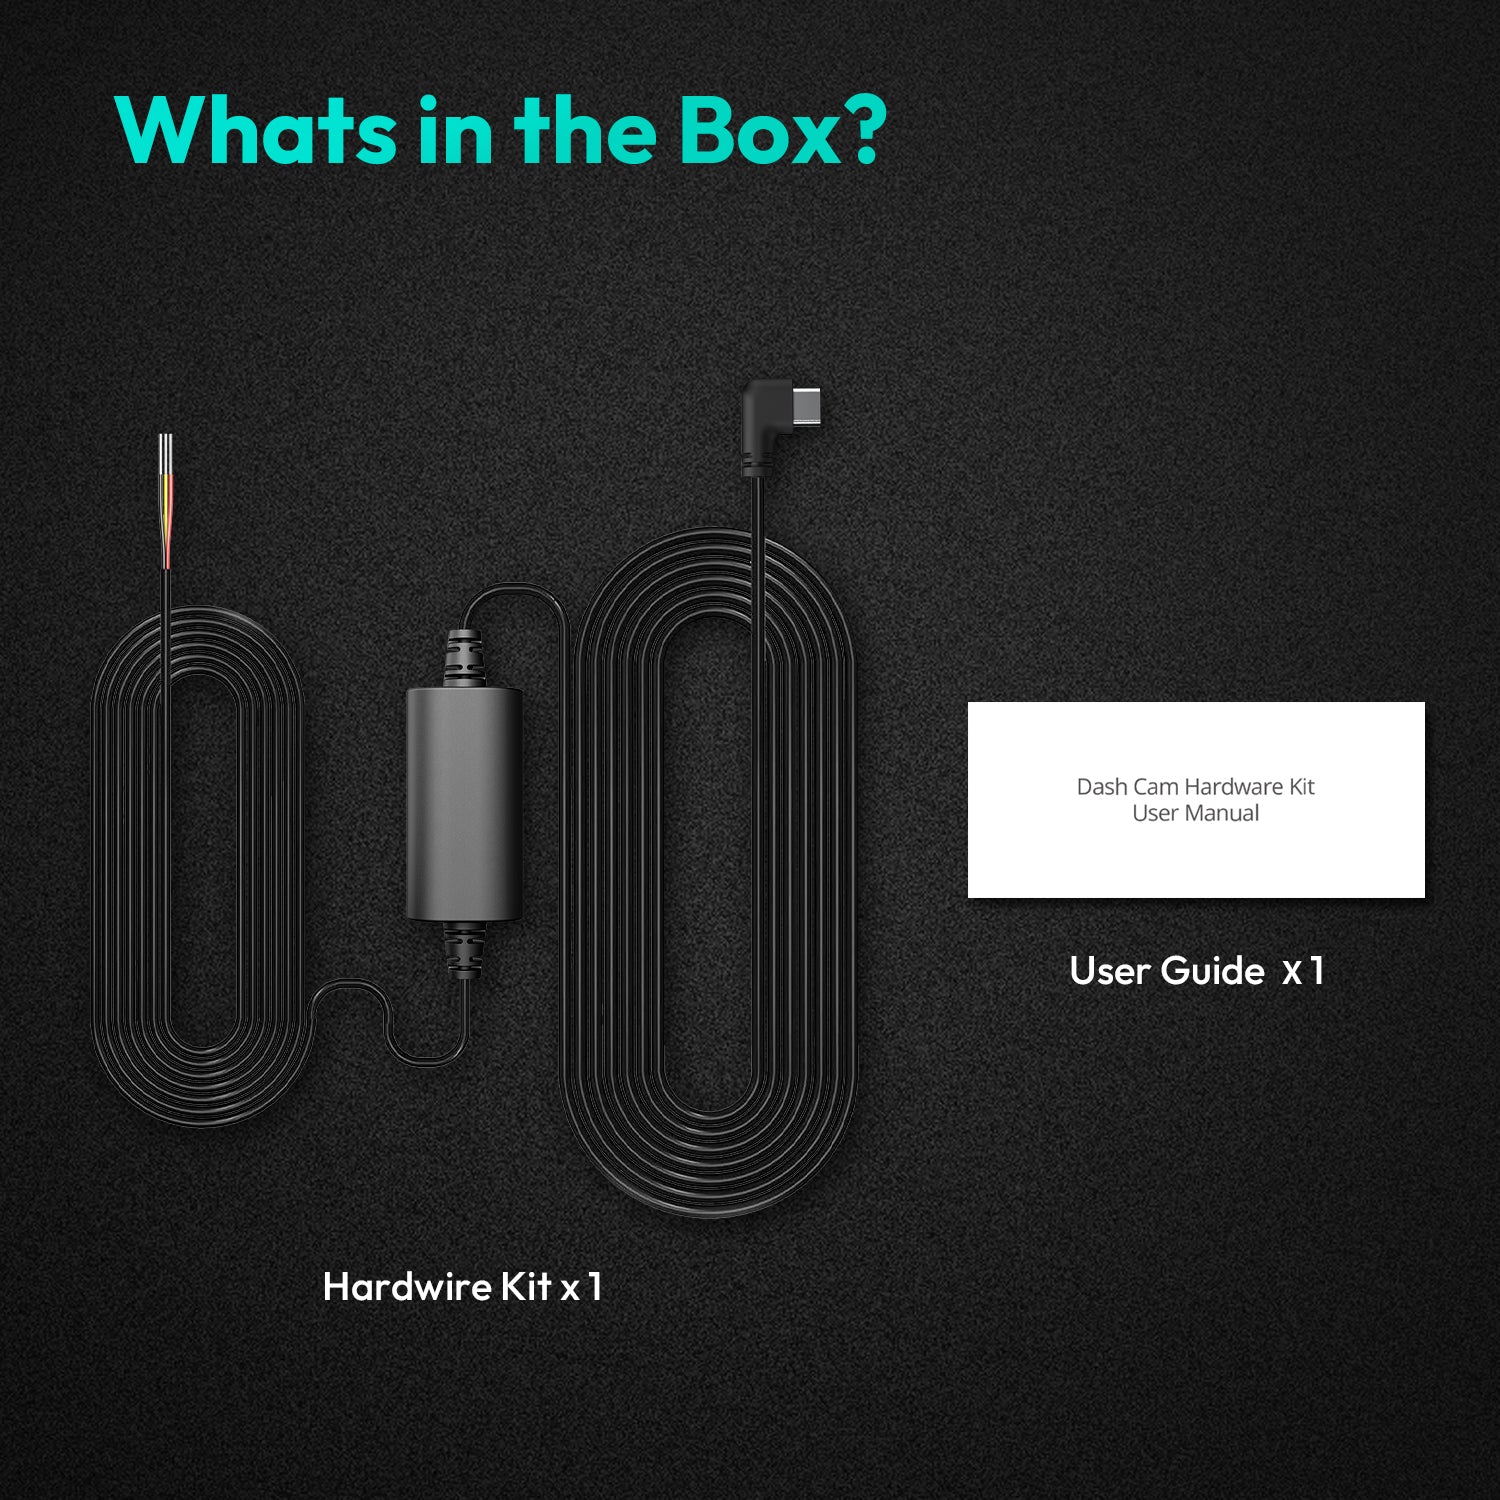
| Hardwiring Kit (if not using 12V adapter) | Flashlight or Headlamp |
Where is the Best Placement for Your Front and Rear Dash Cam?
The placement of your cameras is critical for capturing the best possible footage without obstructing your view. The goal is to maximize the field of view while remaining discreet and compliant with local laws. A poorly placed camera can create a dangerous blind spot or fail to record crucial details during an incident.
Finding the Optimal Spot for the Front Camera
The ideal location for the front dash cam is typically behind the rearview mirror. This placement offers several advantages:
- Unobstructed View: It keeps the device out of your direct line of sight, preventing distractions while driving.
- Centered Coverage: It provides a balanced, wide-angle view of the road ahead.
- Discreetness: It makes the camera less visible from outside the vehicle.
Before attaching the mount, hold the camera in the proposed position and check its live view on the screen or via its app. Ensure that the lens is not blocked by the mirror's housing or any tinting strips at the top of the windshield. Also, be mindful of any vehicle sensors for rain or lane-assist systems, which are often housed in the same area.
Determining the Ideal Location for the Rear Camera
For the rear camera, the best spot is the top center of the rear windshield. This position gives the camera a clear, high-angle view of the traffic behind you, above the line of sight of most headrests and spoilers. Ensure the camera's lens is within the area cleared by the rear windshield wiper for optimal visibility during rain or snow. If your vehicle is a truck with a vertical rear window or a convertible, you may need to find an alternative mounting solution.
How Do You Mount the Dash Cams Securely?
A secure mount prevents vibrations that can corrupt video footage and ensures the camera does not fall off during sharp turns or extreme temperatures. The foundation of a successful installation is a clean surface and proper adhesion.
Preparing the Windshield Surface
The adhesive pads used for dash cam mounts require a perfectly clean surface to bond correctly. Use a glass cleaner to remove any dirt or grime from the chosen mounting locations on the front and rear windshields. Follow up with an isopropyl alcohol wipe to eliminate any remaining oils or residue. A clean, dry surface is paramount for a long-lasting bond.
Attaching the Adhesive Mounts
Peel the protective film from the adhesive pad and press the mount firmly against the glass for at least 30 seconds. This pressure helps create a strong, even bond. It is often recommended to let the adhesive cure for several hours (or as directed by the manufacturer) before attaching the weight of the camera, especially in very hot or cold weather. Once the mount is secure, slide the dash cam onto it.
Which Power Connection Method is Right for You?
You have two primary options for powering your dash cam: the simple 12V cigarette lighter adapter or a more integrated hardwiring kit. Your choice will depend on your technical comfort level and whether you want to use advanced features like parking mode.
The Simple Method: Using the 12V Cigarette Lighter Adapter
This is the most straightforward method. Simply plug the included adapter into your car's 12V socket. The camera will automatically power on when you start the car and turn off when you shut it down. It is a plug-and-play solution that requires no electrical work.
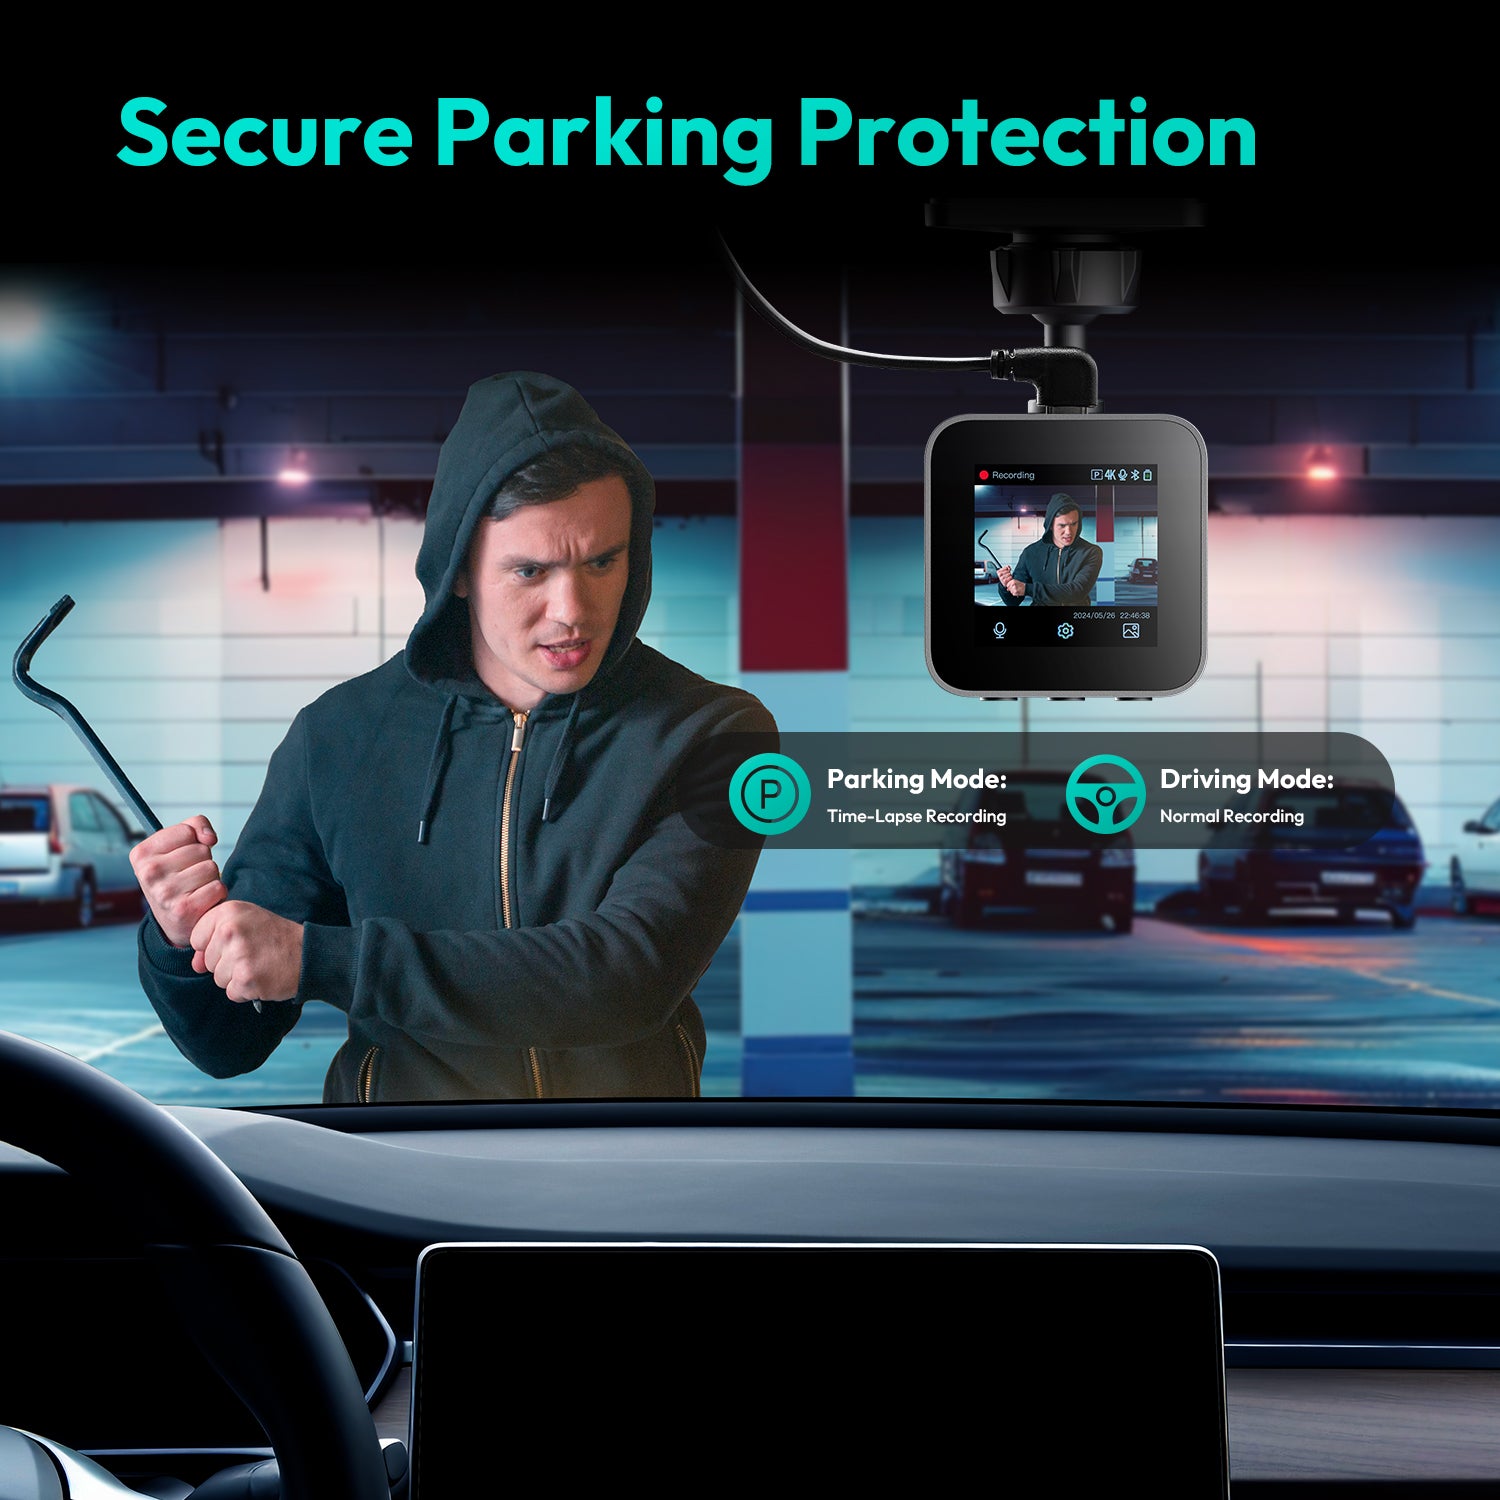
The Advanced Method: Hardwiring for Parking Mode
Hardwiring connects the dash cam directly to your vehicle's fuse box. This method provides a much cleaner installation with no visible wires running to the 12V socket. More importantly, it is the only way to enable 24/7 parking surveillance mode. A hardwire kit has a voltage cutoff feature to prevent the dash cam from draining your car's battery completely.
| Feature | 12V Adapter | Hardwiring Kit |
|---|---|---|
| Installation Difficulty | Easy (Plug and Play) | Moderate (Requires electrical knowledge) |
| Parking Mode | Not Available | Enabled (24/7 surveillance) |
| Aesthetics | Visible cable to power outlet | Completely hidden wiring |
| Power Outlet Availability | Occupies the 12V socket | Frees up the 12V socket |
How to Route the Front Dash Cam Power Cable?
Properly hiding the cables is what separates a messy setup from a professional-looking installation. The goal is to run the power cable from the front dash cam to your power source (either the fuse box or 12V outlet) completely out of sight.
Step 1: Tucking the Cable into the Headliner
Start at the dash cam. Gently push the power cable into the gap between the top of the windshield and the vehicle's headliner. You can usually do this with your fingers. If the gap is tight, use a plastic trim tool to carefully wedge the cable in. Run the cable along the headliner towards the passenger side A-pillar.
Step 2: Running the Cable Down the A-Pillar
The A-pillar is the vertical post between the windshield and the passenger door. Important Safety Note: Many A-pillars contain side curtain airbags. Never tuck the cable over or in front of an airbag. Gently pull back the rubber weatherstripping along the door frame. You should be able to tuck the cable behind the A-pillar trim this way. For a safer and more secure fit, use the trim tool to pop the A-pillar cover slightly open and run the cable alongside the existing factory wiring, securing it with zip ties. Then, snap the cover back into place.
Step 3: Hiding the Cable Towards the Power Source
Once the cable is at the bottom of the A-pillar, continue routing it behind the glove box towards your power source. If you are using the 12V adapter, run it to the socket. If you are hardwiring, route it to the fuse box, which is often located in this area. Secure any excess cable with zip ties to prevent it from dangling and interfering with pedals or passenger comfort.
How to Install and Route the Rear Dash Cam Cable?
Routing the cable for the rear camera is often the most time-consuming part of the installation. It requires running a long cable from the front camera, across the length of the vehicle, to the rear windshield.
Planning the Cable Path
The most common path is along the headliner on either the driver's or passenger's side. Plug the rear camera cable into the front unit and begin tucking it into the headliner, moving towards the back of the car.
Tucking the Cable Along the Headliner and Pillars
Use your fingers or a trim tool to hide the cable along the top of the B-pillar (between the front and rear doors) and the C-pillar (next to the rear seats). You can often pull back the door weatherstripping to create a channel for the wire. Keep the cable taut but not stretched.
Navigating the Connection to the Rear Window
This is where the process differs based on vehicle type.
- For Sedans: You will continue running the cable along the headliner to the rear windshield.
- For SUVs/Hatchbacks/Wagons: You must route the cable from the main cabin to the tailgate or rear hatch. This involves passing the cable through the flexible rubber grommet or boot that protects the factory wiring.
The Challenge: Getting the Cable Through the Rubber Grommet/Boot
This is a delicate step. Carefully pop the rubber boot out from both the car's body and the tailgate. You may need to use a wire coat hanger or a specialized wire-pulling tool. Tape the end of the rear camera cable to the tool, lubricate it if necessary, and carefully feed it through the boot alongside the existing wires. Once through, reconnect the boot and route the remaining cable to the rear camera's mounting location.
How to Hardwire Your Dash Cam to the Fuse Box?
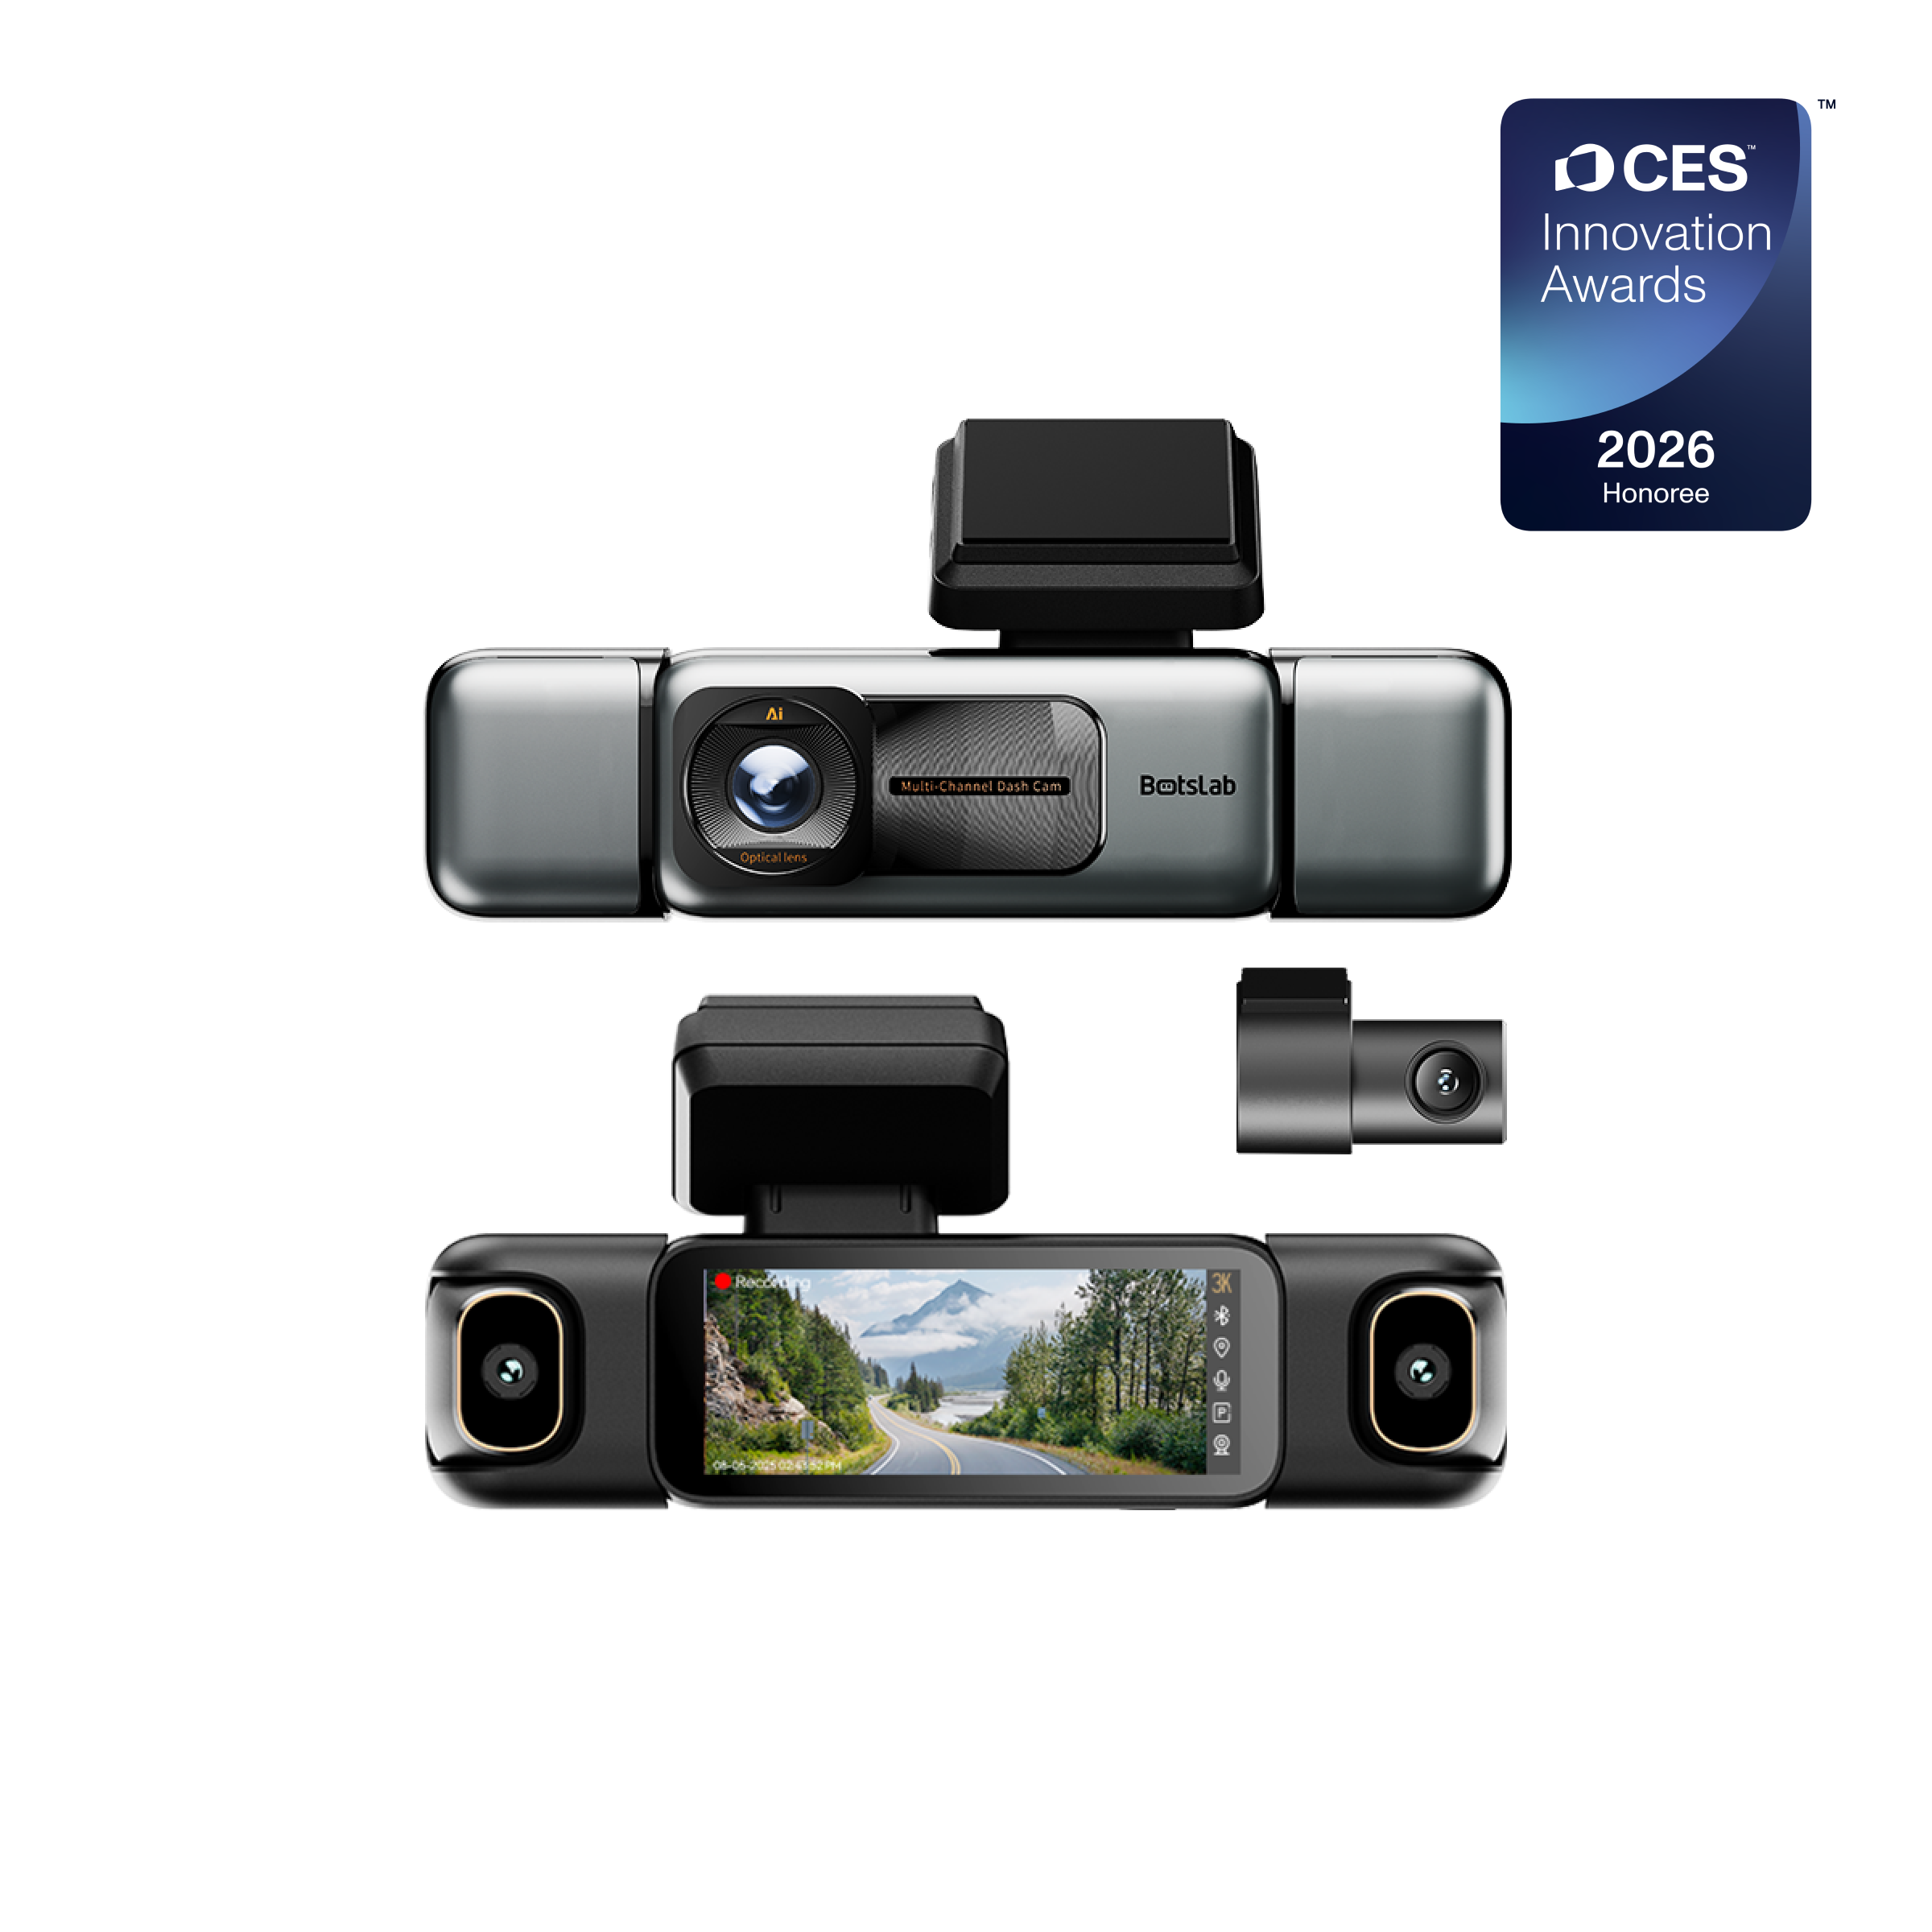
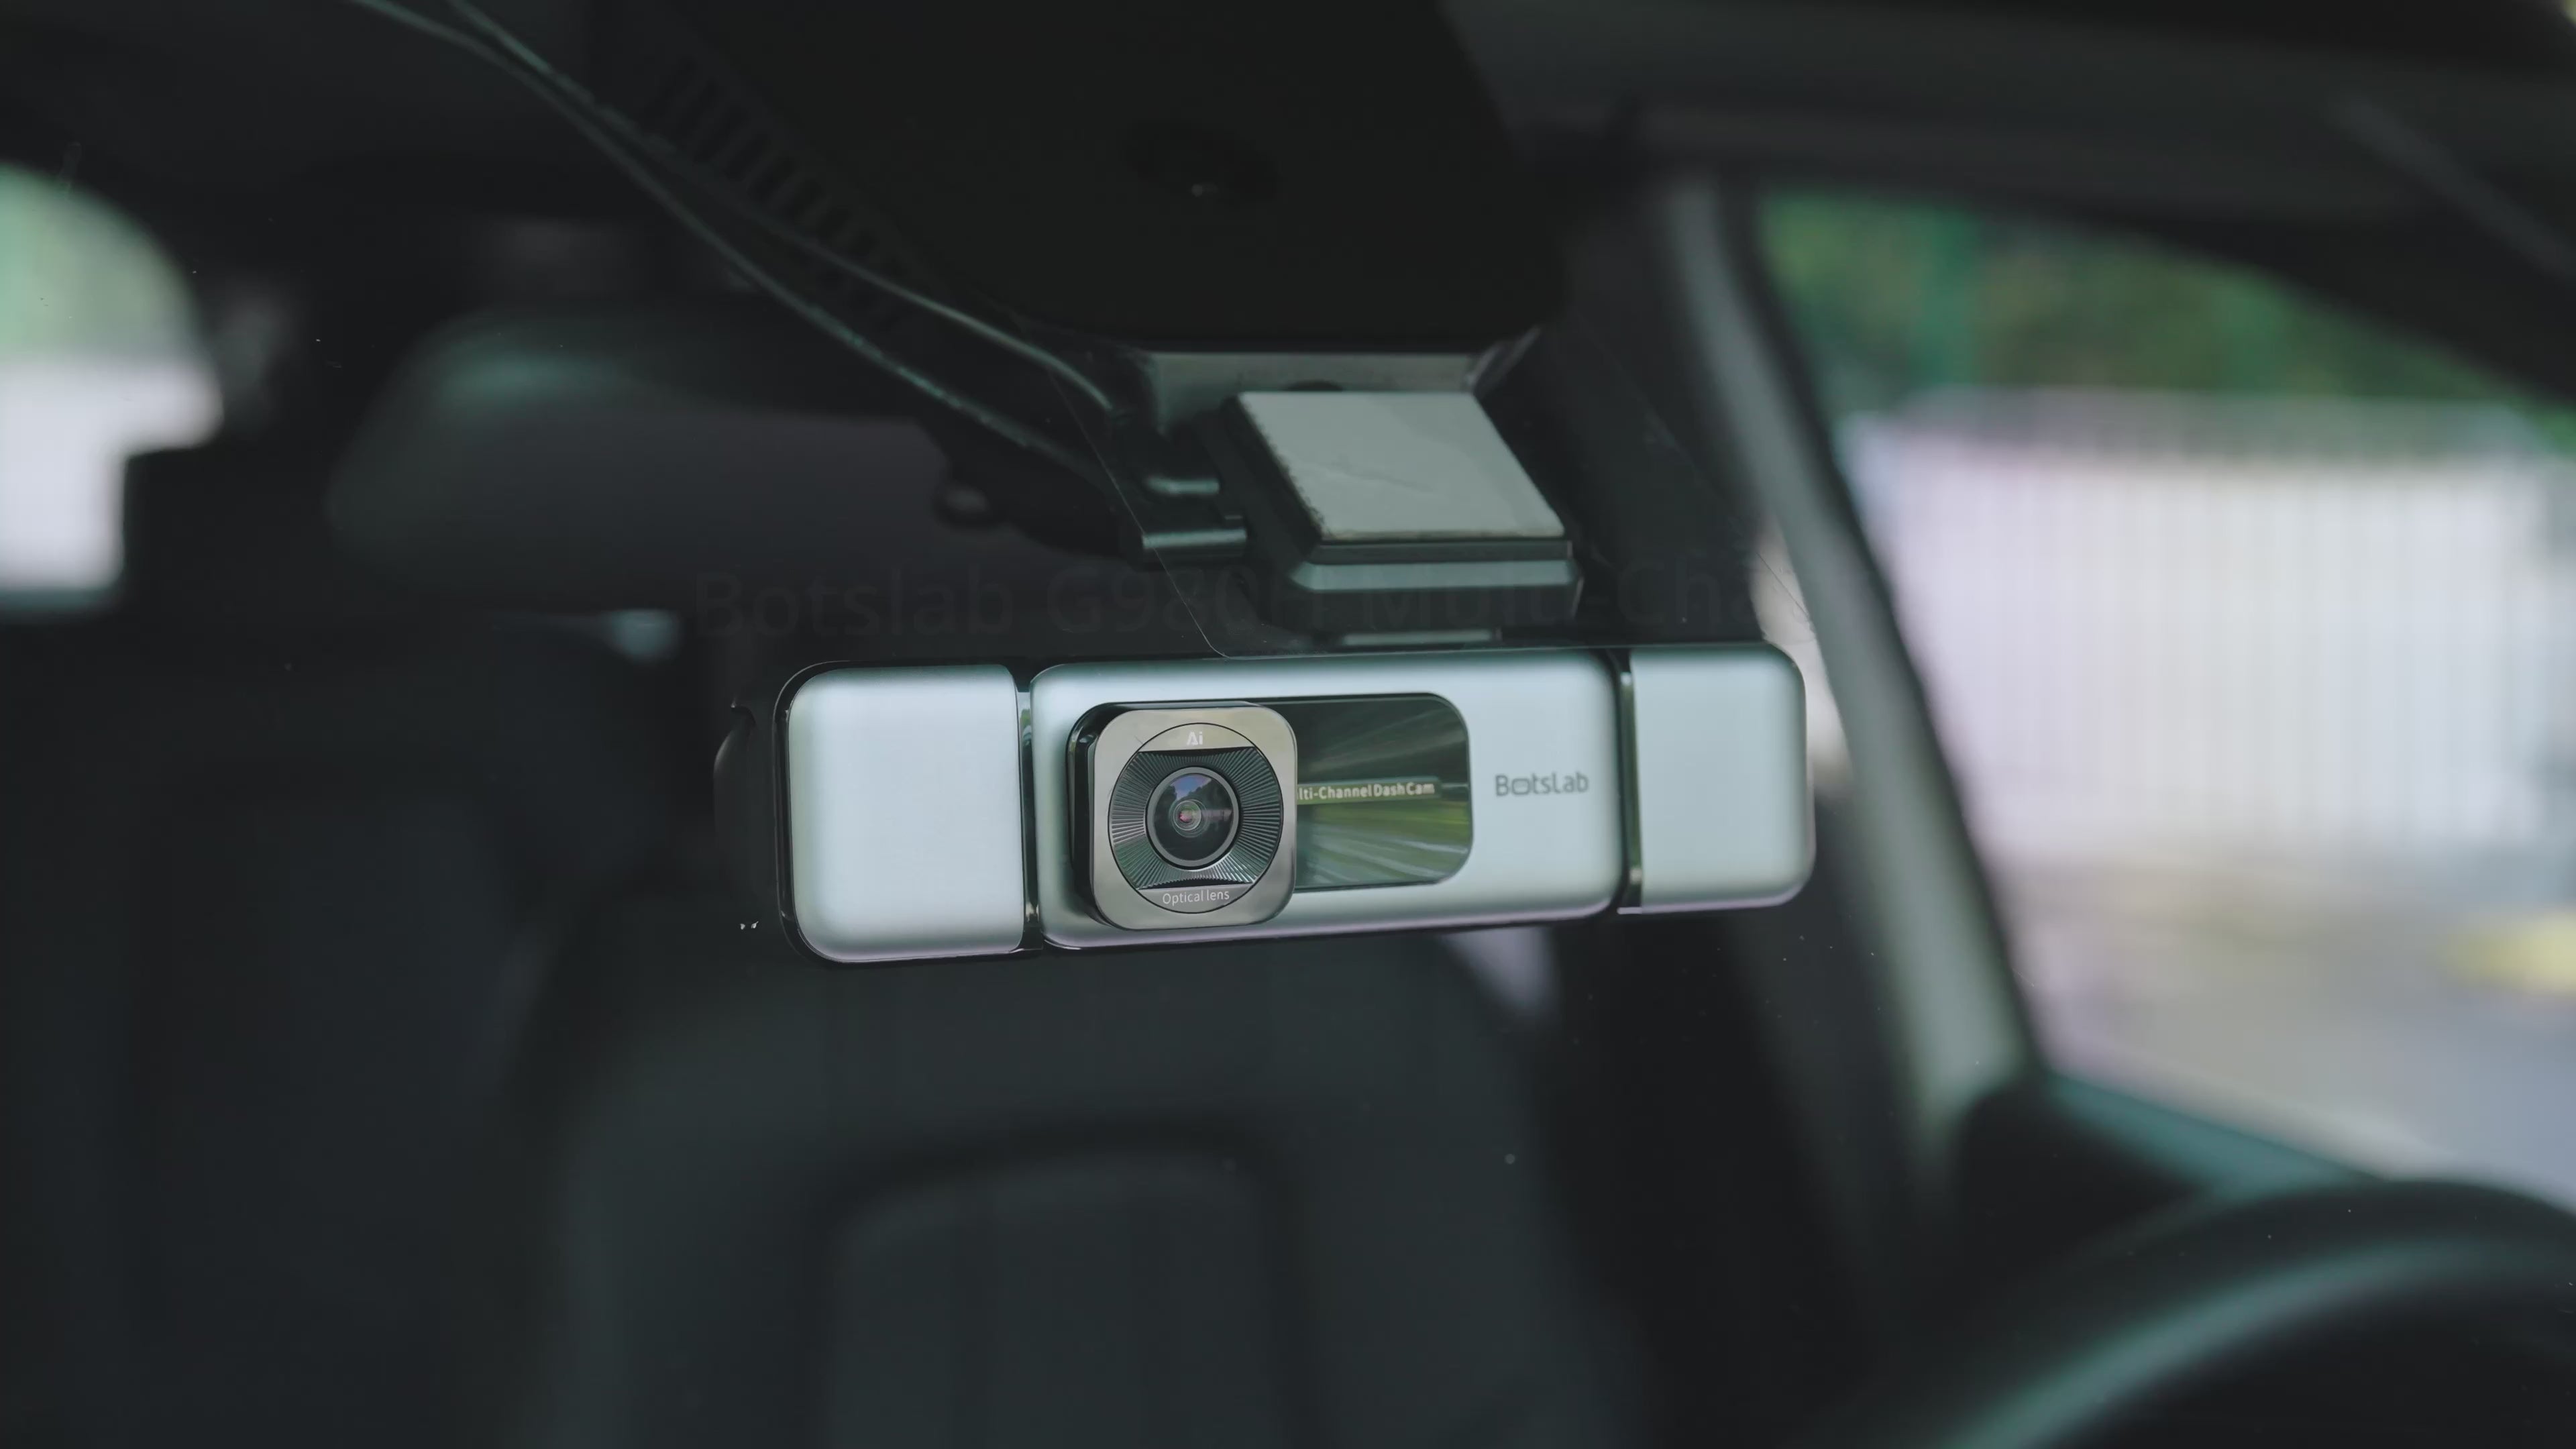
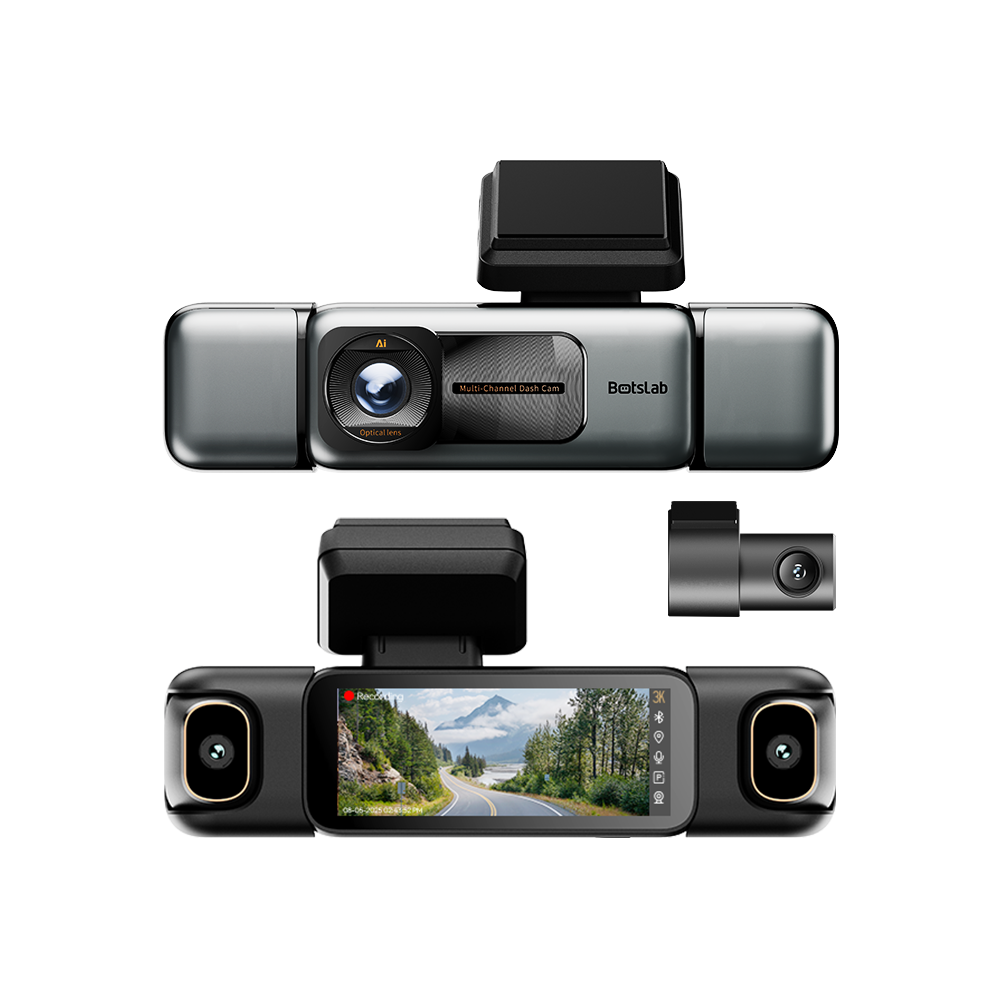
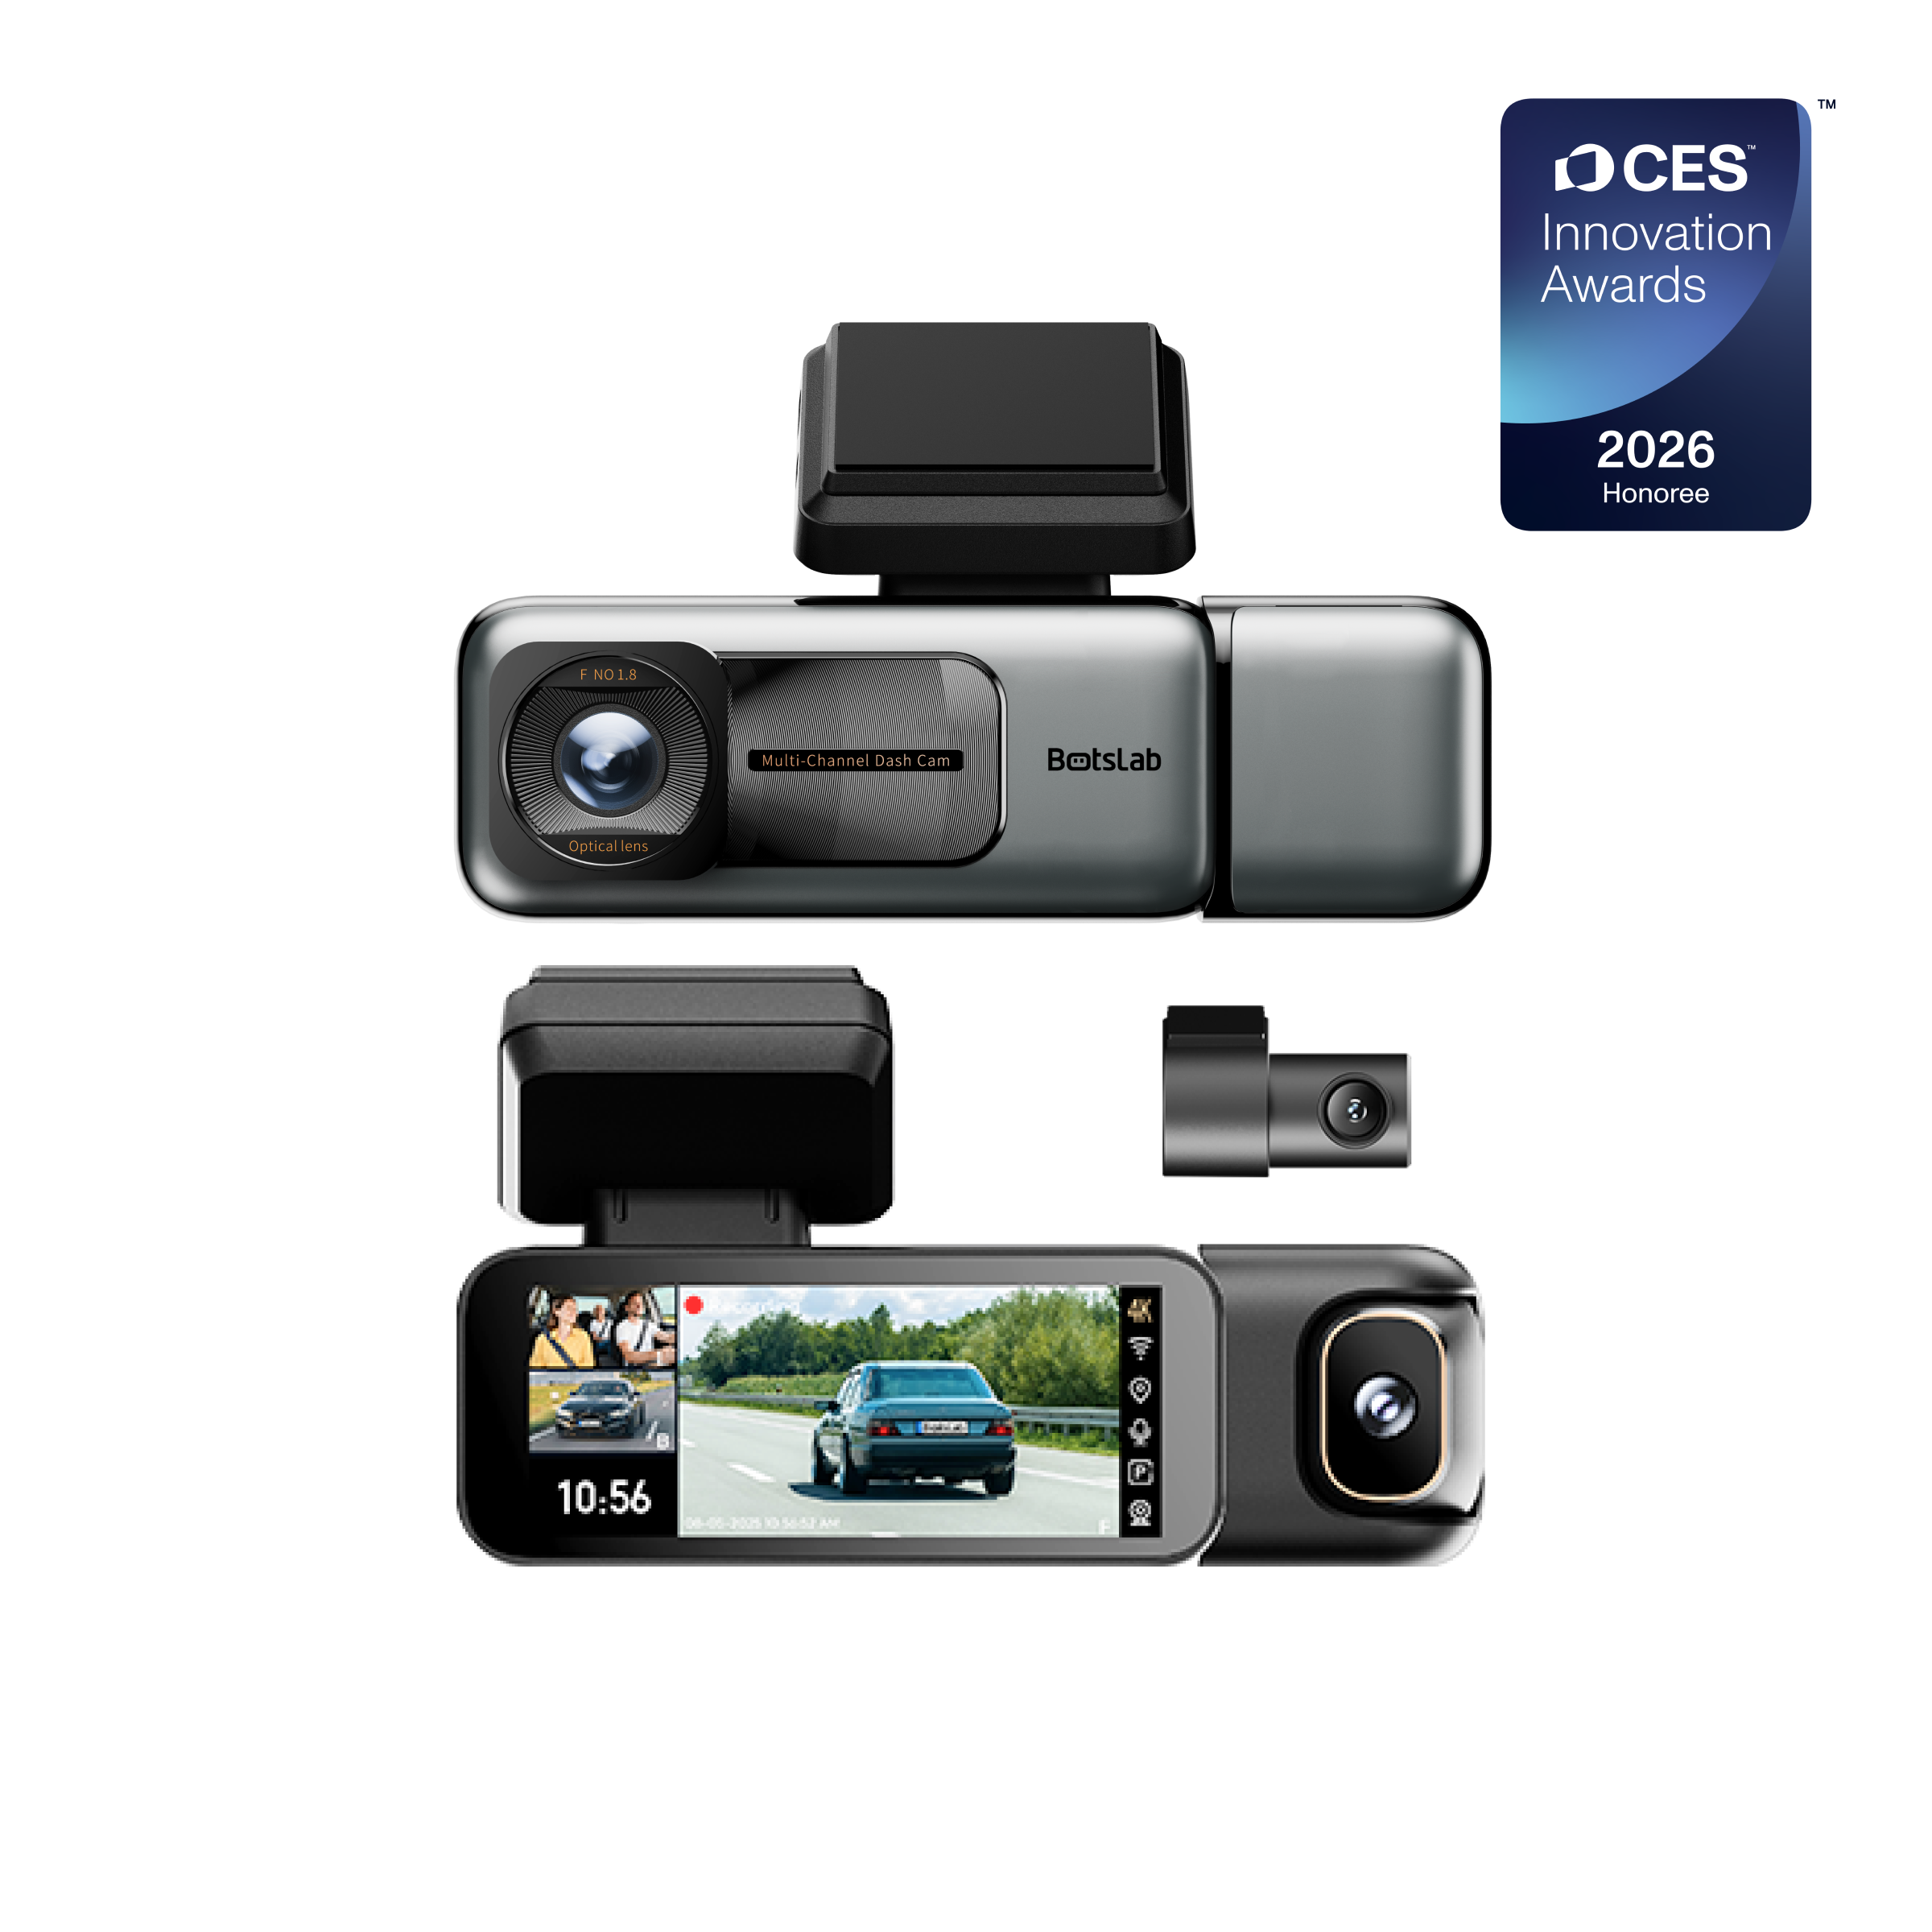
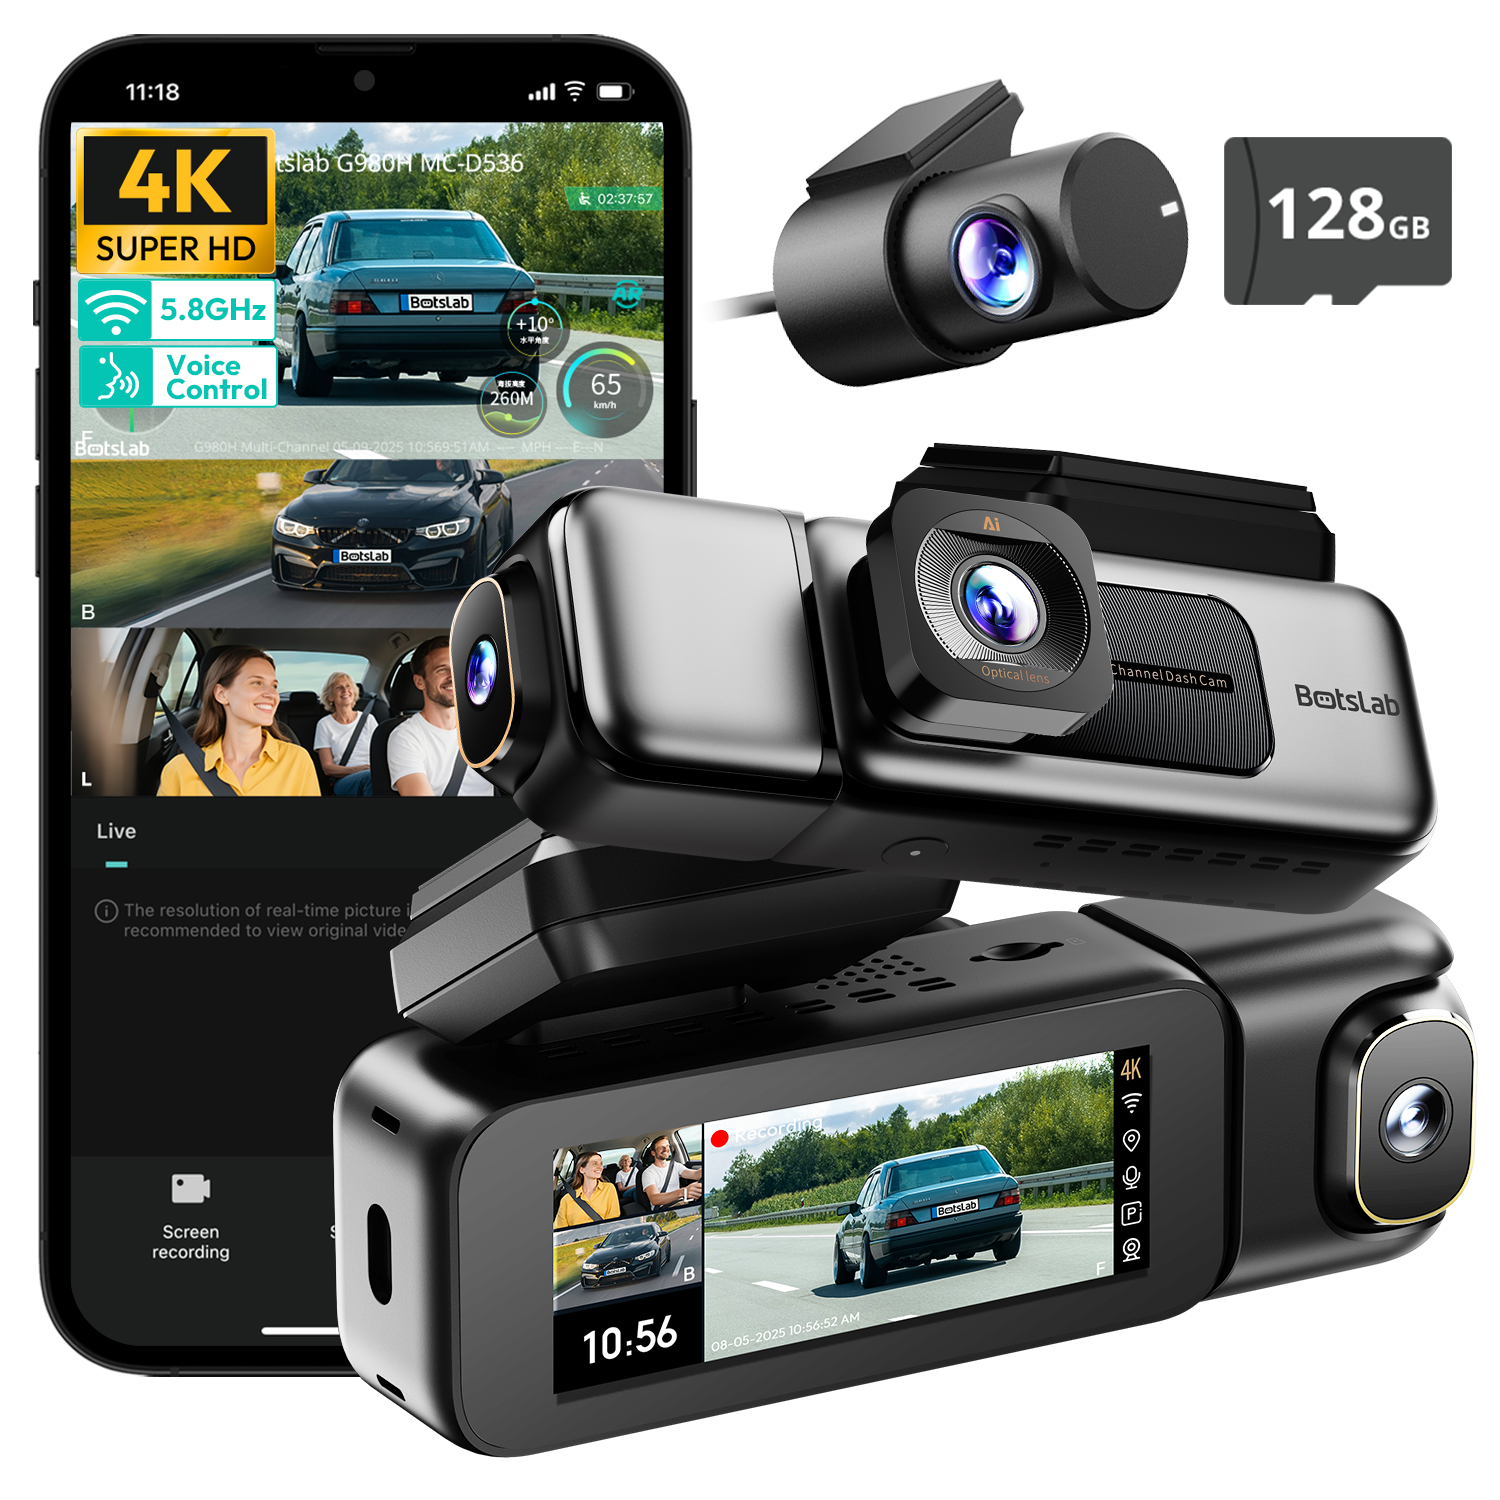
Hardwiring unlocks the full potential of your device, especially high-end models like the Botslab G980H, which features advanced AI-powered parking surveillance. This feature requires a constant power supply, which hardwiring provides.
Why Hardwire? Unlocking Features like 24/7 Parking Surveillance
When hardwired, a dash cam can detect motion or impacts (like a parking lot bump) even when the car is off. It will wake up, record the event, and then return to a low-power state. This provides invaluable security and peace of mind. Without a hardwire connection, the camera is just a recording device for when you are driving.
Step 1: Locating Your Vehicle's Fuse Box
Consult your vehicle's owner's manual to find the location of the interior fuse box. It is commonly found in the driver's side footwell, behind the glove box, or at the side of the dashboard.
Step 2: Identifying Constant and Switched Fuses with a Circuit Tester
A circuit tester is essential for this step.
- A switched fuse (ACC) only has power when the vehicle's ignition is on. Find one by clipping the tester's ground lead to a metal part of the car's frame and touching the probe to the metal contacts on a fuse. It should only light up when the car is running.
- A constant fuse (VCC/B+) has power at all times, even when the car is off. Use the same method to find a fuse that lights up the tester with the ignition off.
Choose empty fuse slots when possible, or use "add-a-fuse" taps for a safe connection.
Step 3: Connecting the Hardwire Kit Wires (ACC, VCC/B+, GND)
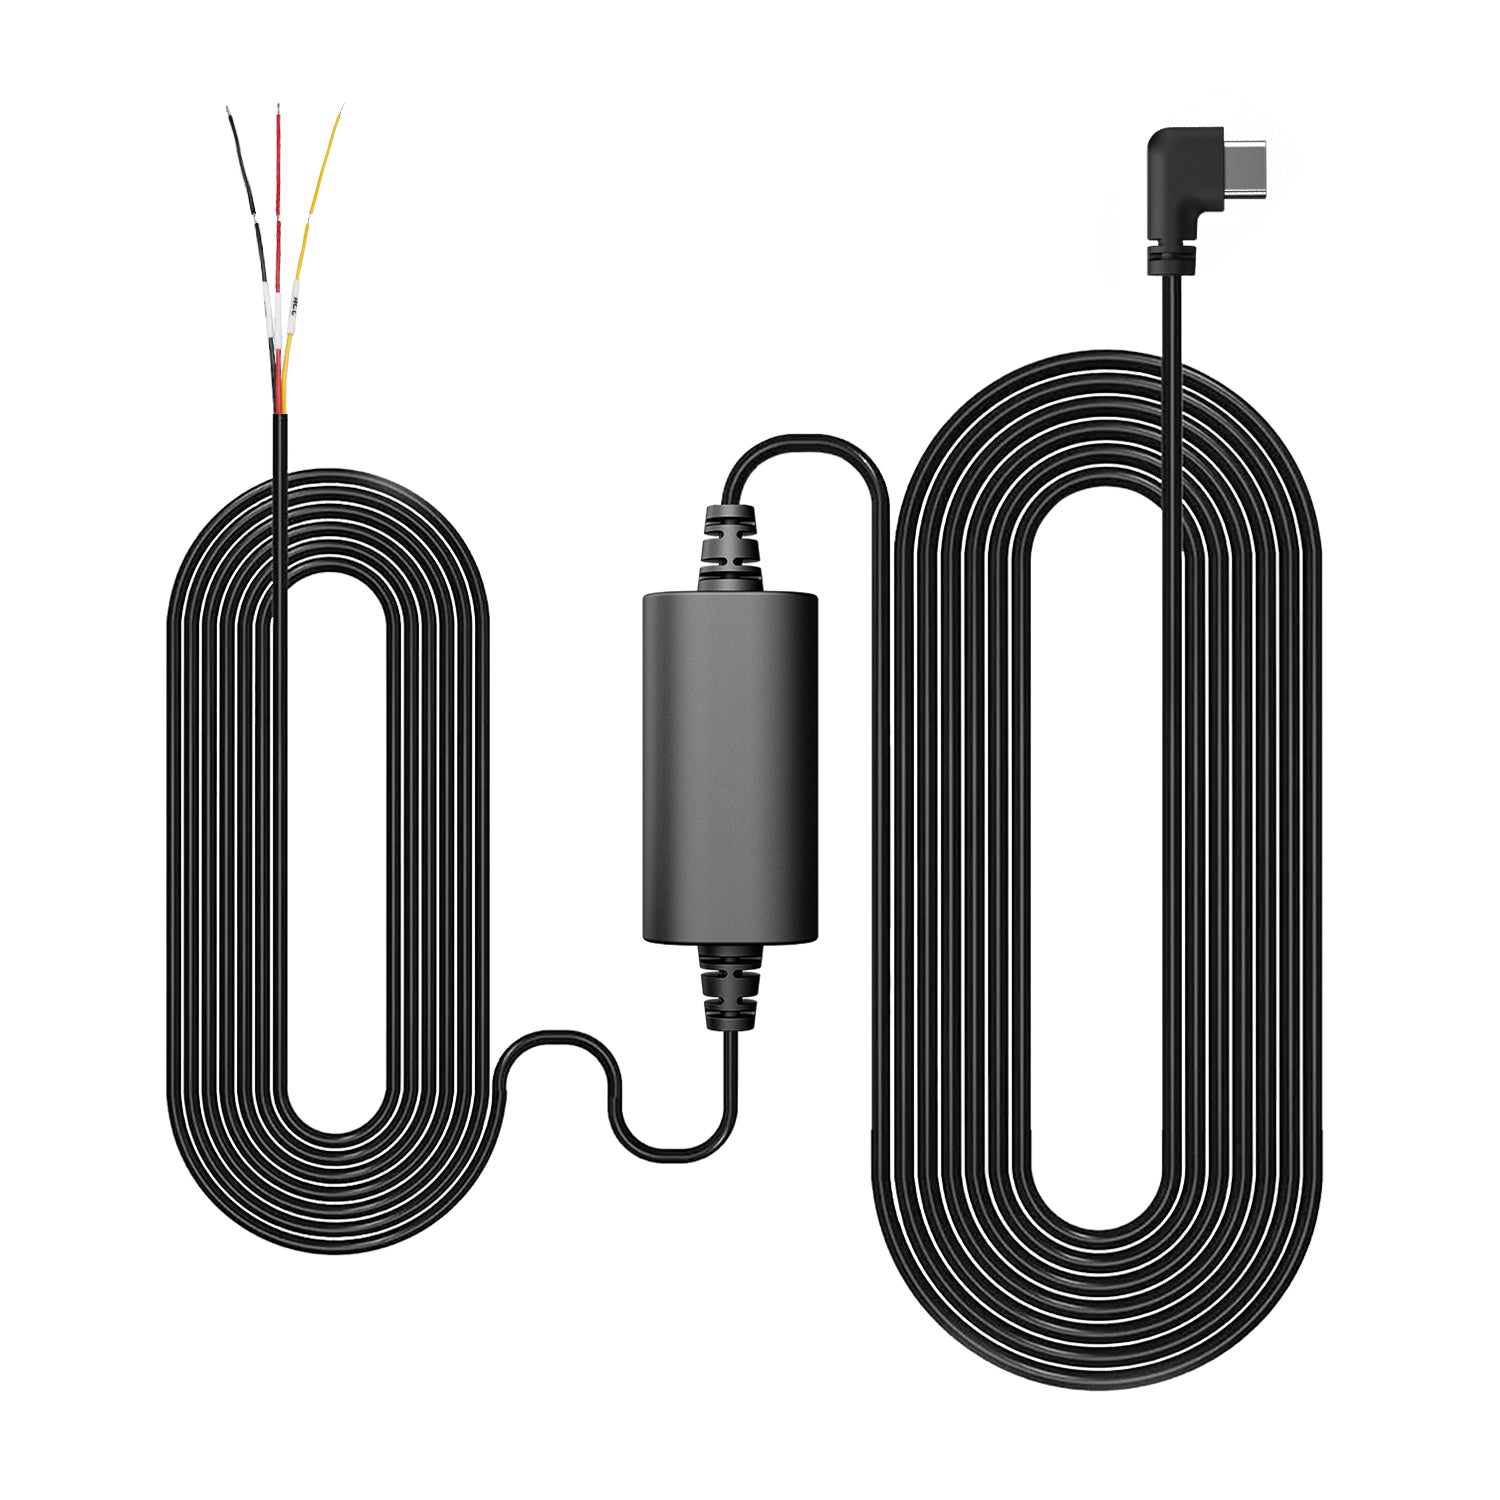
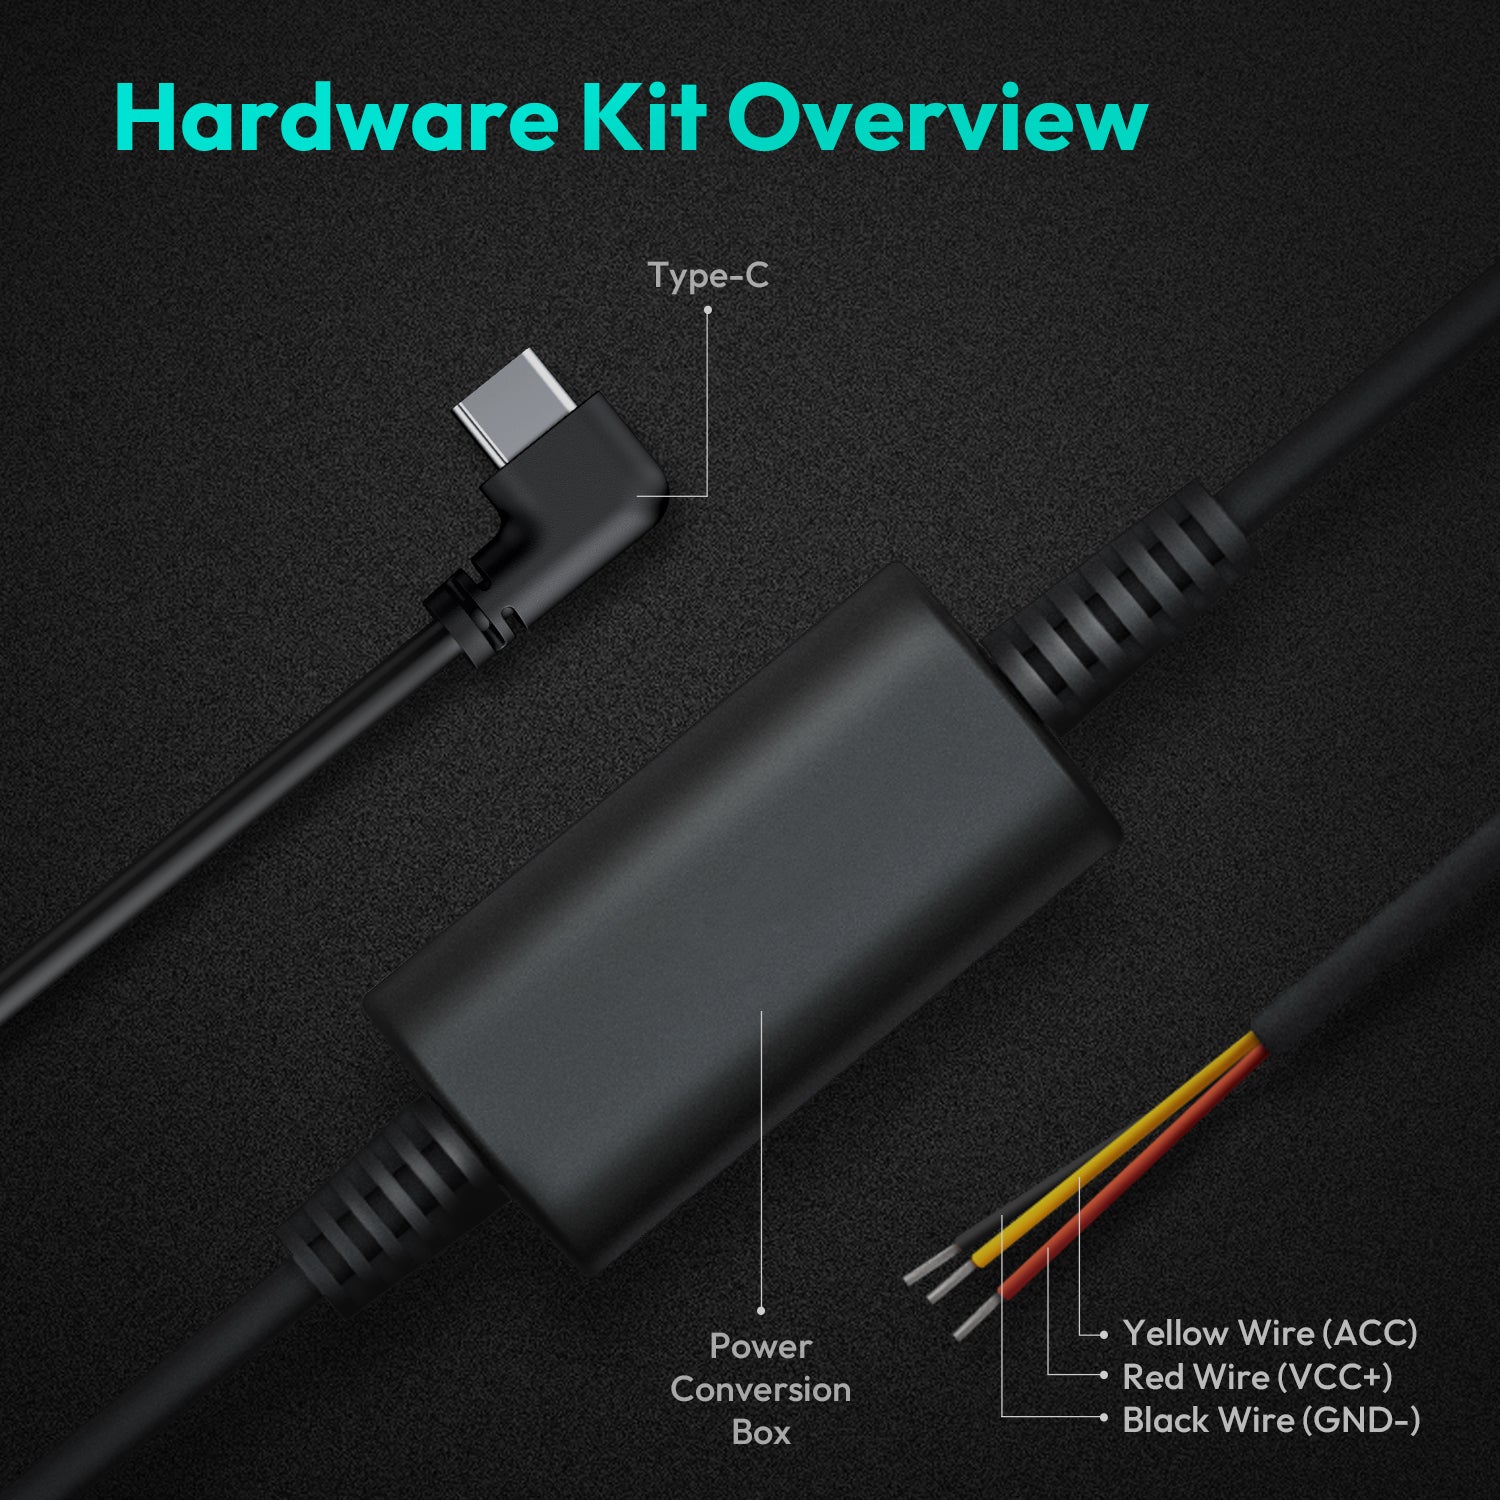
Your hardwire kit will have three wires:
- Red Wire (ACC): Connect this to your identified switched fuse.
- Yellow Wire (VCC/B+): Connect this to your identified constant fuse.
- Black Wire (GND): This is the ground wire.
Step 4: Grounding the Black Wire
Find an unpainted metal bolt or screw connected directly to the vehicle's chassis. Loosen it, slide the C-shaped connector of the black wire underneath, and tighten it securely. A poor ground connection is a common cause of installation failure, so ensure it is solid.
What Are the Final Steps and Checks?
With the cameras mounted and the cables routed, you are ready to finalize the installation. Taking a moment to test everything and tidy up will ensure your system works reliably.
Connecting All Cables to the Dash Cam
Plug the main power cable (from the 12V outlet or hardwire kit) and the rear camera cable into their respective ports on the front dash cam unit. Make sure the connections are secure.
Powering On and Testing the System
Start your car. The dash cam should power on automatically. Check the screen or the companion app to confirm that both the front and rear cameras are displaying a live feed. Verify the view is clear and correctly oriented. Start a recording and then play it back to ensure the memory card is functioning correctly. Test any special features, like parking mode, if you have hardwired the unit.
Final Cable Management with Zip Ties
Go back and secure any loose or excess wiring under the dashboard or along the cable route using zip ties. This prevents rattling noises while driving and ensures that cables do not get snagged or disconnected accidentally. Cut the excess ends of the zip ties for a clean finish.
What Common Installation Mistakes Should You Avoid?
A few common pitfalls can compromise the safety and functionality of your dash cam setup. Being aware of them can save you from having to redo your work.
- Obstructing the Driver's View: Mounting the camera in your direct line of sight is dangerous and may be illegal. Always place it behind the rearview mirror.
- Interfering with Airbags: Never route cables over or in front of an airbag deployment zone, particularly in the A-pillar. This is a critical safety hazard.
- Not Cleaning the Glass: An oily or dirty windshield will cause the adhesive mount to fail, especially in extreme temperatures.
- Poor Ground Connection: When hardwiring, a loose or painted grounding point will lead to intermittent power or complete failure of the dash cam.
- Not Leaving Slack: Leave a small loop of slack cable near the cameras to make adjustments or removal easier in the future.
Why Choose a High-Quality Dash Cam for Your Installation?
The effort of a clean installation is best rewarded by the performance of a superior device. A high-quality dash cam provides more than just a recording; it offers clarity, reliability, and advanced features that provide true security. When selecting a device, consider the benefits that premium models offer.
For example, a device like the Botslab G980H captures stunning 4K resolution, ensuring that critical details like license plates are legible day or night. Advanced features such as its proprietary NightVIS technology enhance low-light performance dramatically. Furthermore, the AI-powered parking surveillance, made possible by a proper hardwire installation, can intelligently detect incidents and provide you with crucial evidence if your vehicle is tampered with while you are away. Investing in a reliable and feature-rich dash cam ensures that your installation work provides lasting value and protection on the road.


Share:
How Much Sunlight Does an Outdoor Solar Security Camera Actually Need?
When Were Surveillance Cameras Invented?