

Achieving immaculate wiring for your front and rear dash camera involves meticulous planning, strategic routing, and secure fastening of cables to ensure both optimal performance and a discreet, factory-installed aesthetic. Proper cable management not only enhances your vehicle's interior but also prevents tangles, interference, and potential disconnections, guaranteeing your dash camera continuously records critical driving moments.

Table of Contents
- Understanding Dash Camera Wiring: What Are the Key Components?
- Why Clean Wiring Matters: What Are the Benefits of a Tidy Installation?
- Preparation is Key: How Do I Plan for a Flawless Setup?
- Choosing the Right Tools: Which Essentials Facilitate a Professional Finish?
- Power Supply Routing: Where Do I Conceal the Main Power Cable?
- Rear Camera Cable Management: How Do I Route the Cable to the Back?
- Connecting to the Fuse Box: When Should I Consider Hardwiring?
- Addressing Common Challenges: What Obstacles Might I Encounter?
- Testing and Finalizing: How Do I Ensure Everything Works Perfectly?
- Maintenance for Longevity: How Do I Keep My Wiring Intact Over Time?
Understanding Dash Camera Wiring: What Are the Key Components?
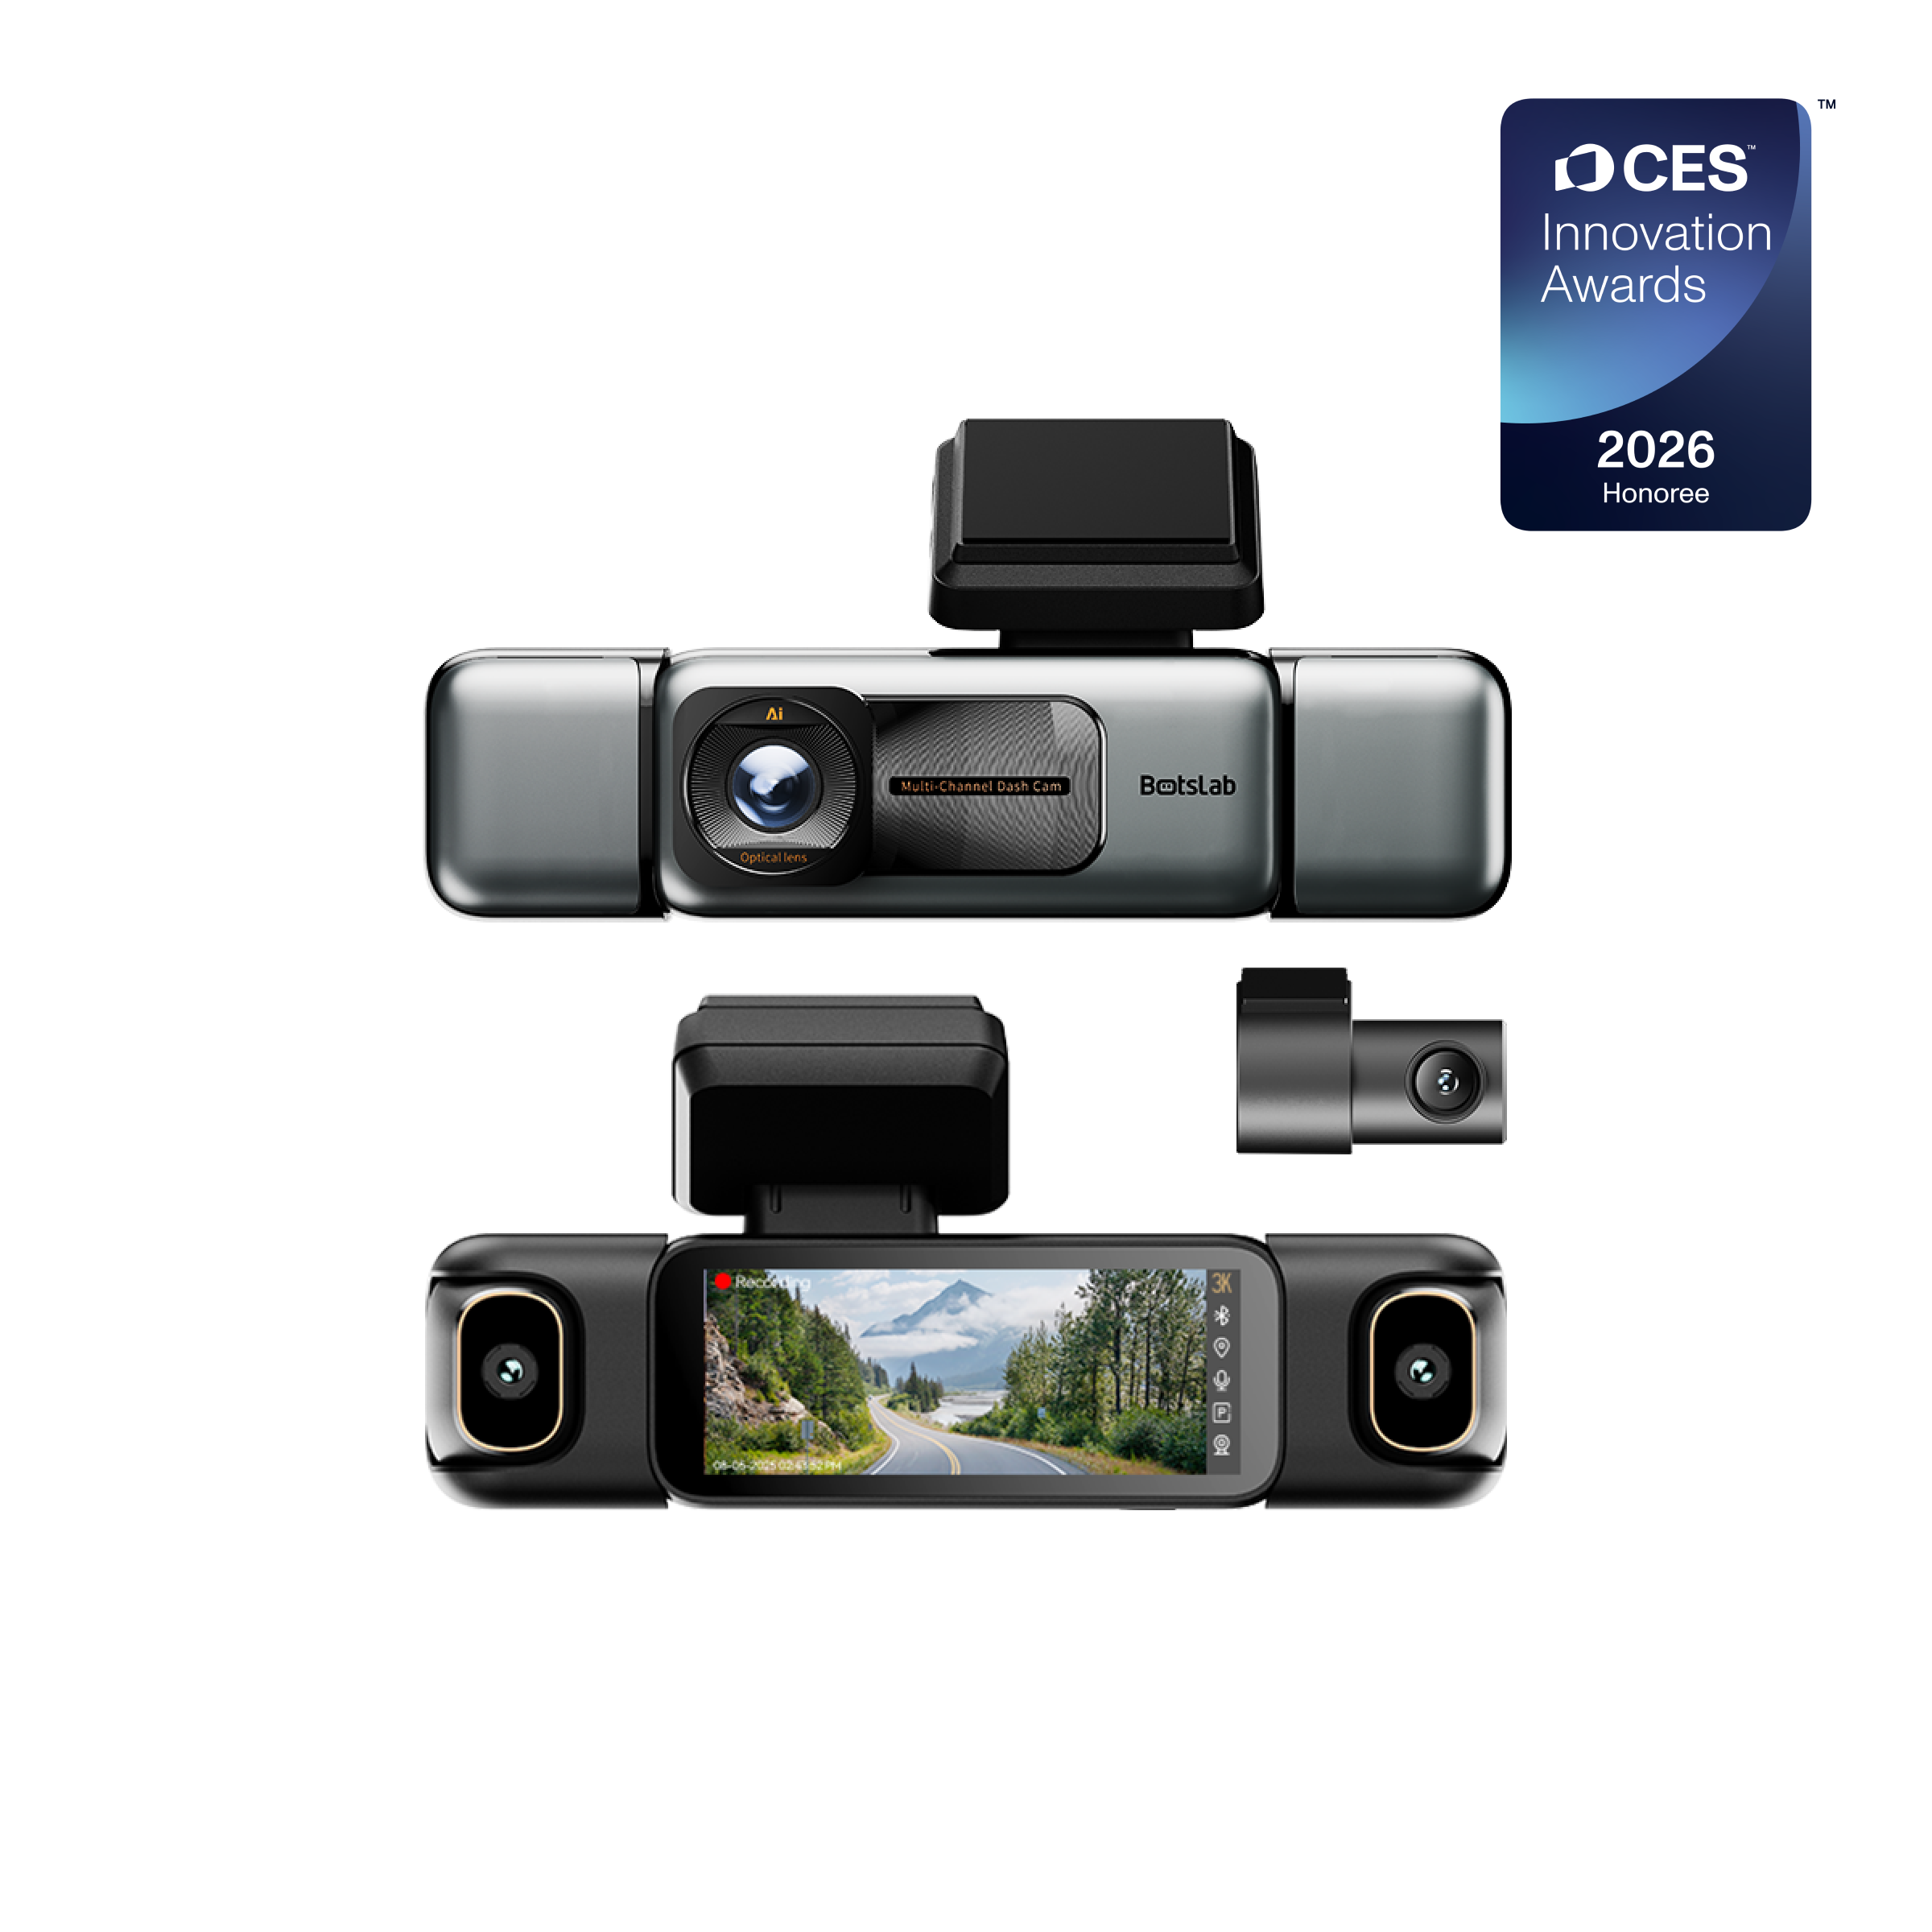
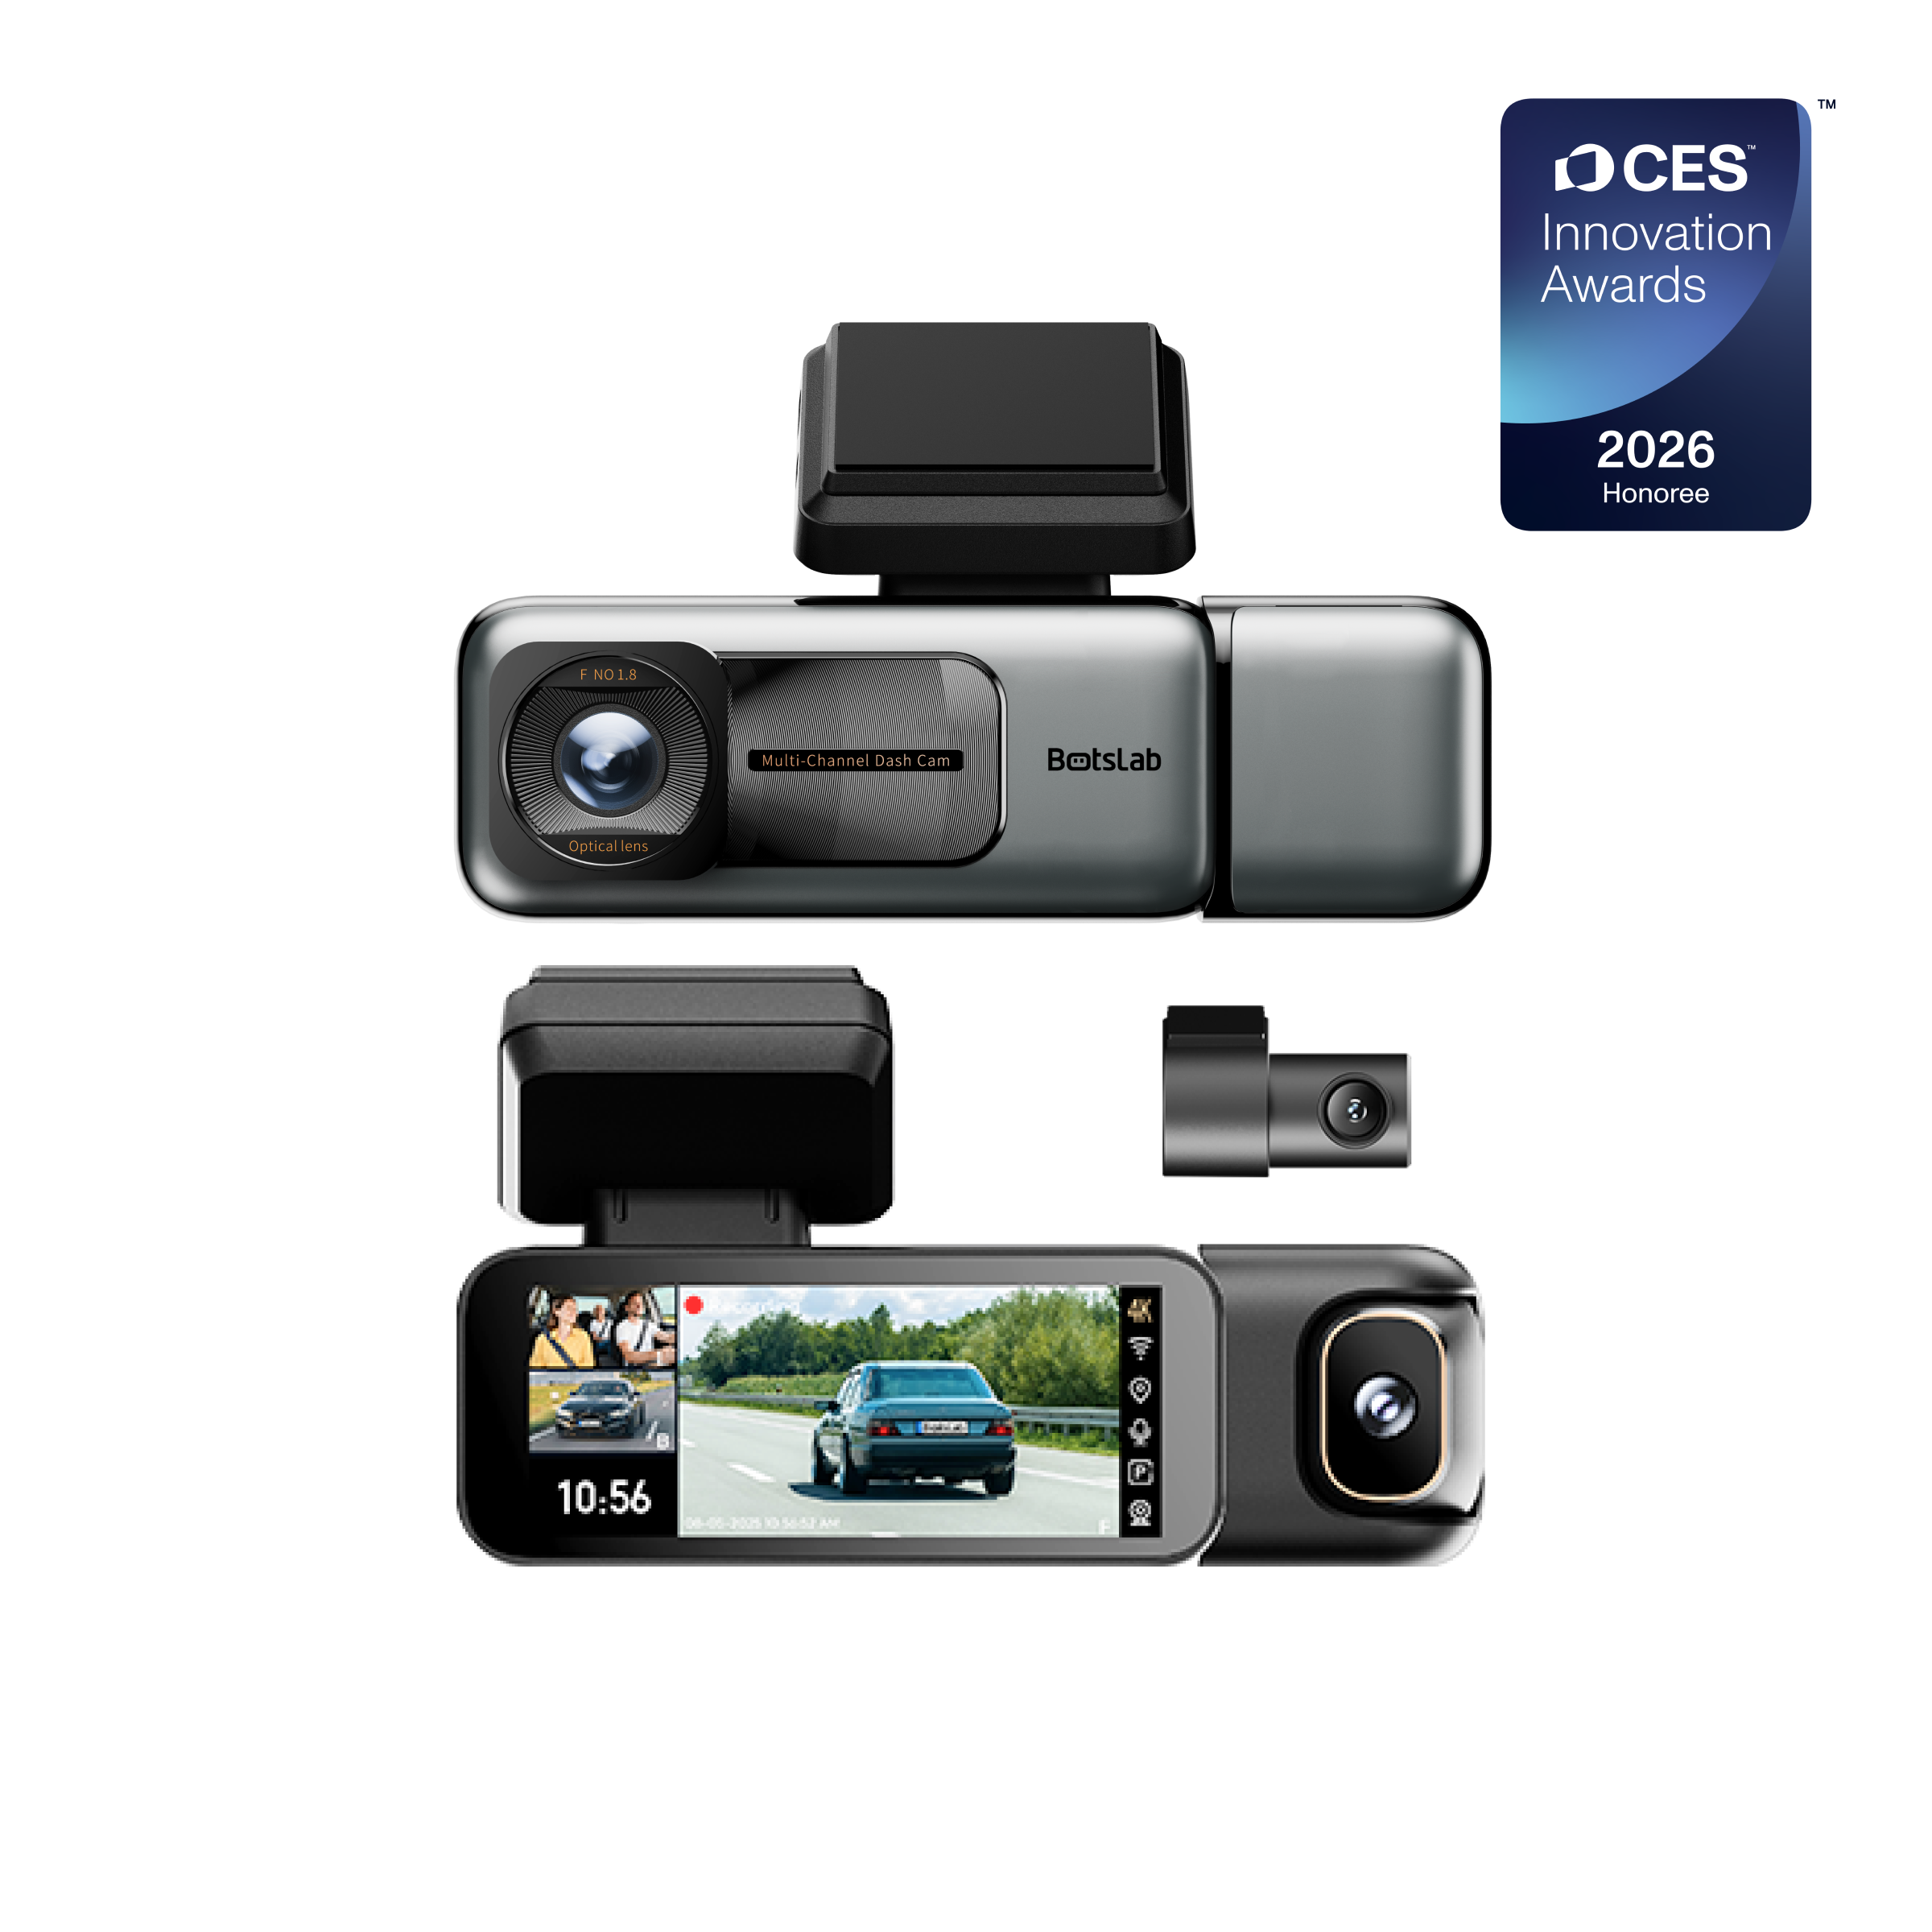
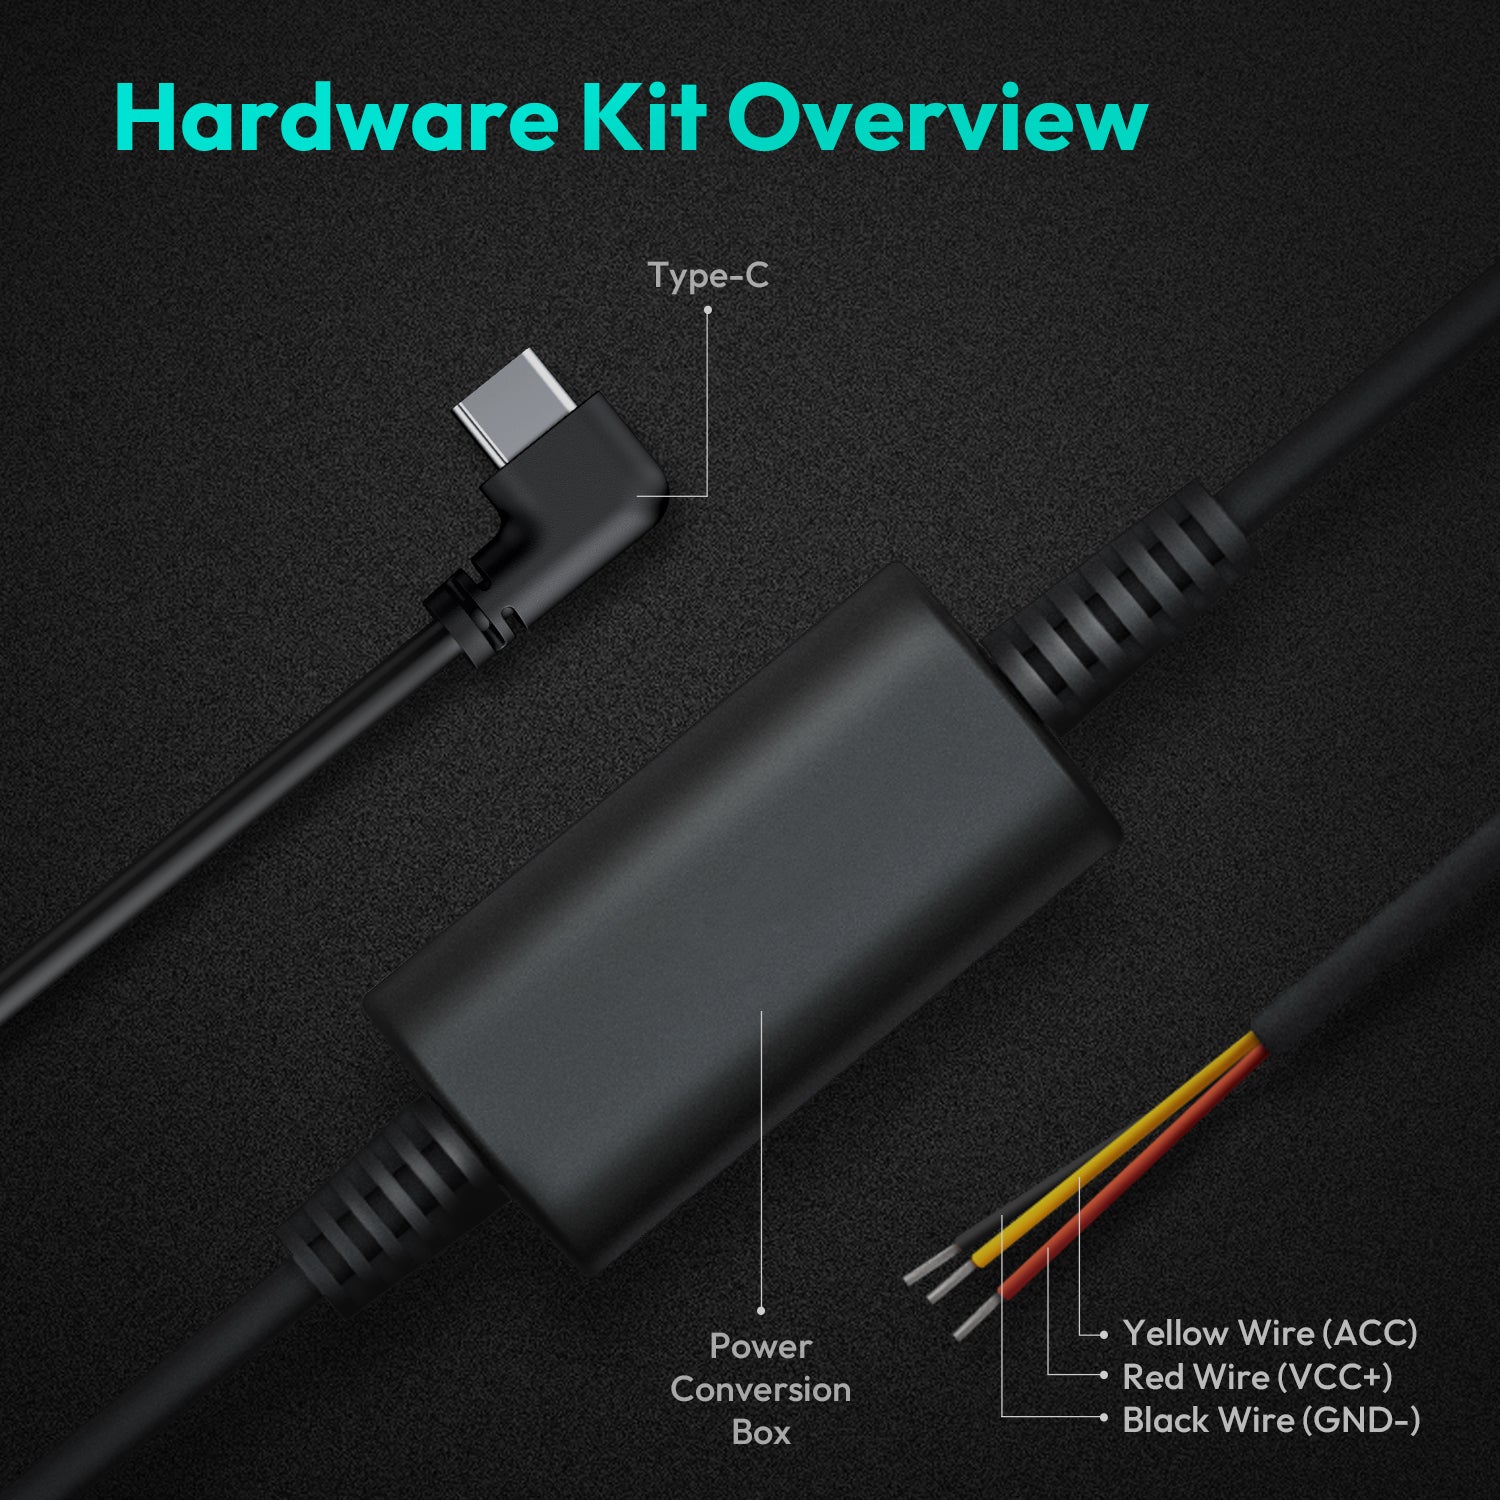
When setting up a front and rear dash camera system, comprehending the individual wiring components is fundamental to a successful and clean installation. A typical dual-channel dash camera setup comprises several distinct cables, each serving a crucial function. The primary component is the main power cable, which connects the front dash camera to the vehicle's power source, often the cigarette lighter adapter or a hardwire kit connected to the fuse box. This cable delivers continuous or switched power, depending on the desired recording mode.
Next, a crucial element is the rear camera cable. This extends from the front dash camera unit to the rear camera, typically through the vehicle's headliner, A-pillars, and along the floor sills or under the carpet. This cable not only transmits power to the rear camera but also sends video data back to the front unit for simultaneous recording. Some advanced systems might also include a dedicated GPS module cable, which provides location and speed data, or a parking mode cable, which connects directly to the vehicle's fuse box to monitor battery voltage and enable recording when the vehicle is parked. Understanding the purpose and path of each cable is the first step toward achieving an organized and unobtrusive wiring arrangement.
Why Clean Wiring Matters: What Are the Benefits of a Tidy Installation?
The aesthetic appeal and functional reliability of your dash camera system are significantly influenced by the cleanliness of its wiring. A meticulously wired setup contributes to a superior user experience, transforming what could be a jumble of cables into an integrated part of your vehicle's interior. One primary benefit is enhanced safety: loose cables can obstruct your view, interfere with pedal operation, or become snagged, posing a genuine driving hazard. Neatly tucked wires eliminate these risks, ensuring an unobstructed line of sight and an unimpeded driving environment.
Beyond safety, a clean installation significantly improves the longevity and performance of your dash camera system. Properly routed cables are less susceptible to wear and tear, preventing pinching, fraying, or accidental disconnections that could lead to intermittent recording or complete system failure. From a visual standpoint, concealed wiring maintains the pristine look of your vehicle's cabin, reflecting attention to detail and a professional finish. It prevents visual clutter and distraction, allowing you to focus on the road ahead while knowing your Botslab dash camera is discreetly recording all essential footage without drawing unnecessary attention to itself or its connections. Moreover, organized wiring can deter theft, as a discreetly installed camera is less noticeable than one with visible, dangling wires.
Preparation is Key: How Do I Plan for a Flawless Setup?
Thorough preparation forms the bedrock of a flawless dash camera wiring project. Before even touching a tool, dedicating time to planning will save significant effort and potential frustration. Begin by visualizing the entire cable path for both the front and rear cameras. Consider where each camera will be mounted, where the main power source is located, and the most discreet routes for all cables. This initial assessment helps identify potential obstructions and allows for adjustments before commencing the physical installation.
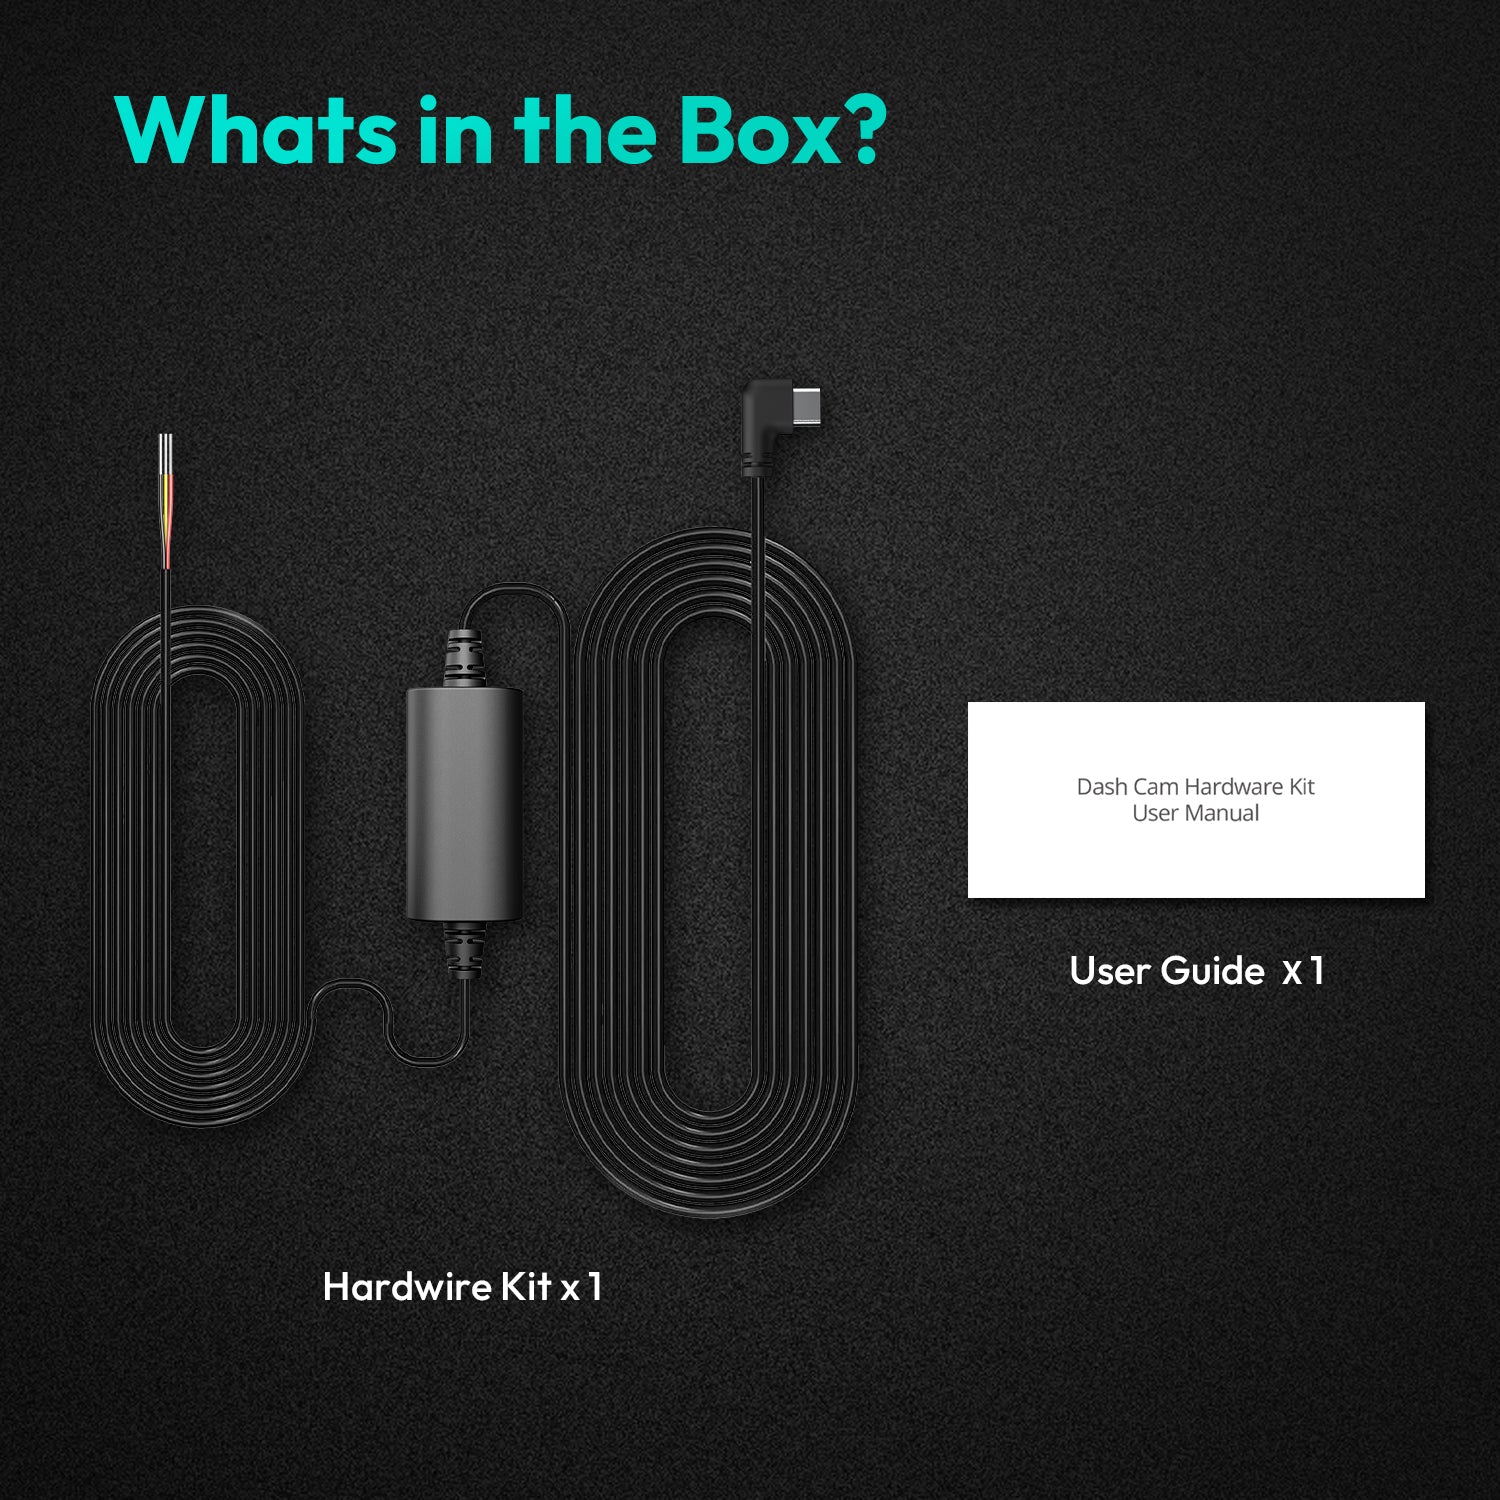
Next, gather all necessary components and tools. This includes the dash camera units, all supplied cables, a hardwire kit if applicable, trim removal tools, cable clips, zip ties, and electrical tape. It’s also prudent to test the dash camera system outside the vehicle to ensure all components function correctly before beginning the installation process. This pre-check confirms that all parts are operational and helps avoid troubleshooting issues once everything is concealed. Familiarize yourself with your vehicle's interior trim, identifying panels that can be easily removed or pried open to route cables without damaging the interior. Understanding your vehicle's specific layout is crucial for a smooth and efficient wiring job.
Choosing the Right Tools: Which Essentials Facilitate a Professional Finish?
Equipping yourself with the correct tools is paramount for achieving a clean, professional dash camera installation without damaging your vehicle's interior. A trim removal tool kit is arguably the most essential item. These plastic or nylon tools are specifically designed to pry open interior panels, weather stripping, and door sills without scratching or marring the surfaces. Using screwdrivers or other metal objects can easily leave permanent damage, making specialized tools a wise investment.
Another crucial item is a pack of cable clips or adhesive cable ties. These tiny fasteners are indispensable for securing loose wires to surfaces once they are routed, preventing them from dangling or vibrating. For hardwiring, a fuse tap kit (add-a-circuit) along with a fuse puller and a multimeter are vital. The fuse tap allows you to safely draw power from the fuse box without cutting any factory wires, while the multimeter helps identify suitable fuse slots (constant or switched power). Electrical tape, zip ties, and a small flashlight will also prove invaluable for managing cables, securing connections, and illuminating tight spaces. Investing in these relatively inexpensive tools will elevate your installation from DIY to dealer-grade quality.
Power Supply Routing: Where Do I Conceal the Main Power Cable?
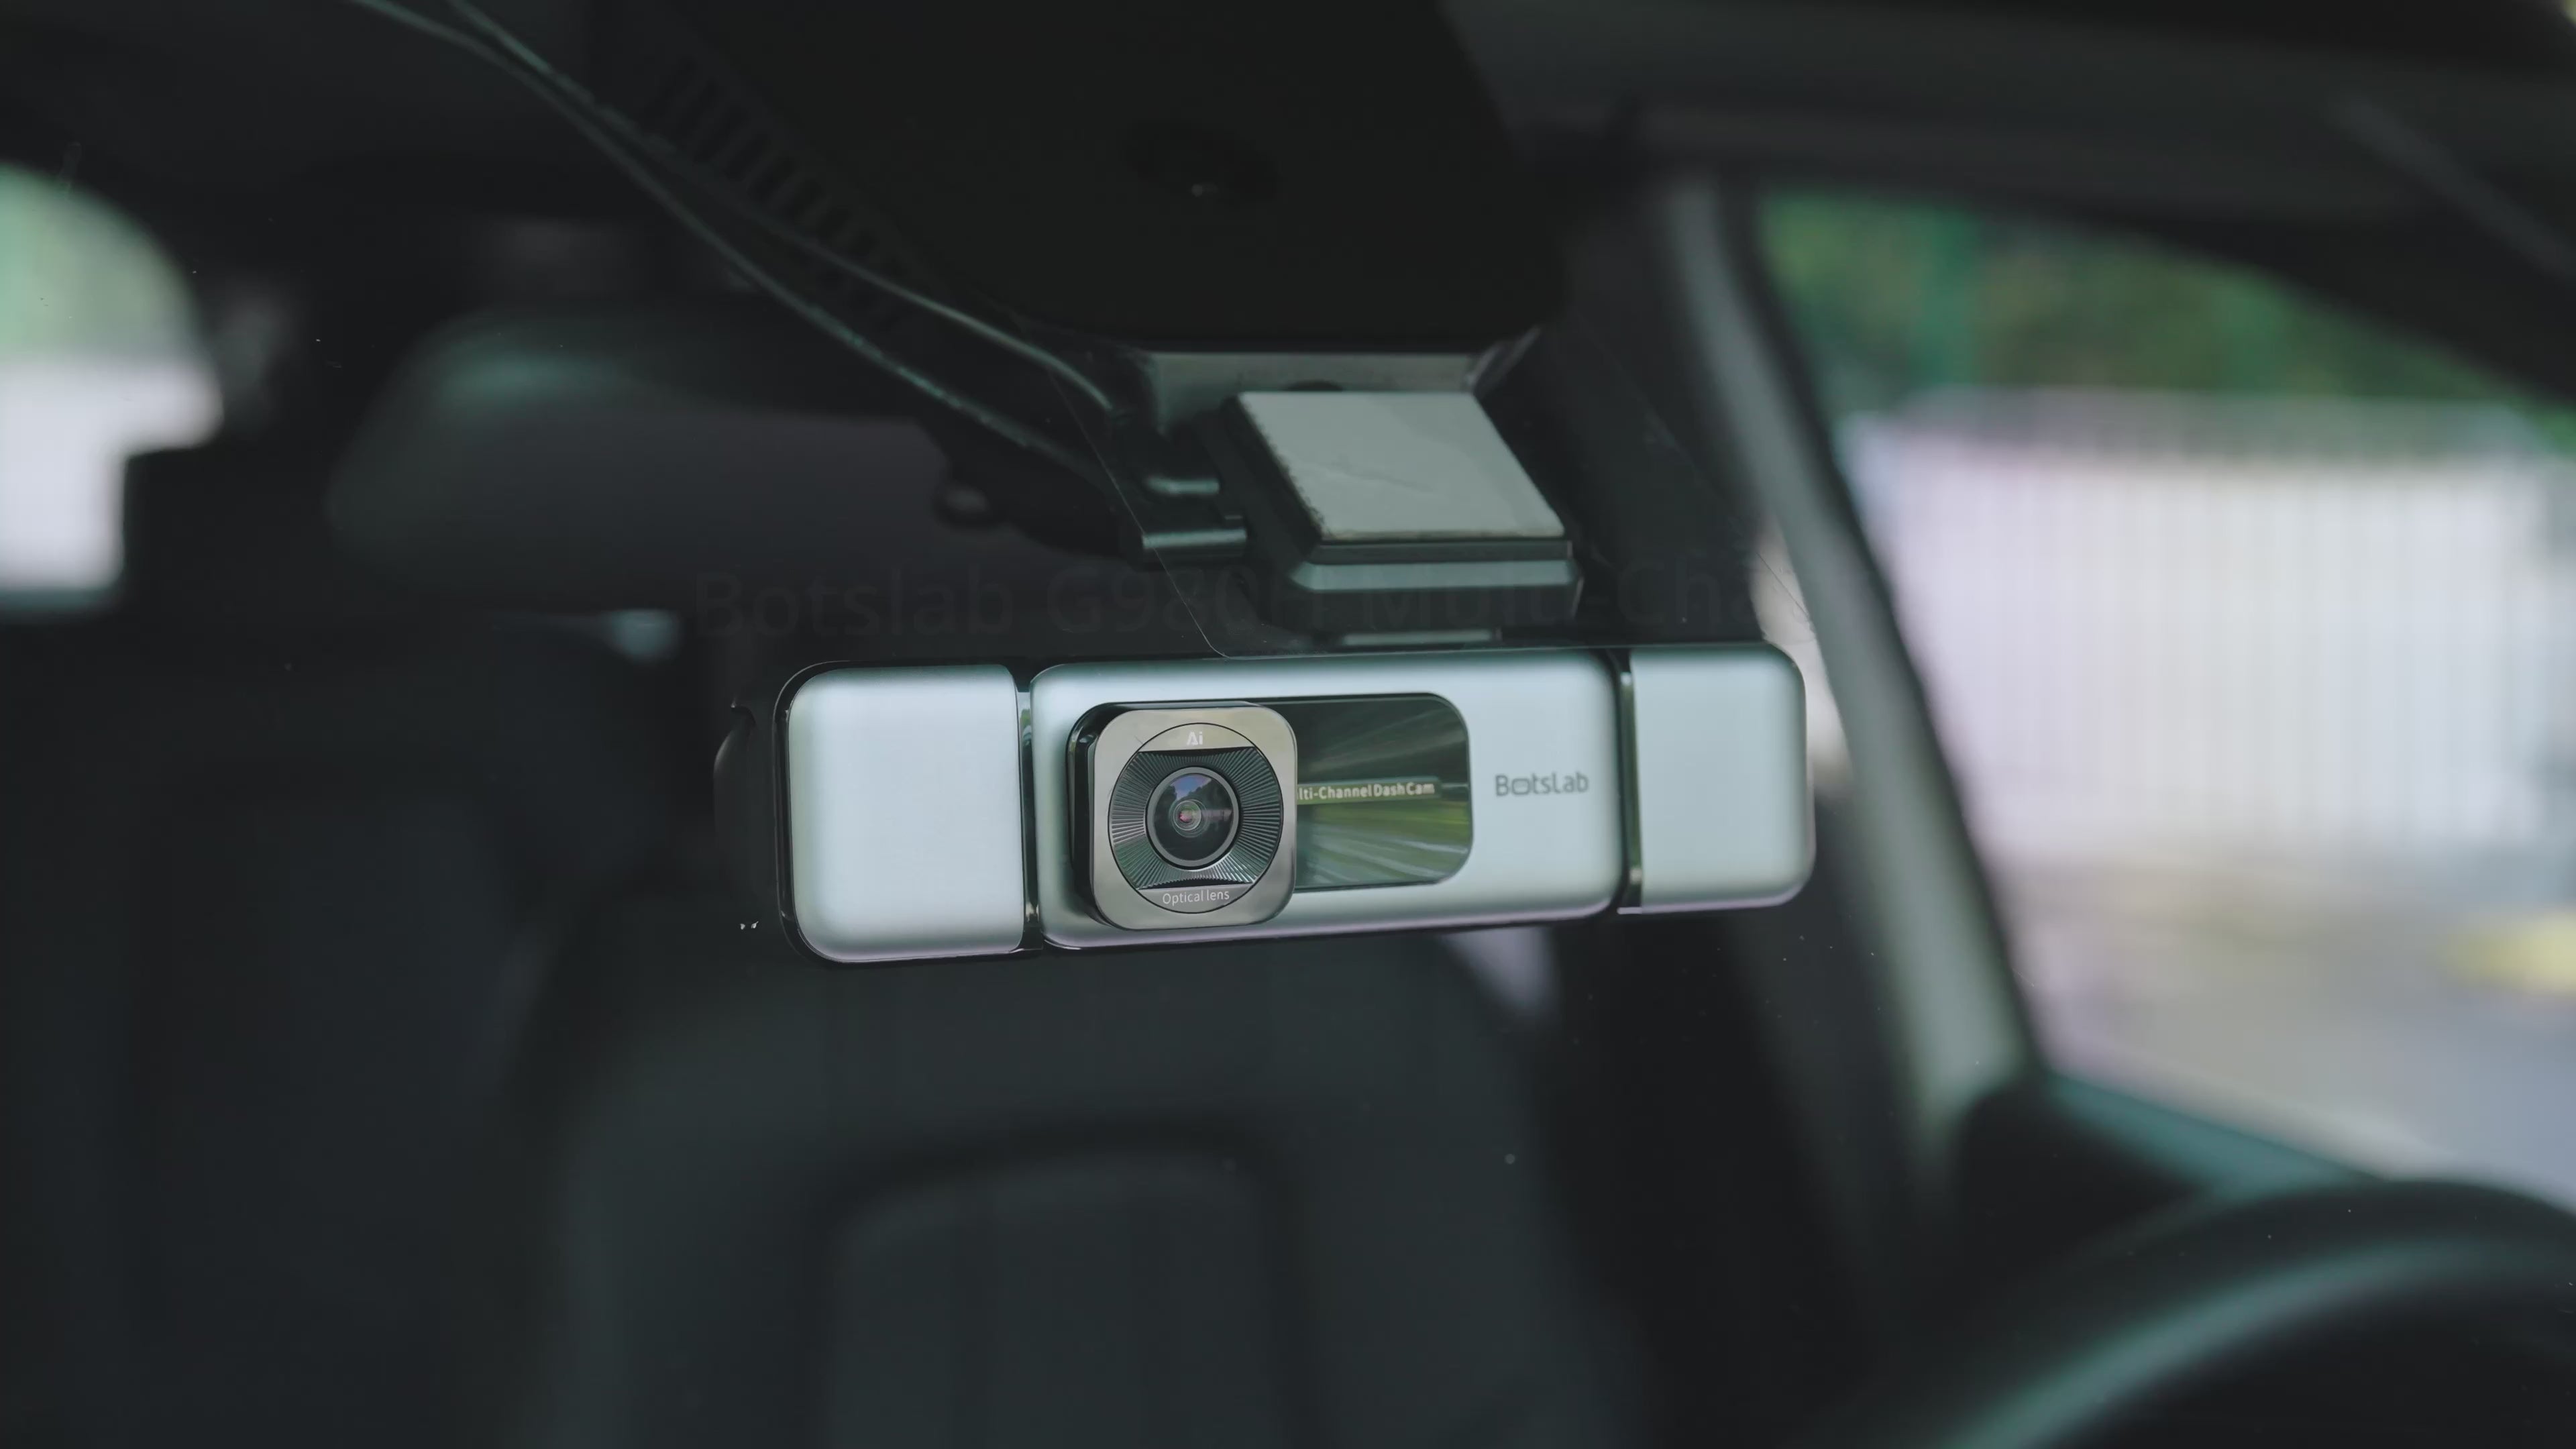
The main power cable, often originating from the front dash camera, requires careful routing to remain inconspicuous and secure. The most common and effective method is to route the cable along the top edge of the windshield, under the headliner. Gently tuck the cable between the headliner fabric and the windshield glass, pushing it firmly but carefully to hide it completely. From the upper corner of the windshield (typically the passenger side), the cable should then be guided down the A-pillar.
To conceal the cable along the A-pillar, you will generally need to carefully pry open the weather stripping along the door frame. The cable can then be tucked behind the A-pillar trim panel, often requiring a trim removal tool to temporarily loosen the panel for better access. Once the cable reaches the dashboard area, it can be routed either under the glove compartment, behind the center console, or along the floor sills, depending on the location of your power source (e.g., cigarette lighter or fuse box). Use cable clips or zip ties to secure the cable firmly in place at various points, ensuring it does not interfere with airbags or other critical vehicle components. The goal is to make the cable virtually invisible from the driver's perspective.
Rear Camera Cable Management: How Do I Route the Cable to the Back?
Managing the rear camera cable is often the most challenging part of a dual-channel installation due to its length and the need to traverse the entire vehicle's interior. The optimal path typically begins from the front dash camera, running along the headliner above the windshield and down the passenger-side A-pillar, mirroring the initial path of the front camera's power cable. From the base of the A-pillar, the cable should then be routed along the door sills. This involves gently pulling back the weather stripping and tucking the cable underneath the plastic sill plates or under the carpet along the edges.
As the cable reaches the rear passenger door, the process is repeated: pry open the weather stripping, tuck the cable, and resecure. For the journey from the rear door to the back of the vehicle, the cable can continue along the C-pillar (for sedans) or D-pillar (for SUVs/hatchbacks) by carefully tucking it behind the interior trim panels. When nearing the rear window, ensure the cable is routed away from moving parts, such as the tailgate hinges or rear window defrost lines. Utilizing existing cable channels or conduits where available provides extra protection. Secure the final segment of the cable near the rear camera with small adhesive clips, ensuring it doesn't dangle and remains discreetly positioned for optimal rear view recording.
Connecting to the Fuse Box: When Should I Consider Hardwiring?
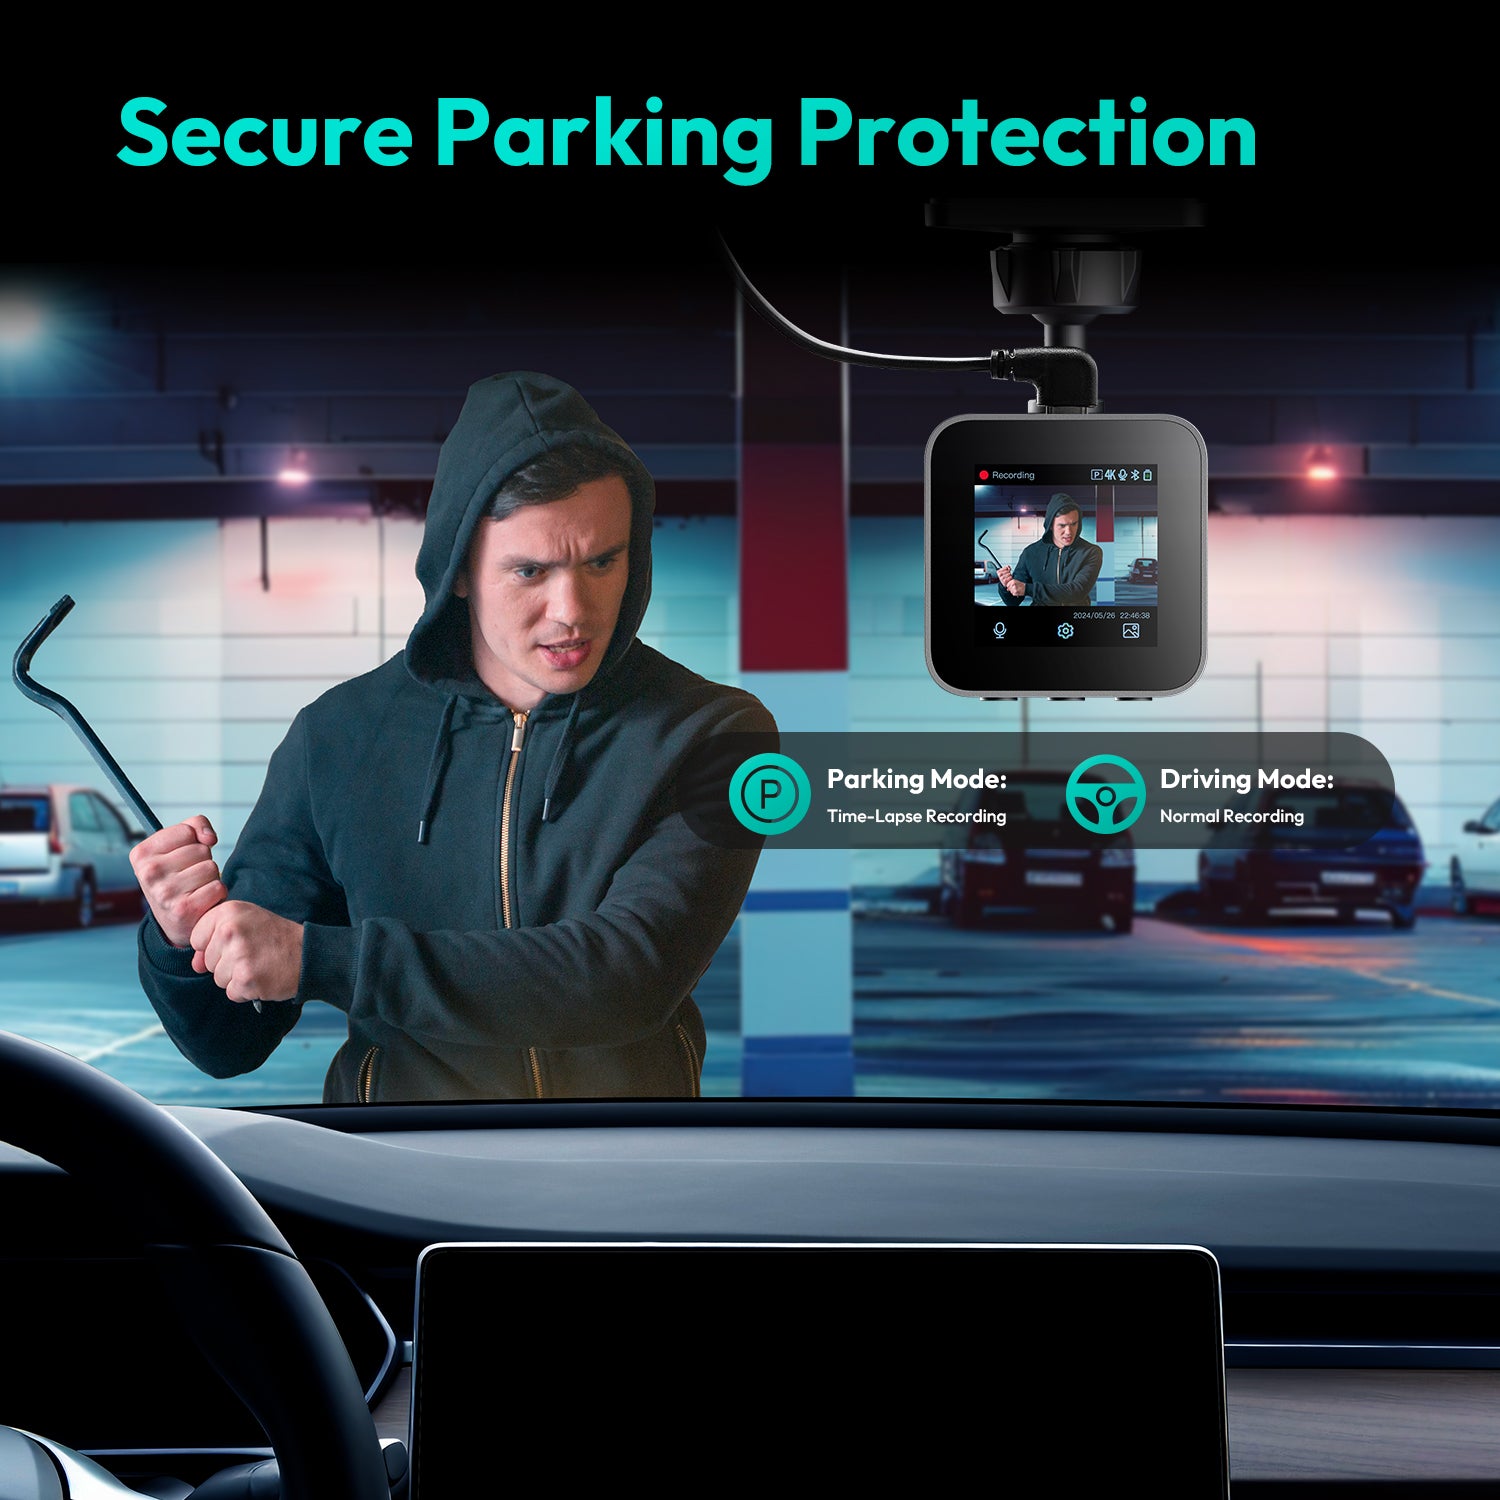
Hardwiring your dash camera directly to the vehicle's fuse box is a superior alternative to using the cigarette lighter adapter, particularly when you desire continuous power for parking surveillance mode or prefer a cleaner, permanent installation. This method ensures your dash camera receives power even when the vehicle is off, allowing for 24/7 monitoring and recording of incidents like hit-and-runs or vandalism while parked. Hardwiring eliminates the unsightly power cable dangling from the cigarette lighter socket and frees up that outlet for other devices.
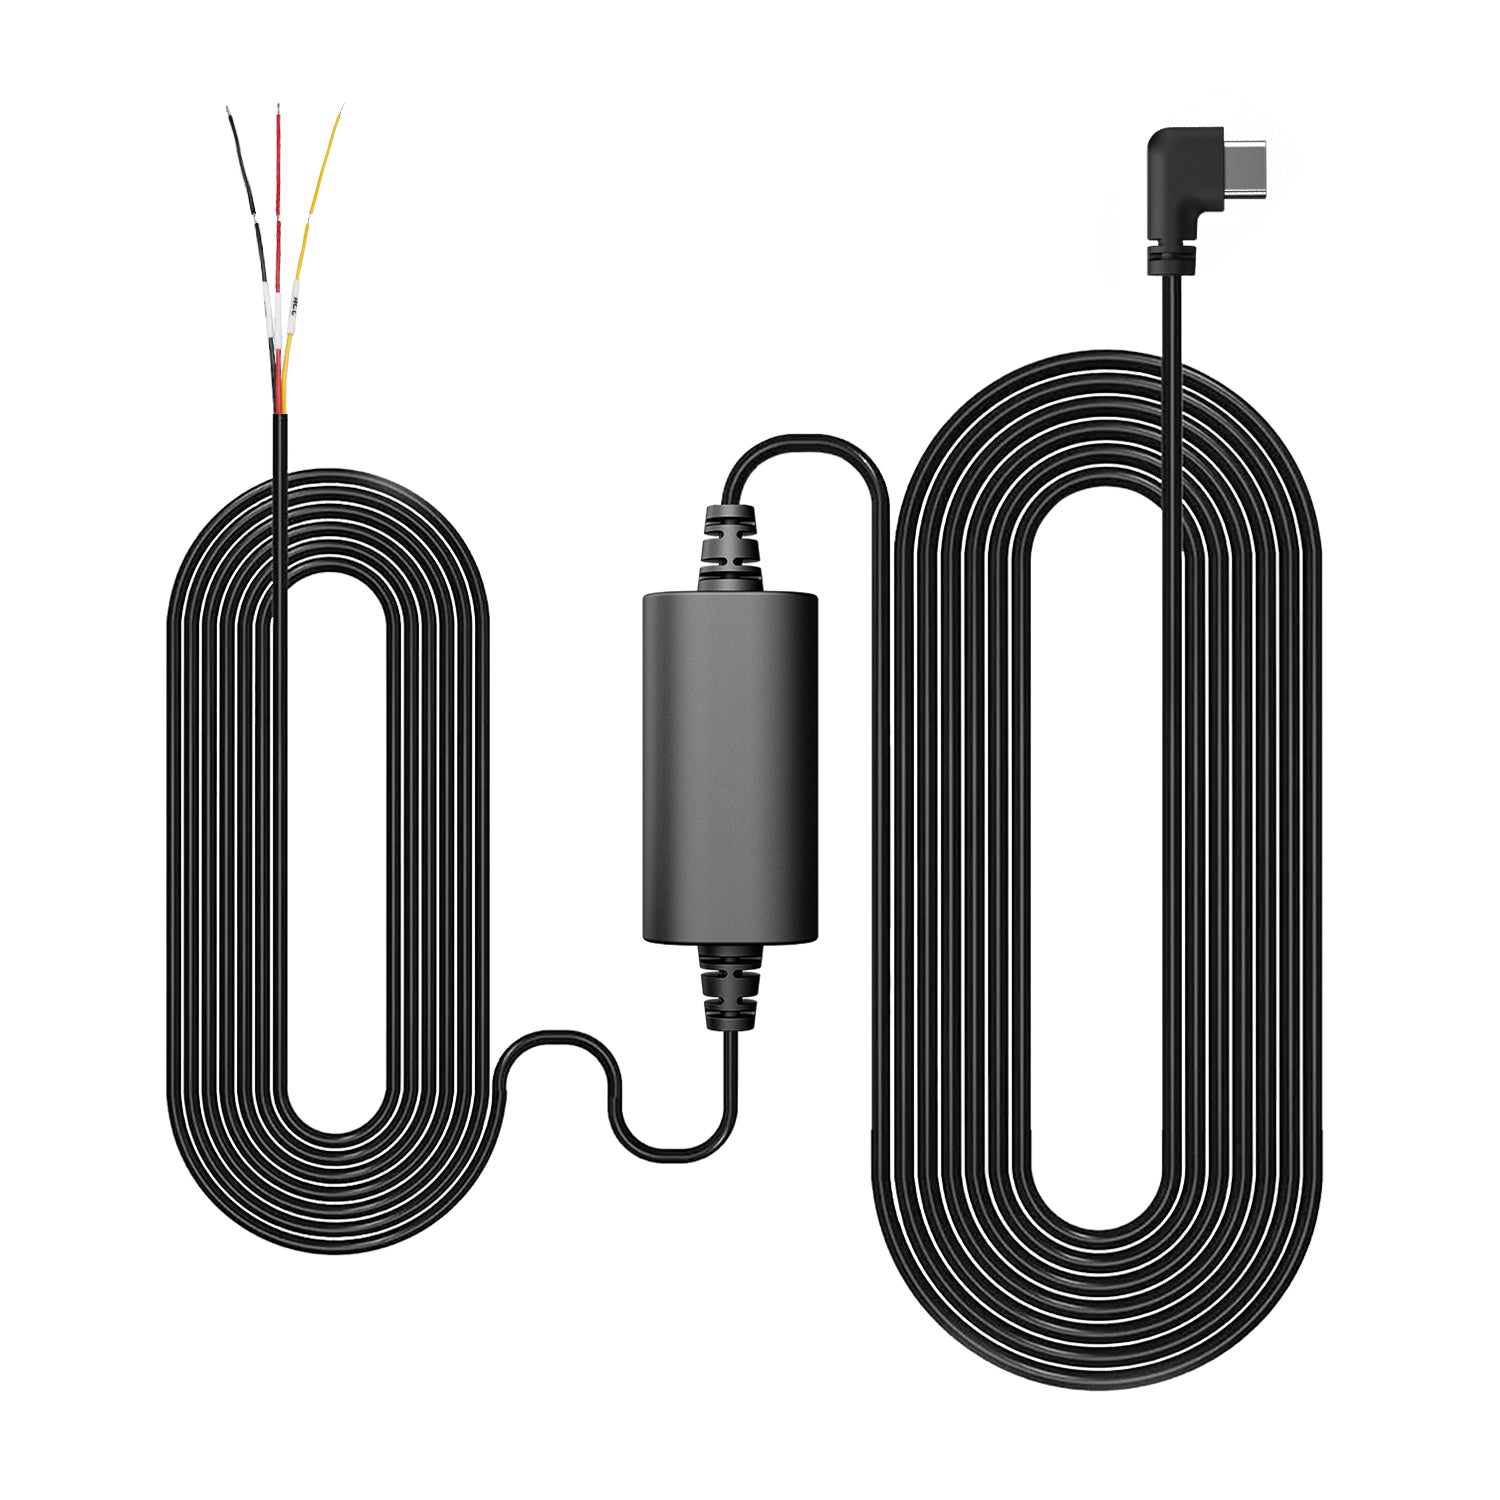
When hardwiring, it's essential to use a dedicated hardwire kit, such as the Botslab Hardwire Kit, which typically includes a voltage cut-off feature to prevent draining your car's battery. You'll need to locate your vehicle's fuse box, usually found under the dashboard, in the glove compartment, or in the engine bay. Using a multimeter, identify a fuse slot that provides constant power (always on, for parking mode) and another that provides switched power (only on when the ignition is on, for driving mode). Always refer to your vehicle's owner's manual to understand its fuse layout and avoid tapping into critical safety fuses. The hardwire kit will then connect to these chosen fuse slots using fuse taps, providing a secure and reliable power source for your dash camera.
Addressing Common Challenges: What Obstacles Might I Encounter?
Even with meticulous planning, certain challenges can arise during dash camera wiring. One common hurdle is dealing with tight spaces and stubborn trim panels. Some vehicle interiors have very narrow gaps or tightly fitted panels that resist easy removal or tucking of cables. In these instances, patience is key. Using thin, flexible trim removal tools and applying gentle, consistent pressure can help. Never force panels, as this can lead to snapping clips or cosmetic damage. Consulting vehicle-specific forums or YouTube videos for trim removal tips on your particular car model can be incredibly helpful.
Another challenge involves avoiding vehicle airbags. Cables must never be routed in front of or behind any airbag deployment paths. Most airbags are located in the A-pillars, B-pillars, and side curtains. Always route cables behind the airbag deployment zone, typically by tucking them underneath the weather stripping and ensuring they are secured away from the airbag itself. Incorrect routing can impede airbag functionality, posing a serious safety risk. Additionally, dealing with excessive cable length can be problematic; rather than cutting and splicing (which can void warranties or introduce connection issues), coil excess cable neatly and secure it in an inconspicuous area, such as behind the glove box or beneath a seat, using zip ties.
Testing and Finalizing: How Do I Ensure Everything Works Perfectly?
After successfully routing all cables and making the necessary connections, a comprehensive testing phase is crucial to ensure the dash camera system operates flawlessly before reassembling all trim pieces. First, power on your vehicle and verify that both the front and rear cameras receive power and begin recording. Check the camera's display or companion app to confirm that both channels are actively capturing video. If you've hardwired for parking mode, turn off your vehicle and test whether the parking surveillance activates as expected, usually indicated by a distinct LED or message on the camera.
Next, review footage from both cameras to ensure optimal angle, clarity, and full functionality, including audio recording and GPS if applicable. Drive around briefly to confirm stable mounting and no cable interference with driving. Once satisfied with the camera's operation, carefully reattach any trim panels, push weather stripping back into place, and secure any remaining loose ends. Double-check that no cables are visible, dangling, or obstructing any vehicle controls or safety features. A thorough final inspection guarantees a professional finish and peace of mind that your Botslab dash camera is ready to capture every moment on the road.
Maintenance for Longevity: How Do I Keep My Wiring Intact Over Time?
While a clean dash camera installation enhances aesthetics and safety, ongoing maintenance ensures its longevity and continuous reliable operation. Periodically, it's beneficial to inspect visible sections of the wiring for any signs of wear, fraying, or loosening. Extreme temperatures, constant vibrations, and UV exposure can degrade cable insulation over time. Pay particular attention to areas where cables might bend sharply or rub against vehicle components. If any degradation is observed, reinforce the area with electrical tape or consider replacing the affected cable segment if damage is severe.
Ensure that all cable clips and ties remain secure. Over time, adhesive backing can weaken, or zip ties might loosen, allowing cables to sag. Re-securing or replacing these fasteners as needed prevents wires from becoming visible or interfering with vehicle operations. Also, regularly check the connection points at the dash camera unit and the power source. Loose connections can lead to intermittent power, recording failures, or even electrical shorts. A quick check and gentle tightening of connections can avert future issues. By dedicating a few minutes periodically to these simple maintenance checks, you can significantly extend the lifespan and performance of your meticulously wired dash camera system, ensuring it continues to protect you on every journey.


Share:
Why choose a surveillance camera with no monthly fee?
How exactly does the ADAS functionality in dashcams work?