

No monthly fee security cameras are surveillance devices that store video footage locally on a physical device, such as a microSD card or a Network Video Recorder (NVR), instead of a cloud-based server. This one-time purchase model eliminates recurring subscription costs, giving you full control over your data and recordings. By leveraging local storage, you gain enhanced privacy and reliable access to your footage without depending on an internet connection for recording.

In This Article
- Why Choose a Security Camera Without a Subscription?
- What Are Your Local Storage Options?
- How Do MicroSD Cards Work for Security Cameras?
- What is a Network Video Recorder (NVR)?
- Can You Use Network-Attached Storage (NAS)?
- How Do You Choose the Right Local Storage Capacity?
- What Is the Step-by-Step Process for Setting Up Local Storage?
- Are There Any Downsides to Local Storage?
- What Key Features Should You Look for in a No-Fee Camera?
- How Does Local Storage Enhance Your Privacy and Security?
- Can You Still Get Remote Access with Local Storage?
- What Happens When Local Storage is Full?
Why Choose a Security Camera Without a Subscription?
Opting for a security camera system that doesn't require a monthly subscription fee presents several compelling advantages. The most significant benefit is cost-effectiveness. You make a one-time investment in the hardware, and from that point on, there are no recurring charges chipping away at your budget. Over the lifespan of the device, this can lead to substantial savings compared to subscription-based models that require continuous payments to access full functionality or video history.
Another critical factor is data privacy and control. With local storage, your sensitive video footage remains within your physical possession. It is not uploaded to a third-party server, which significantly reduces the risk of data breaches, unauthorized access, or changes in a company's terms of service that could affect how your data is handled. You are the sole custodian of your recordings, giving you complete autonomy over who sees them and how they are managed.
Finally, these systems offer operational independence. A camera that records locally is not dependent on a stable internet connection or the company's cloud servers to function. If your internet goes down, the camera will continue to record critical events to its local storage. This ensures uninterrupted security and reliability, providing peace of mind that your property remains monitored even during network outages.
What Are Your Local Storage Options?
When selecting No Monthly Fee Security Cameras, you have several methods for storing your video footage. Each option offers a different balance of convenience, capacity, and cost. Understanding these differences is key to building a system that perfectly matches your security requirements.
How Do MicroSD Cards Work for Security Cameras?
MicroSD cards are the most common and straightforward form of local storage. These tiny memory cards are inserted directly into a compatible camera. The primary advantage is their simplicity and low initial cost. Setup is as easy as plugging the card in and formatting it through the camera's companion app. There is no need for extra hardware or complex network configurations.
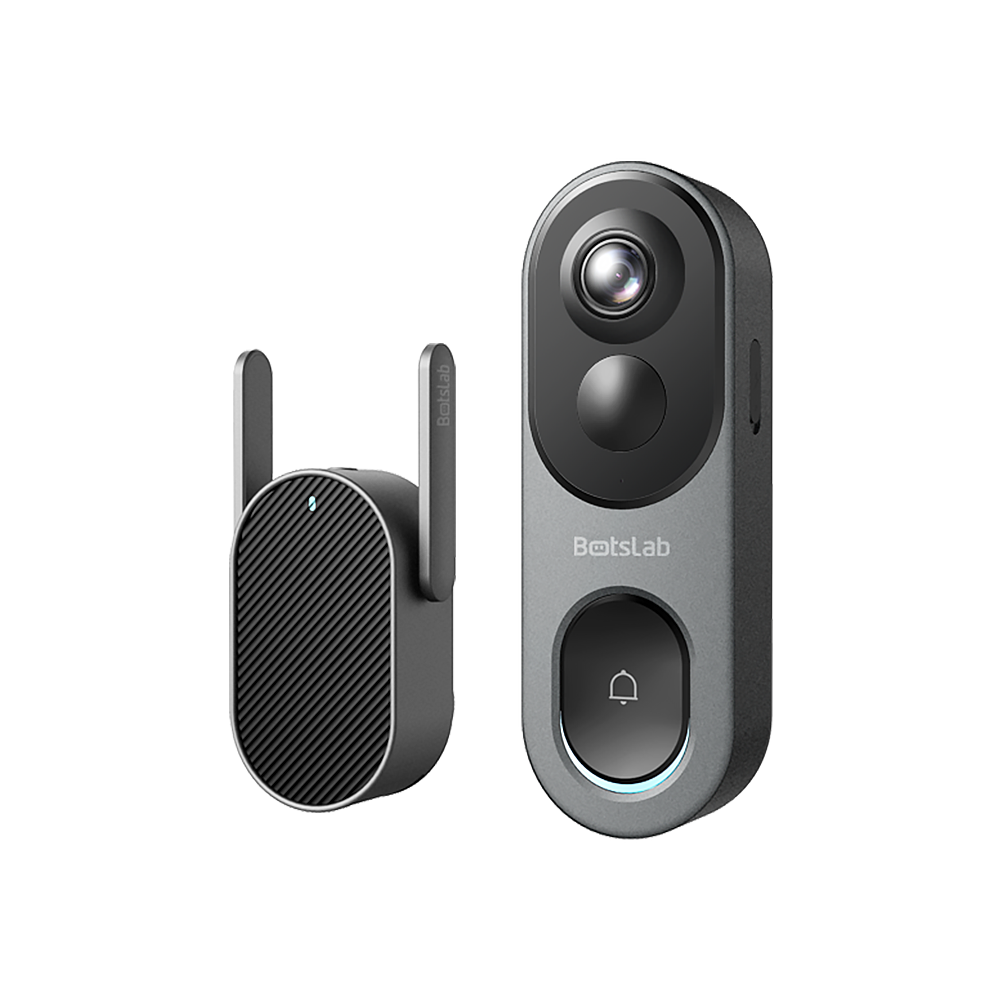
This method is ideal for single-camera setups or for users who want a decentralized system where each camera operates independently. Modern cameras, such as those from Botslab, often support high-capacity microSD cards (up to 256GB), providing weeks of continuous or motion-triggered recordings. The footage is stored right on the device, making it a self-contained security solution.
What is a Network Video Recorder (NVR)?
A Network Video Recorder (NVR) is a dedicated device designed to manage and store video footage from multiple IP cameras on your network. An NVR contains one or more hard drives, offering massive storage capacities, often measured in terabytes (TB). This makes it the perfect solution for comprehensive surveillance systems covering a large property with numerous cameras.
With an NVR, all your camera feeds are consolidated into one central hub. This simplifies video management and allows for 24/7 continuous recording from all cameras without worrying about the limited space of individual SD cards. NVRs also provide a single interface for viewing live feeds and reviewing recorded footage from all connected cameras simultaneously.
Can You Use Network-Attached Storage (NAS)?
Network-Attached Storage (NAS) is a versatile storage solution that can also be used for security camera footage. A NAS is essentially a private server for your home network that can be used for backing up files, streaming media, and, with the right software, acting as a video surveillance station. Many modern IP cameras support recording directly to a NAS via protocols like ONVIF or RTSP.
Using a NAS is an excellent option if you already own one for other purposes or if you desire a multi-functional device. It offers enormous, scalable storage and advanced data protection features like RAID (Redundant Array of Independent Disks), which safeguards your footage against hard drive failure. While the initial setup can be more technical than an NVR, it provides a powerful and flexible storage solution.
How Do You Choose the Right Local Storage Capacity?
Selecting the appropriate storage size is crucial for ensuring your security system captures footage for a sufficient duration before it is overwritten. The amount of storage you need depends on several factors: video resolution, frame rate, compression technology (like H.265), and whether you are recording continuously or only when motion is detected.
Higher resolution video, such as 2K or 4K, consumes significantly more storage space than 1080p. Likewise, continuous 24/7 recording will fill up storage much faster than motion-activated recording. A camera that uses efficient H.265 video compression can store roughly twice as much footage as one using the older H.264 standard in the same amount of space. Consider how many days of footage you want to keep on hand. For most residential users, 7 to 14 days is a practical target.
The table below provides a general estimate of storage consumption for a single camera.
| Storage Capacity | Estimated 1080p Recording (H.265) | Estimated 2K/4K Recording (H.265) | Best Use Case |
|---|---|---|---|
| 32 GB | 2-4 Days (Motion-activated) | 1-2 Days (Motion-activated) | Low-traffic indoor areas |
| 64 GB | 5-8 Days (Motion-activated) | 3-5 Days (Motion-activated) | Standard residential use |
| 128 GB | 10-15 Days (Motion-activated) | 6-10 Days (Motion-activated) | High-traffic areas or longer history |
| 1 TB+ (NVR/NAS) | 30+ Days (24/7 Recording) | 15-25 Days (24/7 Recording) | Multi-camera systems, business use |
What Is the Step-by-Step Process for Setting Up Local Storage?
Configuring local storage is typically a user-friendly process. The exact steps may vary slightly depending on the camera model and storage type, but the fundamental principles remain the same.
Setting Up a MicroSD Card
Setting up a microSD card is the simplest method. First, ensure you purchase a high-endurance microSD card designed for continuous read/write operations, as standard cards can fail under the constant strain of video recording.
- Power Down the Camera: Always unplug the camera from its power source before inserting or removing a microSD card to prevent data corruption or damage.
- Insert the Card: Locate the microSD card slot on your camera. It's often covered by a small, weather-proof flap. Insert the card firmly until it clicks into place.
- Power Up and Format: Reconnect the power. Open the camera’s mobile app (like the Botslab app) and navigate to the camera’s settings. Find the storage menu and select the option to format the microSD card. This erases any existing data and prepares the card for use with the camera.
- Configure Recording Settings: In the app, choose whether you want to record 24/7 or only when motion is detected. Most apps will also allow you to set a recording schedule.
Configuring an NVR or NAS System
Setting up a centralized system is more involved but provides robust, multi-camera management.
- Install Hard Drives: Open the NVR or NAS chassis and install the surveillance-grade hard drives according to the manufacturer's instructions.
- Connect to Network: Connect the NVR/NAS to your router using an Ethernet cable and plug in the power adapter.
- Initial System Setup: Access the device's setup interface, usually through a web browser or dedicated software. Follow the on-screen prompts to initialize the hard drives and create a storage volume.
- Add Cameras: Within the NVR/NAS surveillance software, scan your network for compatible cameras. Most systems will automatically detect cameras on the same network. Add the desired cameras by entering their IP addresses and login credentials. Ensure your cameras support the ONVIF or RTSP protocol for broad compatibility.
- Customize Recording Rules: For each camera, configure recording settings such as resolution, frame rate, and motion detection sensitivity to optimize storage usage.
Are There Any Downsides to Local Storage?
While local storage offers significant benefits, it's important to be aware of its potential limitations. The most prominent risk is the physical theft of the storage device itself. If a burglar steals the camera with the microSD card inside or takes the entire NVR unit, the recorded evidence is lost along with it. To mitigate this, NVRs should be kept in a secure, hidden location, and outdoor cameras should be mounted out of easy reach.
Another consideration is the finite nature of the storage medium. Unlike cloud storage, which can be virtually unlimited, a microSD card or hard drive has a fixed capacity. Once full, the system must overwrite the oldest footage to make room for new recordings (a feature known as loop recording). This means you could lose important older footage if you don't offload it in time. Furthermore, physical media like SD cards and hard drives have a limited lifespan and can eventually fail, necessitating replacement.
What Key Features Should You Look for in a No-Fee Camera?
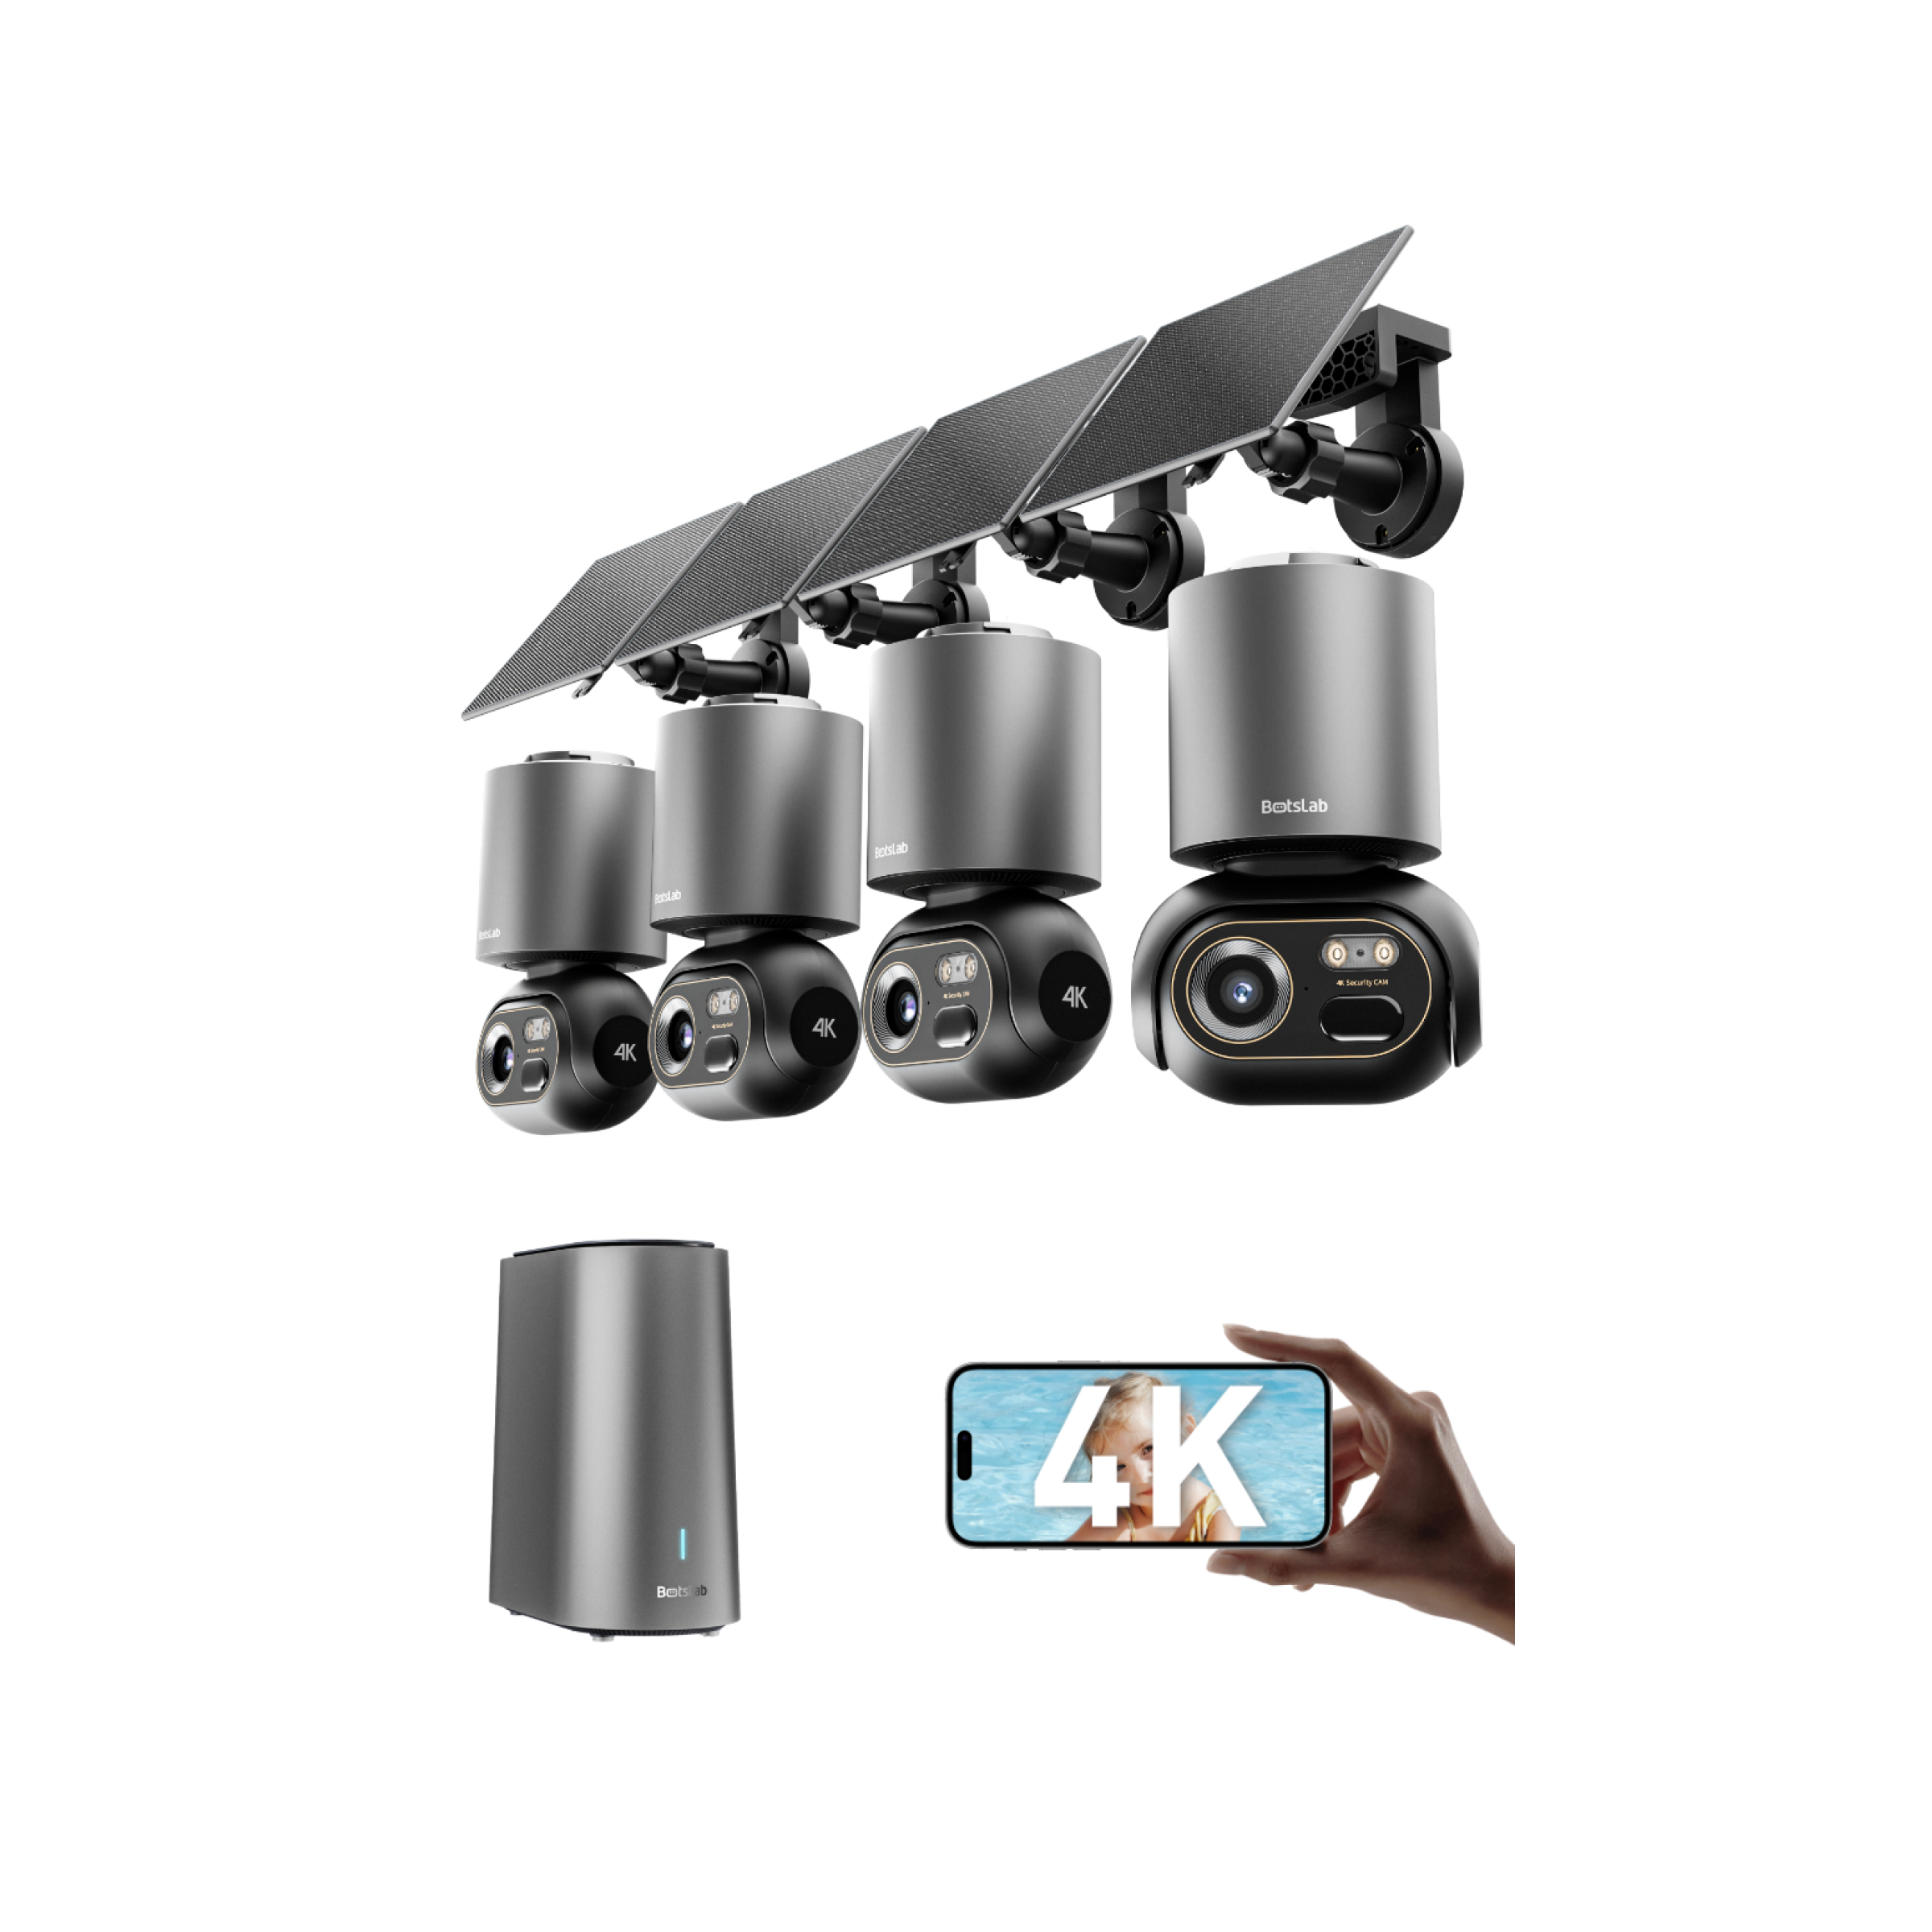
A great no-fee camera is more than just a device that supports local storage. The quality of the camera itself is paramount. Look for a device with high-resolution video, such as 2K or 4K, to ensure you can capture clear, identifiable details. Excellent night vision, whether infrared or full-color, is also essential for effective 24/7 monitoring.
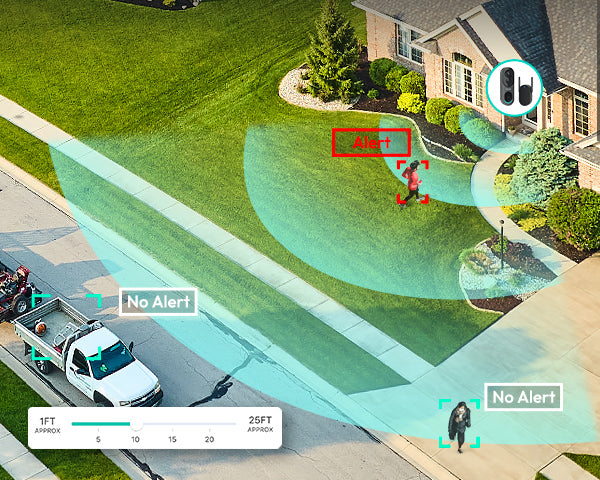
Intelligent features can dramatically improve your security experience. Advanced AI-powered detection can differentiate between people, vehicles, and pets, reducing false alarms from irrelevant movements like swaying trees. A wide field of view is crucial for covering large areas, while two-way audio allows you to communicate with visitors or deter intruders directly from your smartphone. Products like the **Botslab Outdoor Cam 2 Pro** integrate these premium features, offering 4K clarity and sophisticated AI detection, all while recording directly to a local microSD card, providing a complete subscription-free security solution.
How Does Local Storage Enhance Your Privacy and Security?
The fundamental advantage of local storage is that you own and control your data. Your video files are stored on a device inside your home, not on a remote server owned by a corporation. This physical separation from the public internet drastically reduces the attack surface for potential hackers. There is no cloud account to be compromised and no central database of user footage that could be targeted in a large-scale data breach.
This model puts you in complete command of your privacy. You decide who can access the footage and when. You are not subject to a company's privacy policy changes or data-sharing agreements. For users who are highly conscious of their digital footprint and wish to keep sensitive moments captured inside and around their home completely private, local storage is the most secure and reliable method available.
Can You Still Get Remote Access with Local Storage?
Yes, absolutely. This is a common misconception about no-fee security cameras. The term "local storage" refers only to where the video is recorded, not how it is accessed. Reputable camera manufacturers provide a companion mobile app that allows you to connect to your camera from anywhere in the world.
When you open the app to view a live stream or playback a recording from your microSD card or NVR, the app creates a secure, peer-to-peer (P2P) connection to your home network. This allows you to access your locally stored footage remotely without the data ever being permanently stored on a third-party server. You get the convenience of cloud access combined with the privacy of local storage, offering the best of both worlds.
What Happens When Local Storage is Full?
Virtually all modern security cameras that use local storage employ a feature called loop recording (or overwriting). When the storage device—be it a microSD card or an NVR's hard drive—reaches its maximum capacity, the camera automatically begins to delete the oldest recorded footage to make space for the newest recordings.
This process ensures that the camera never stops recording due to a full disk. It operates on a "first-in, first-out" basis. For example, if your system holds 14 days of footage, on the 15th day, the camera will start recording over the footage from day 1. This automated process means you don't have to manually manage the storage, but it also highlights the importance of choosing an adequate storage capacity to ensure you have a long enough video history for your needs. If an incident occurs, it is wise to back up the relevant video clips to another device before they are overwritten.


Share:
What kind of dashcam should you choose as a smart car accessory?
How to perfectly wire front and rear driving cameras?