

You can set up your own home security system with just a few simple steps. DIY options save you money and give you full control. Check out the savings below:
| Type of System | Total Ownership Cost Over 3 Years |
|---|---|
| DIY System | $500 - $1,200 |
| Professionally Installed | $1,400 - $3,200 |
Modern home security systems work for any place. Anyone can do this!
Key Takeaways
- Look at your home to find places people can get in. Pay attention to doors, windows, and busy areas to make your home safer.
- Pick important devices like sensors, cameras, and alarms that you can afford. Even simple systems can keep your home safe.
- Use a guide to help you set up your DIY system step by step. Check every part to make sure it all works right.
Assess Your Security Needs
Identify Entry Points
Start by walking through your home and looking for spots where someone could get in. Most burglars target certain places. Here’s a quick look at the most common entry points:
| Entry Point | Percentage of Burglars |
|---|---|
| Front doors | 34% |
| First-floor windows | 23% |
| Back doors | 22% |
Take a moment to jot down these areas on a simple map or list. You’ll want to keep an eye on doors, windows, garages, and even side gates.
Determine Coverage Areas
Think about which parts of your home need protection. Your property layout and daily routines matter. Here are some things to consider:
- Tailor your security to your home’s unique needs.
- Pay attention to places you use often, like the garage or backyard.
- Focus on creating a plan that covers all vulnerable spots, not just the cheapest option.
If you live in a neighborhood with higher crime rates, it’s smart to make your security plan as strong as possible. Outdoor areas need extra care. Position sensor lights near sidewalks and entryways, use floodlight cameras, and lock up tools and patio furniture.
Tip: Wireless security systems are perfect for renters. They’re easy to install, don’t need drilling, and you can take them with you when you move. These affordable options help you stay safe without making permanent changes.
Choose Essential Devices
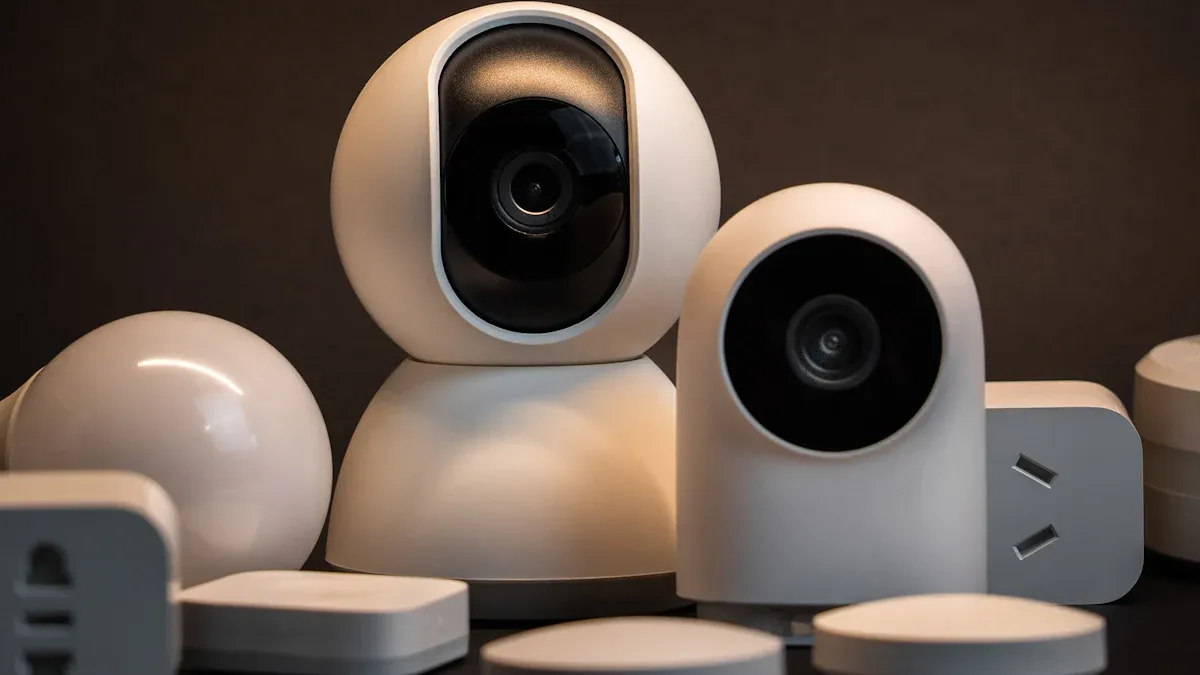
You don’t need fancy gadgets to get started. Security experts recommend these basics:
- Hub or control panel
- Sensors for doors, windows, and movement
- Cameras
- Alarms and alerts
Pick devices that fit your space and budget. Affordable systems make it easy to protect your home, whether you own or rent.
Select and Install Home Security Systems
Pick Do-It-Yourself Security Systems
You can pick from many diy security system choices. Old systems often need a pro to install them. They also make you sign long contracts and pay every month. Diy security systems let you skip all that. You set up the system yourself and save money. You do not have to sign a contract. This gives you more freedom and control.
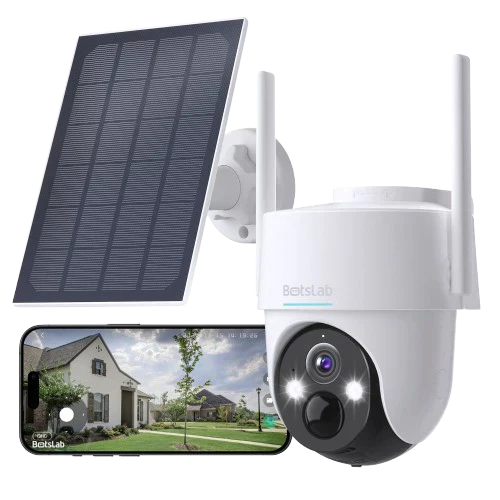
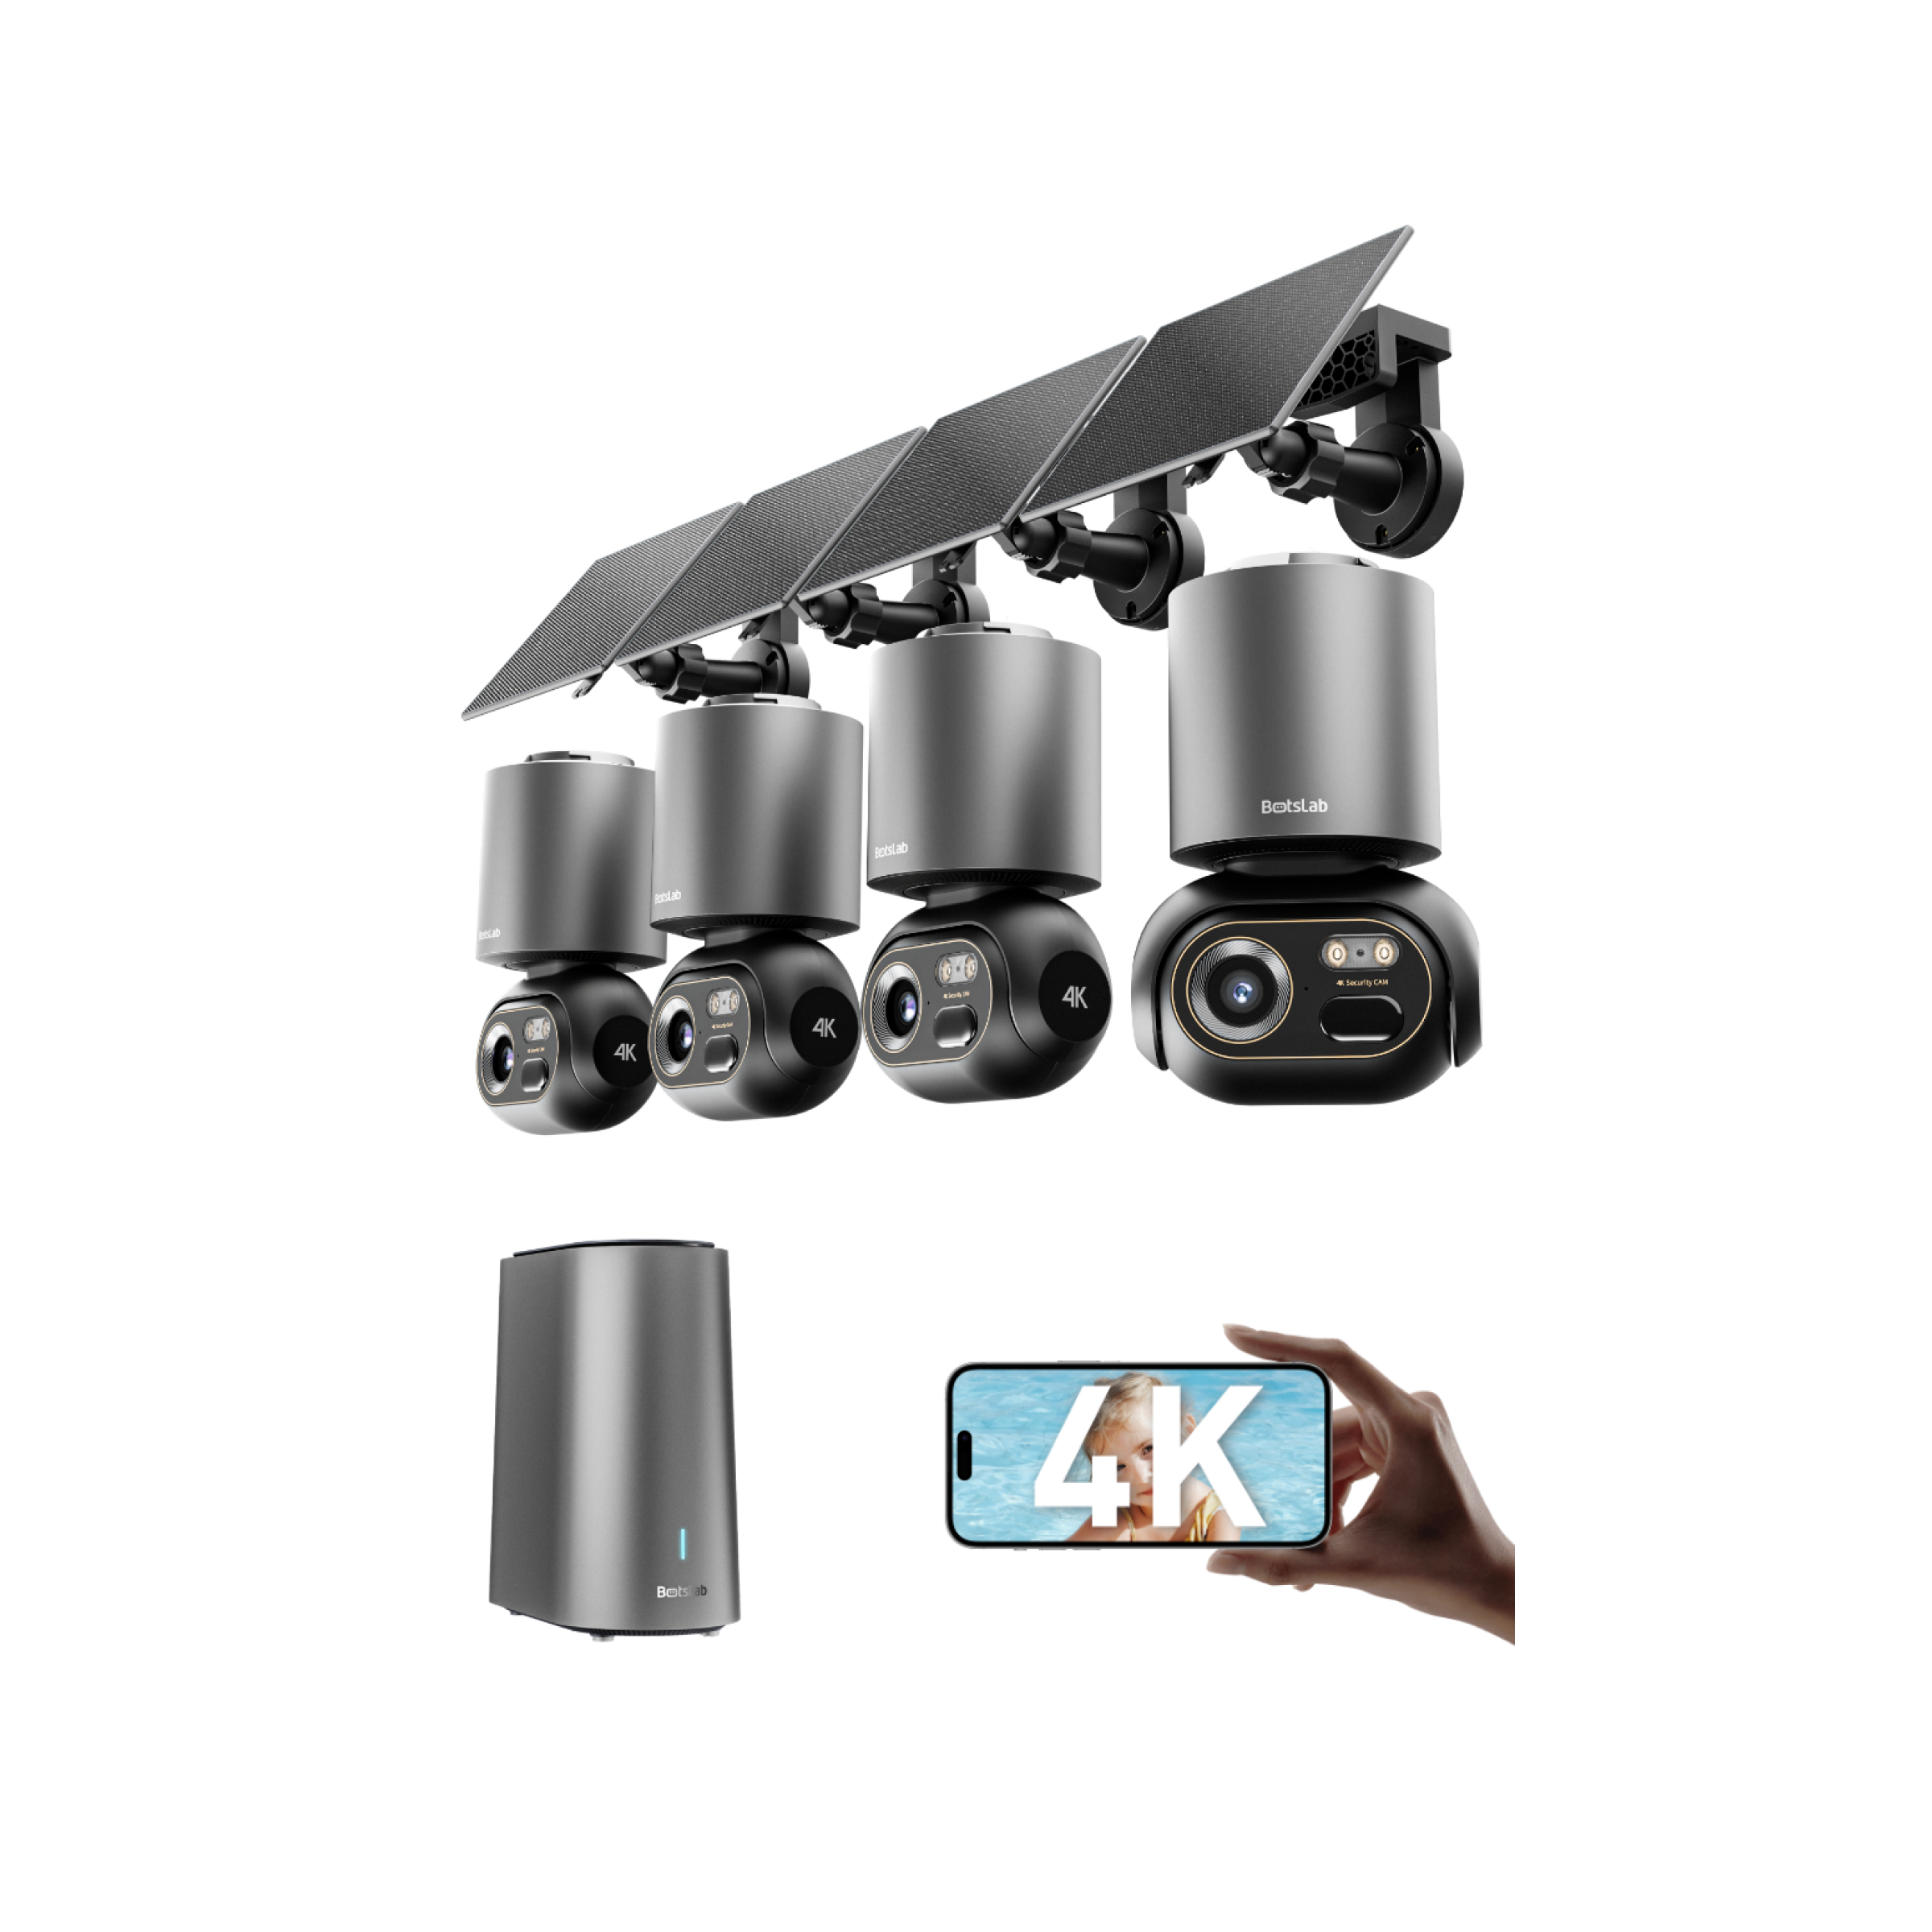
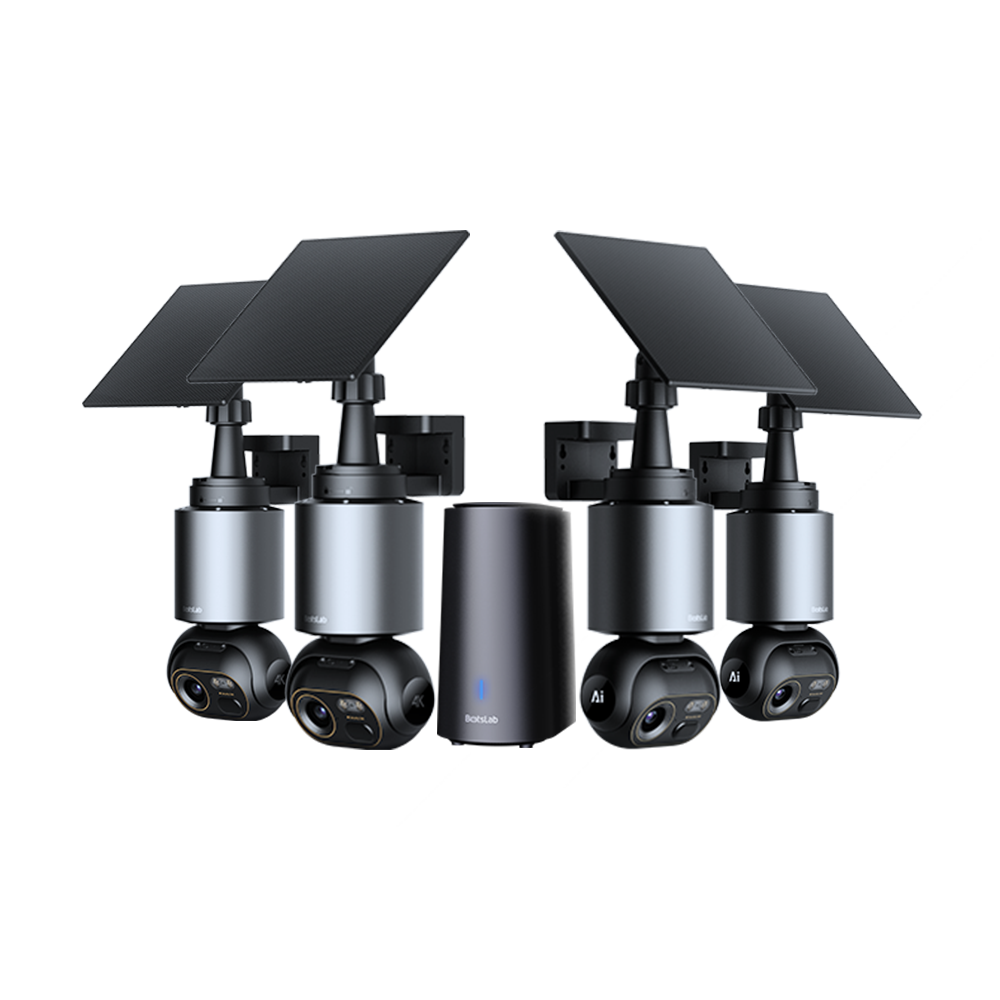
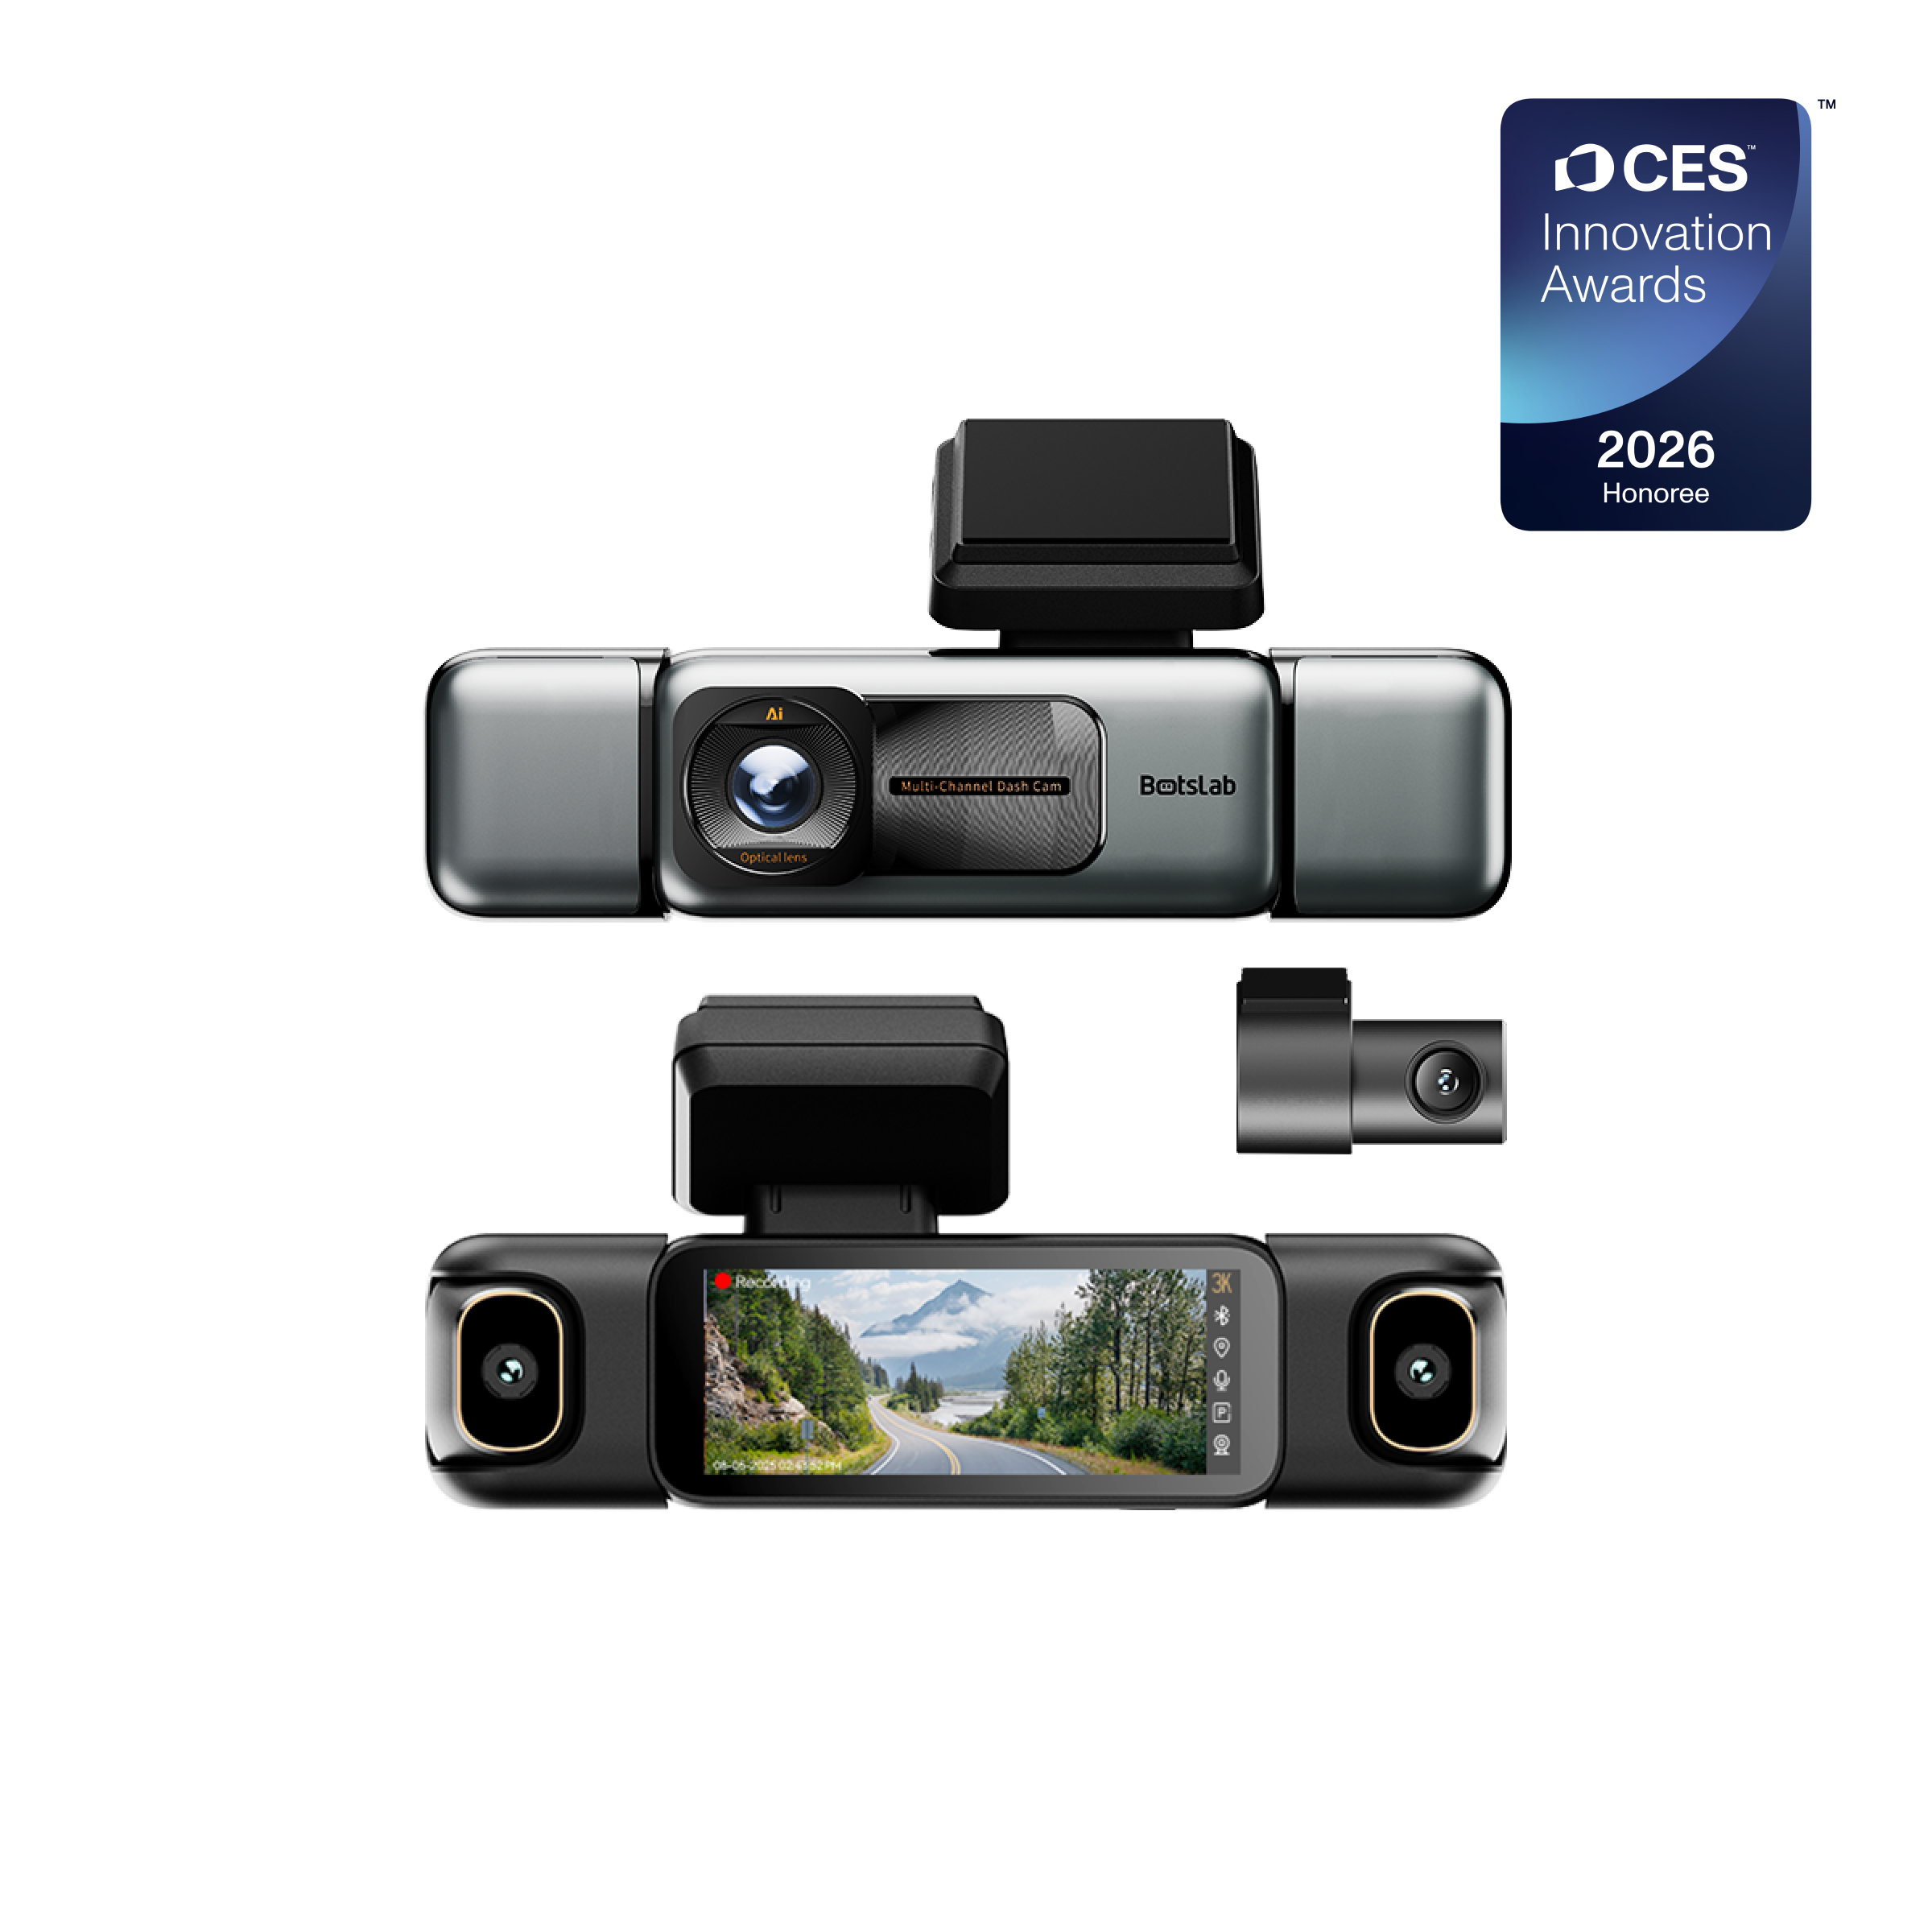
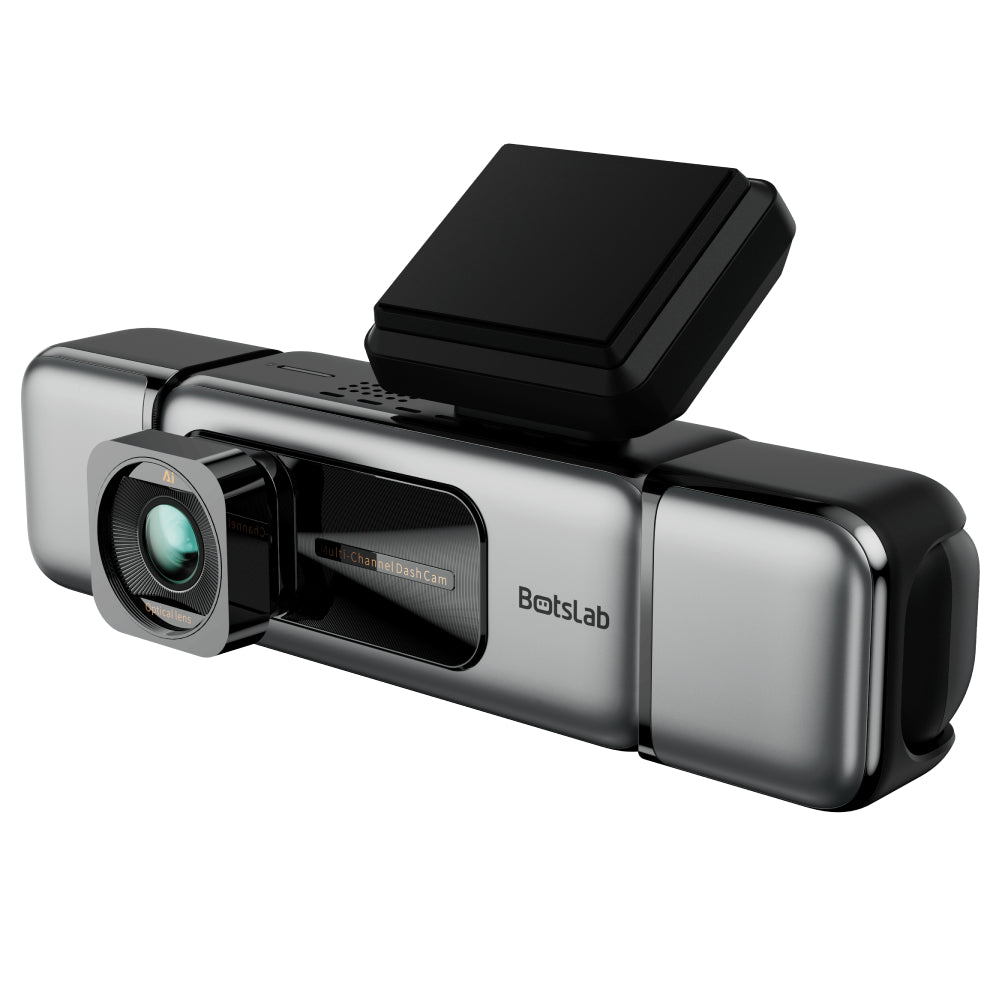
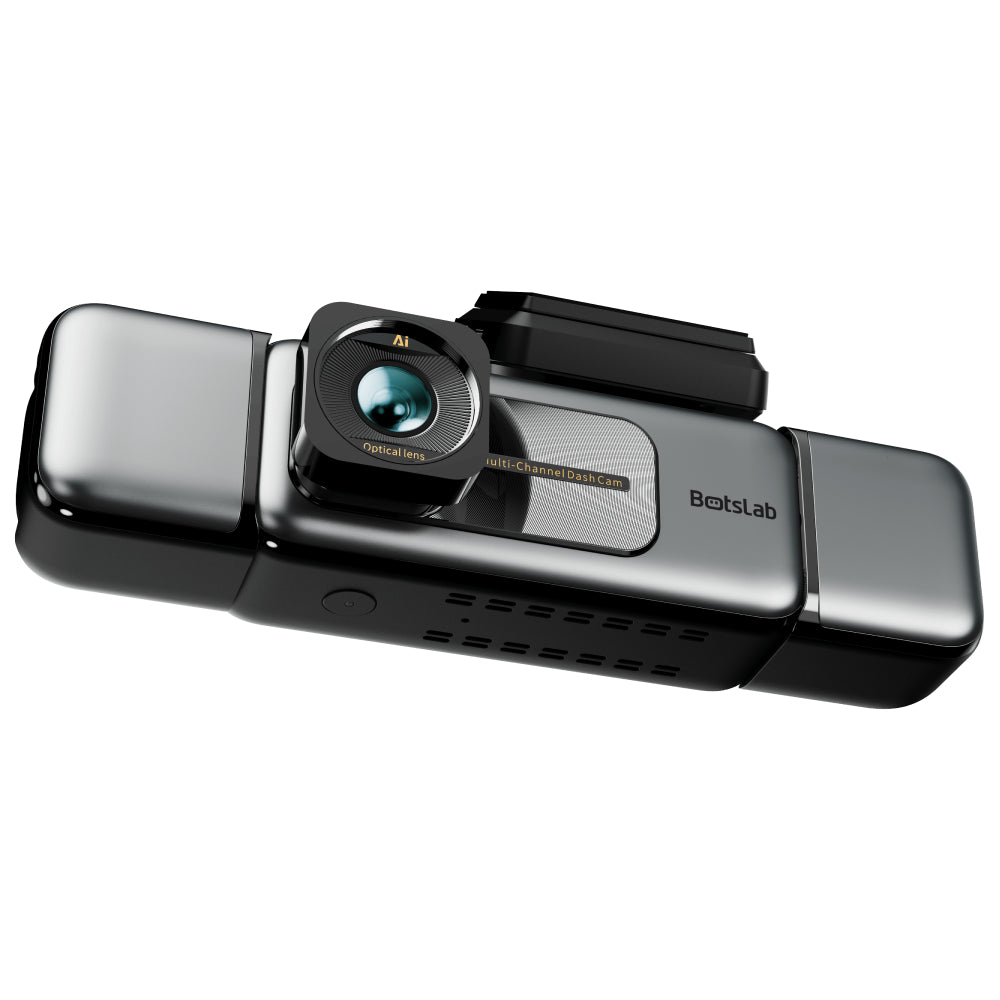
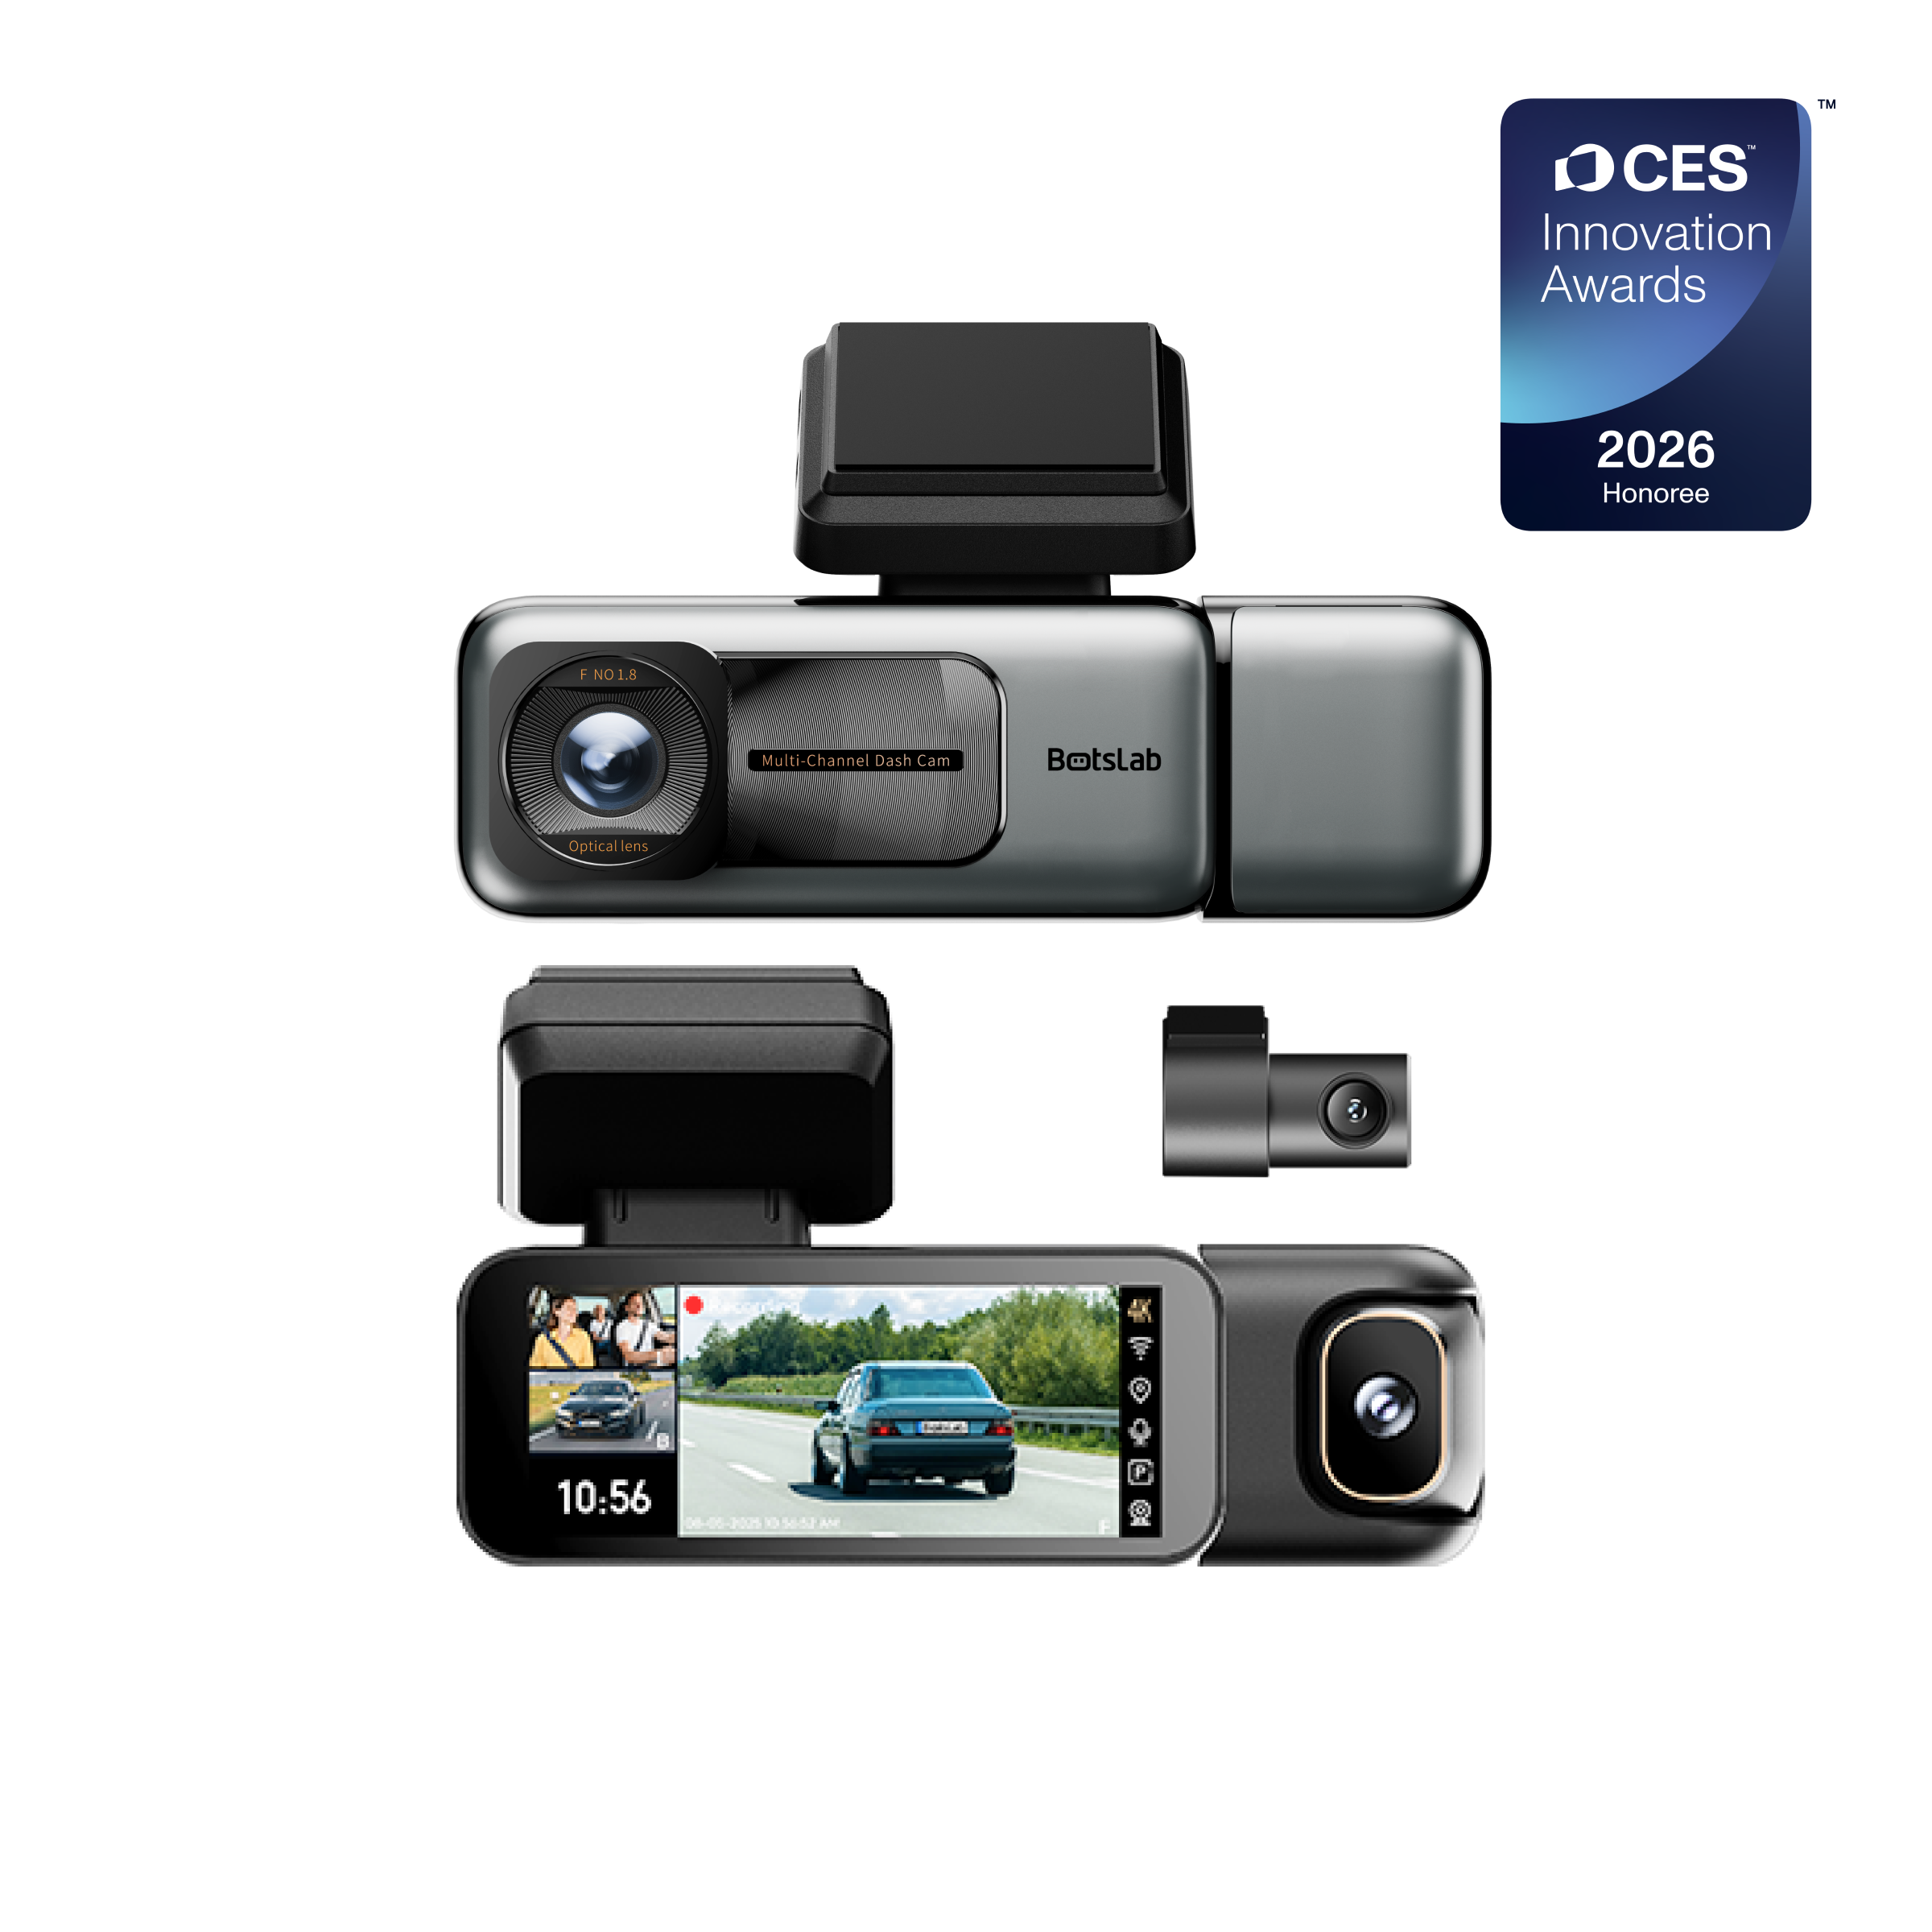
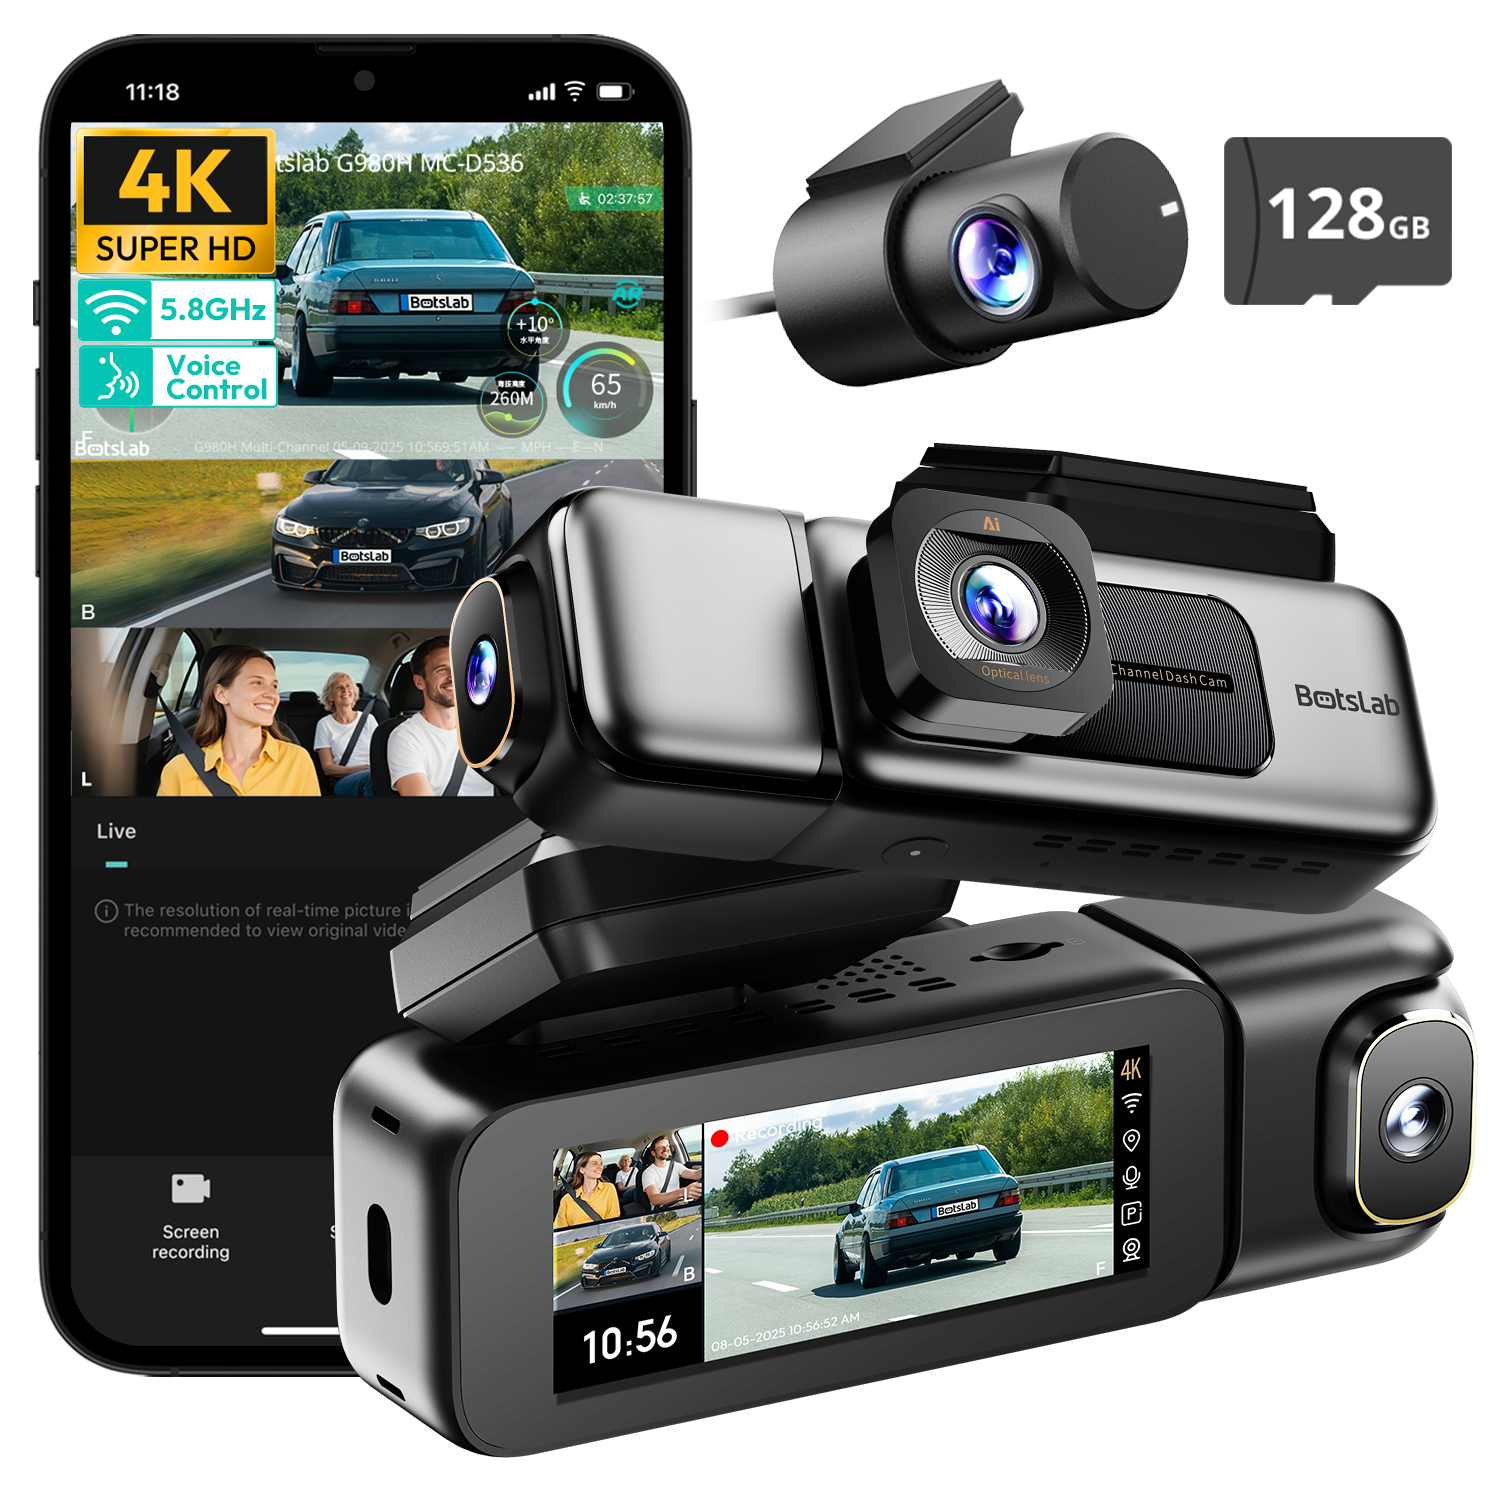
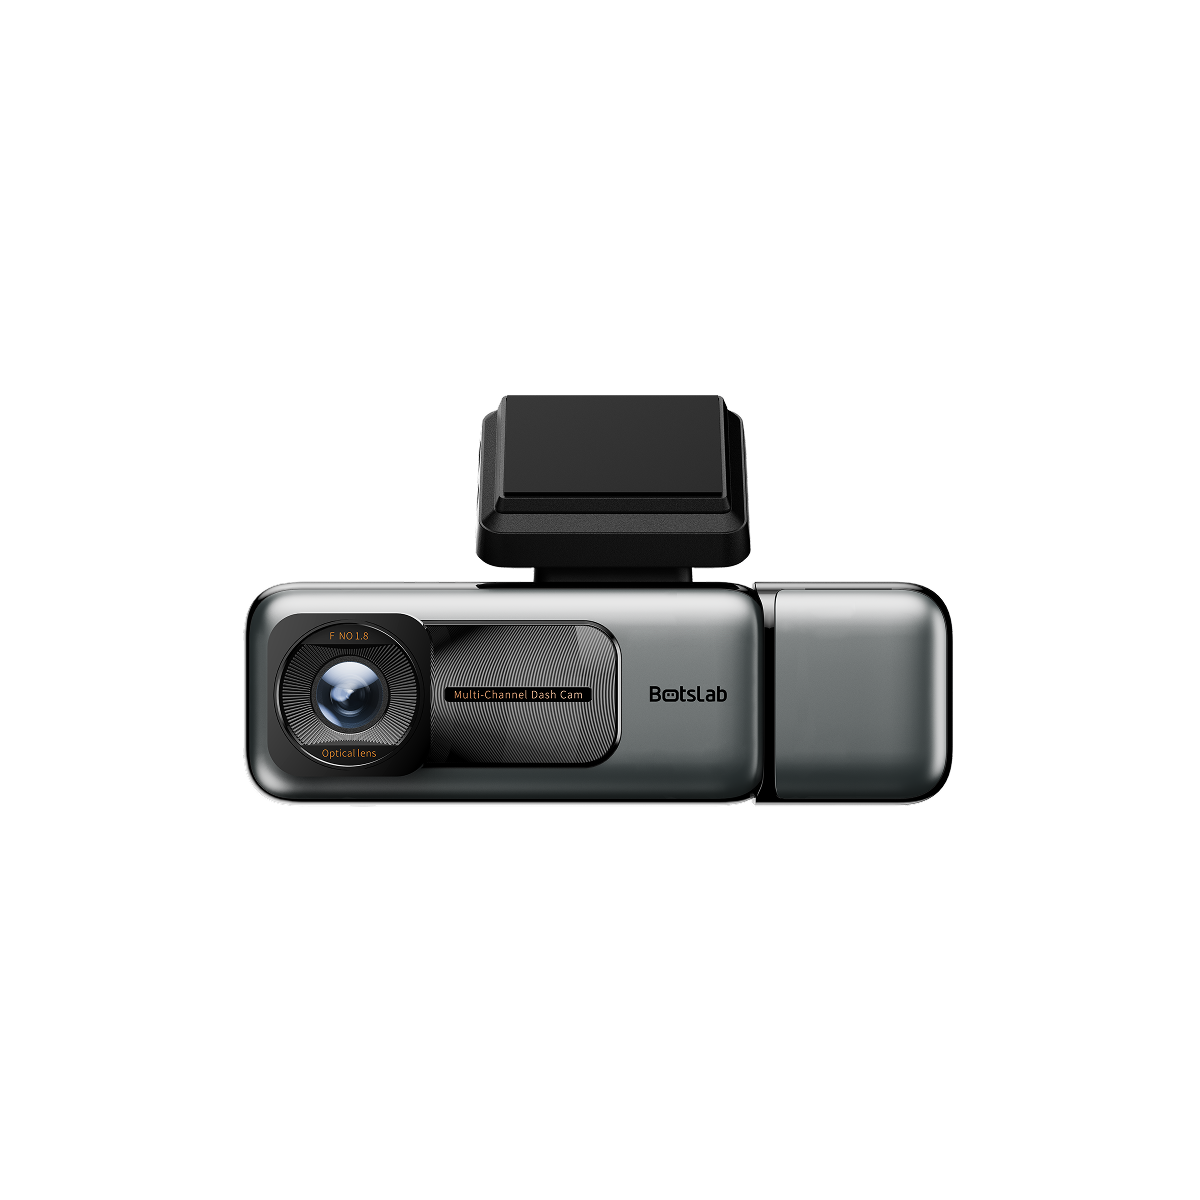
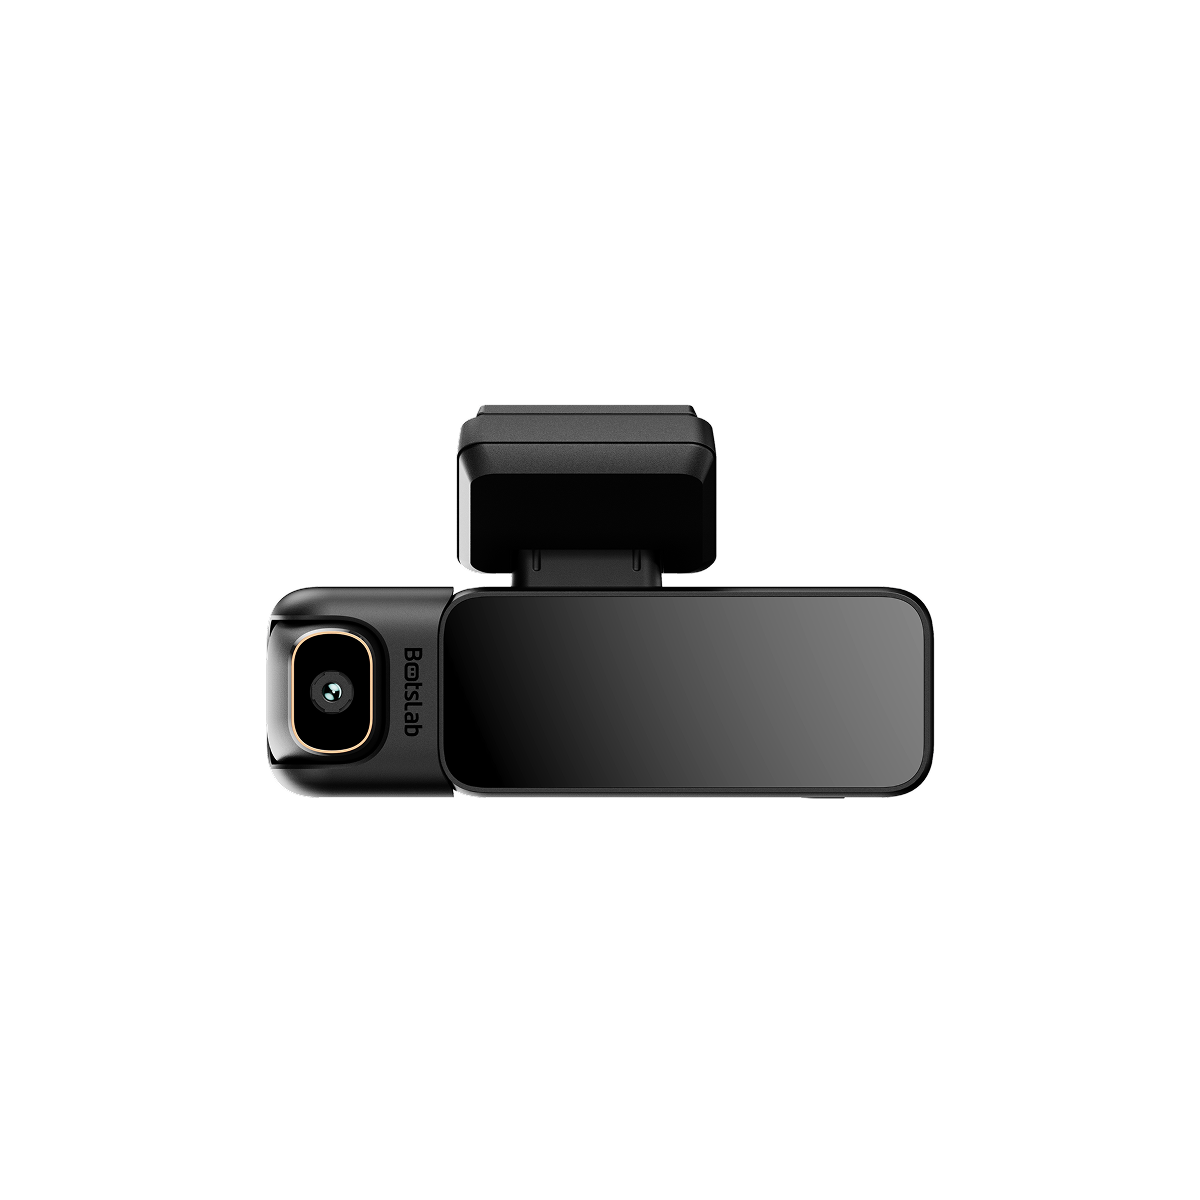
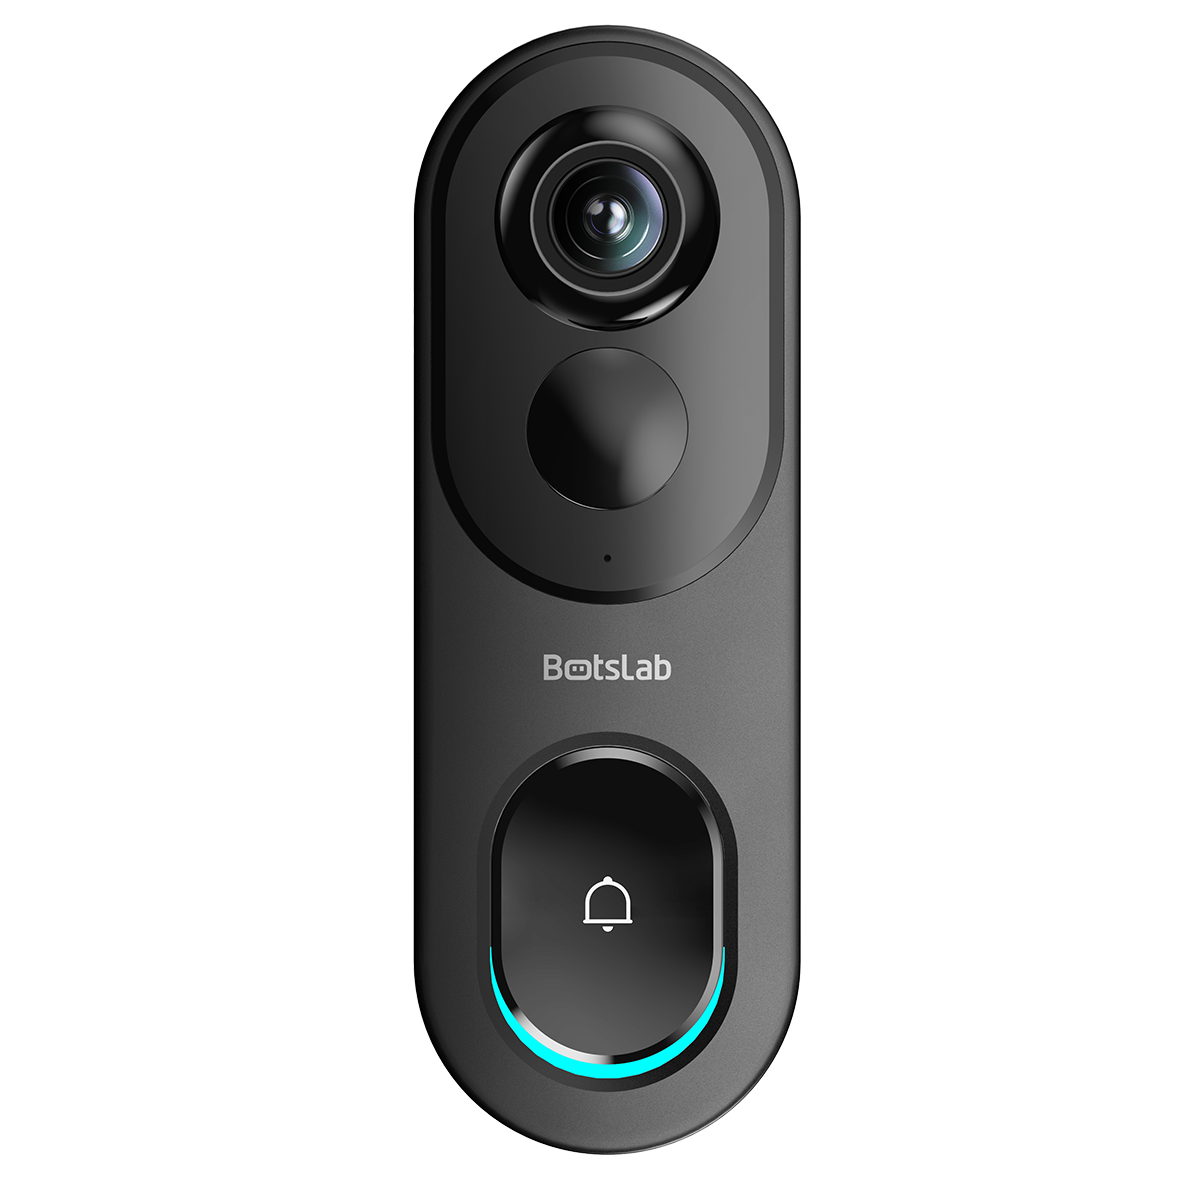
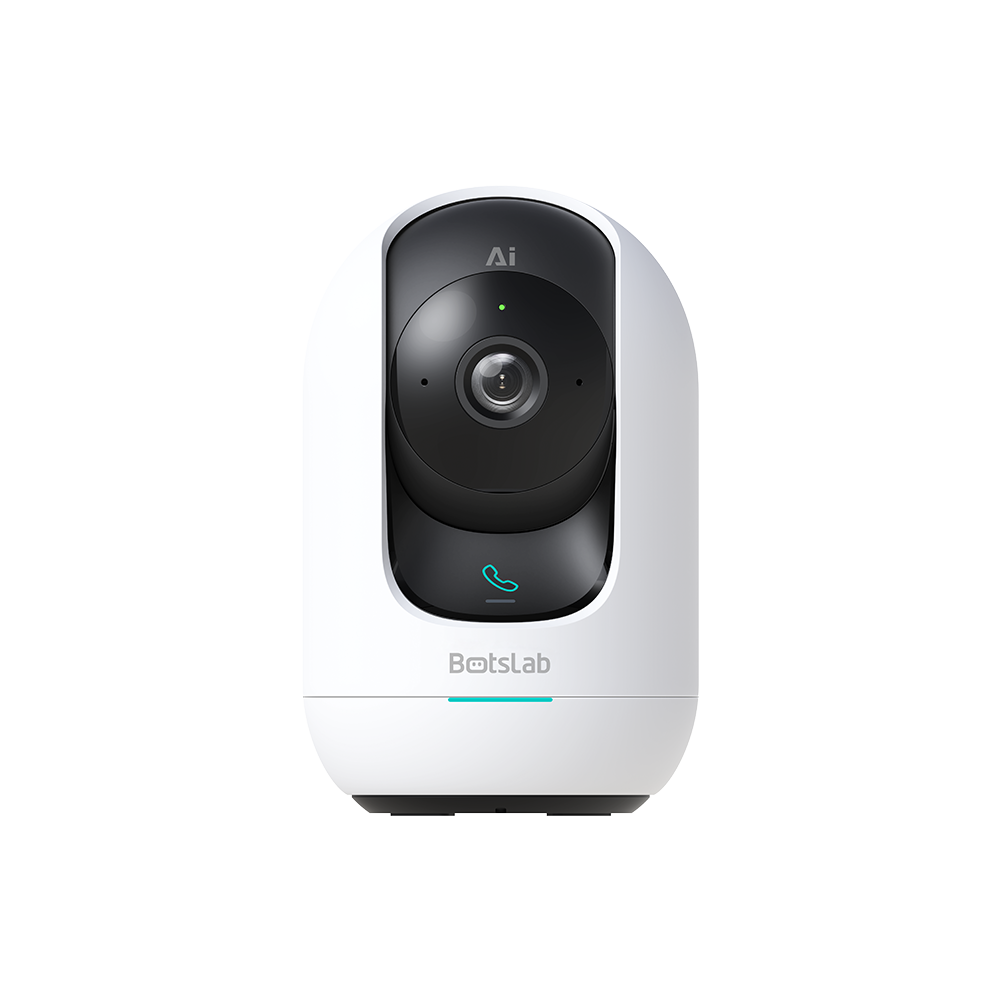
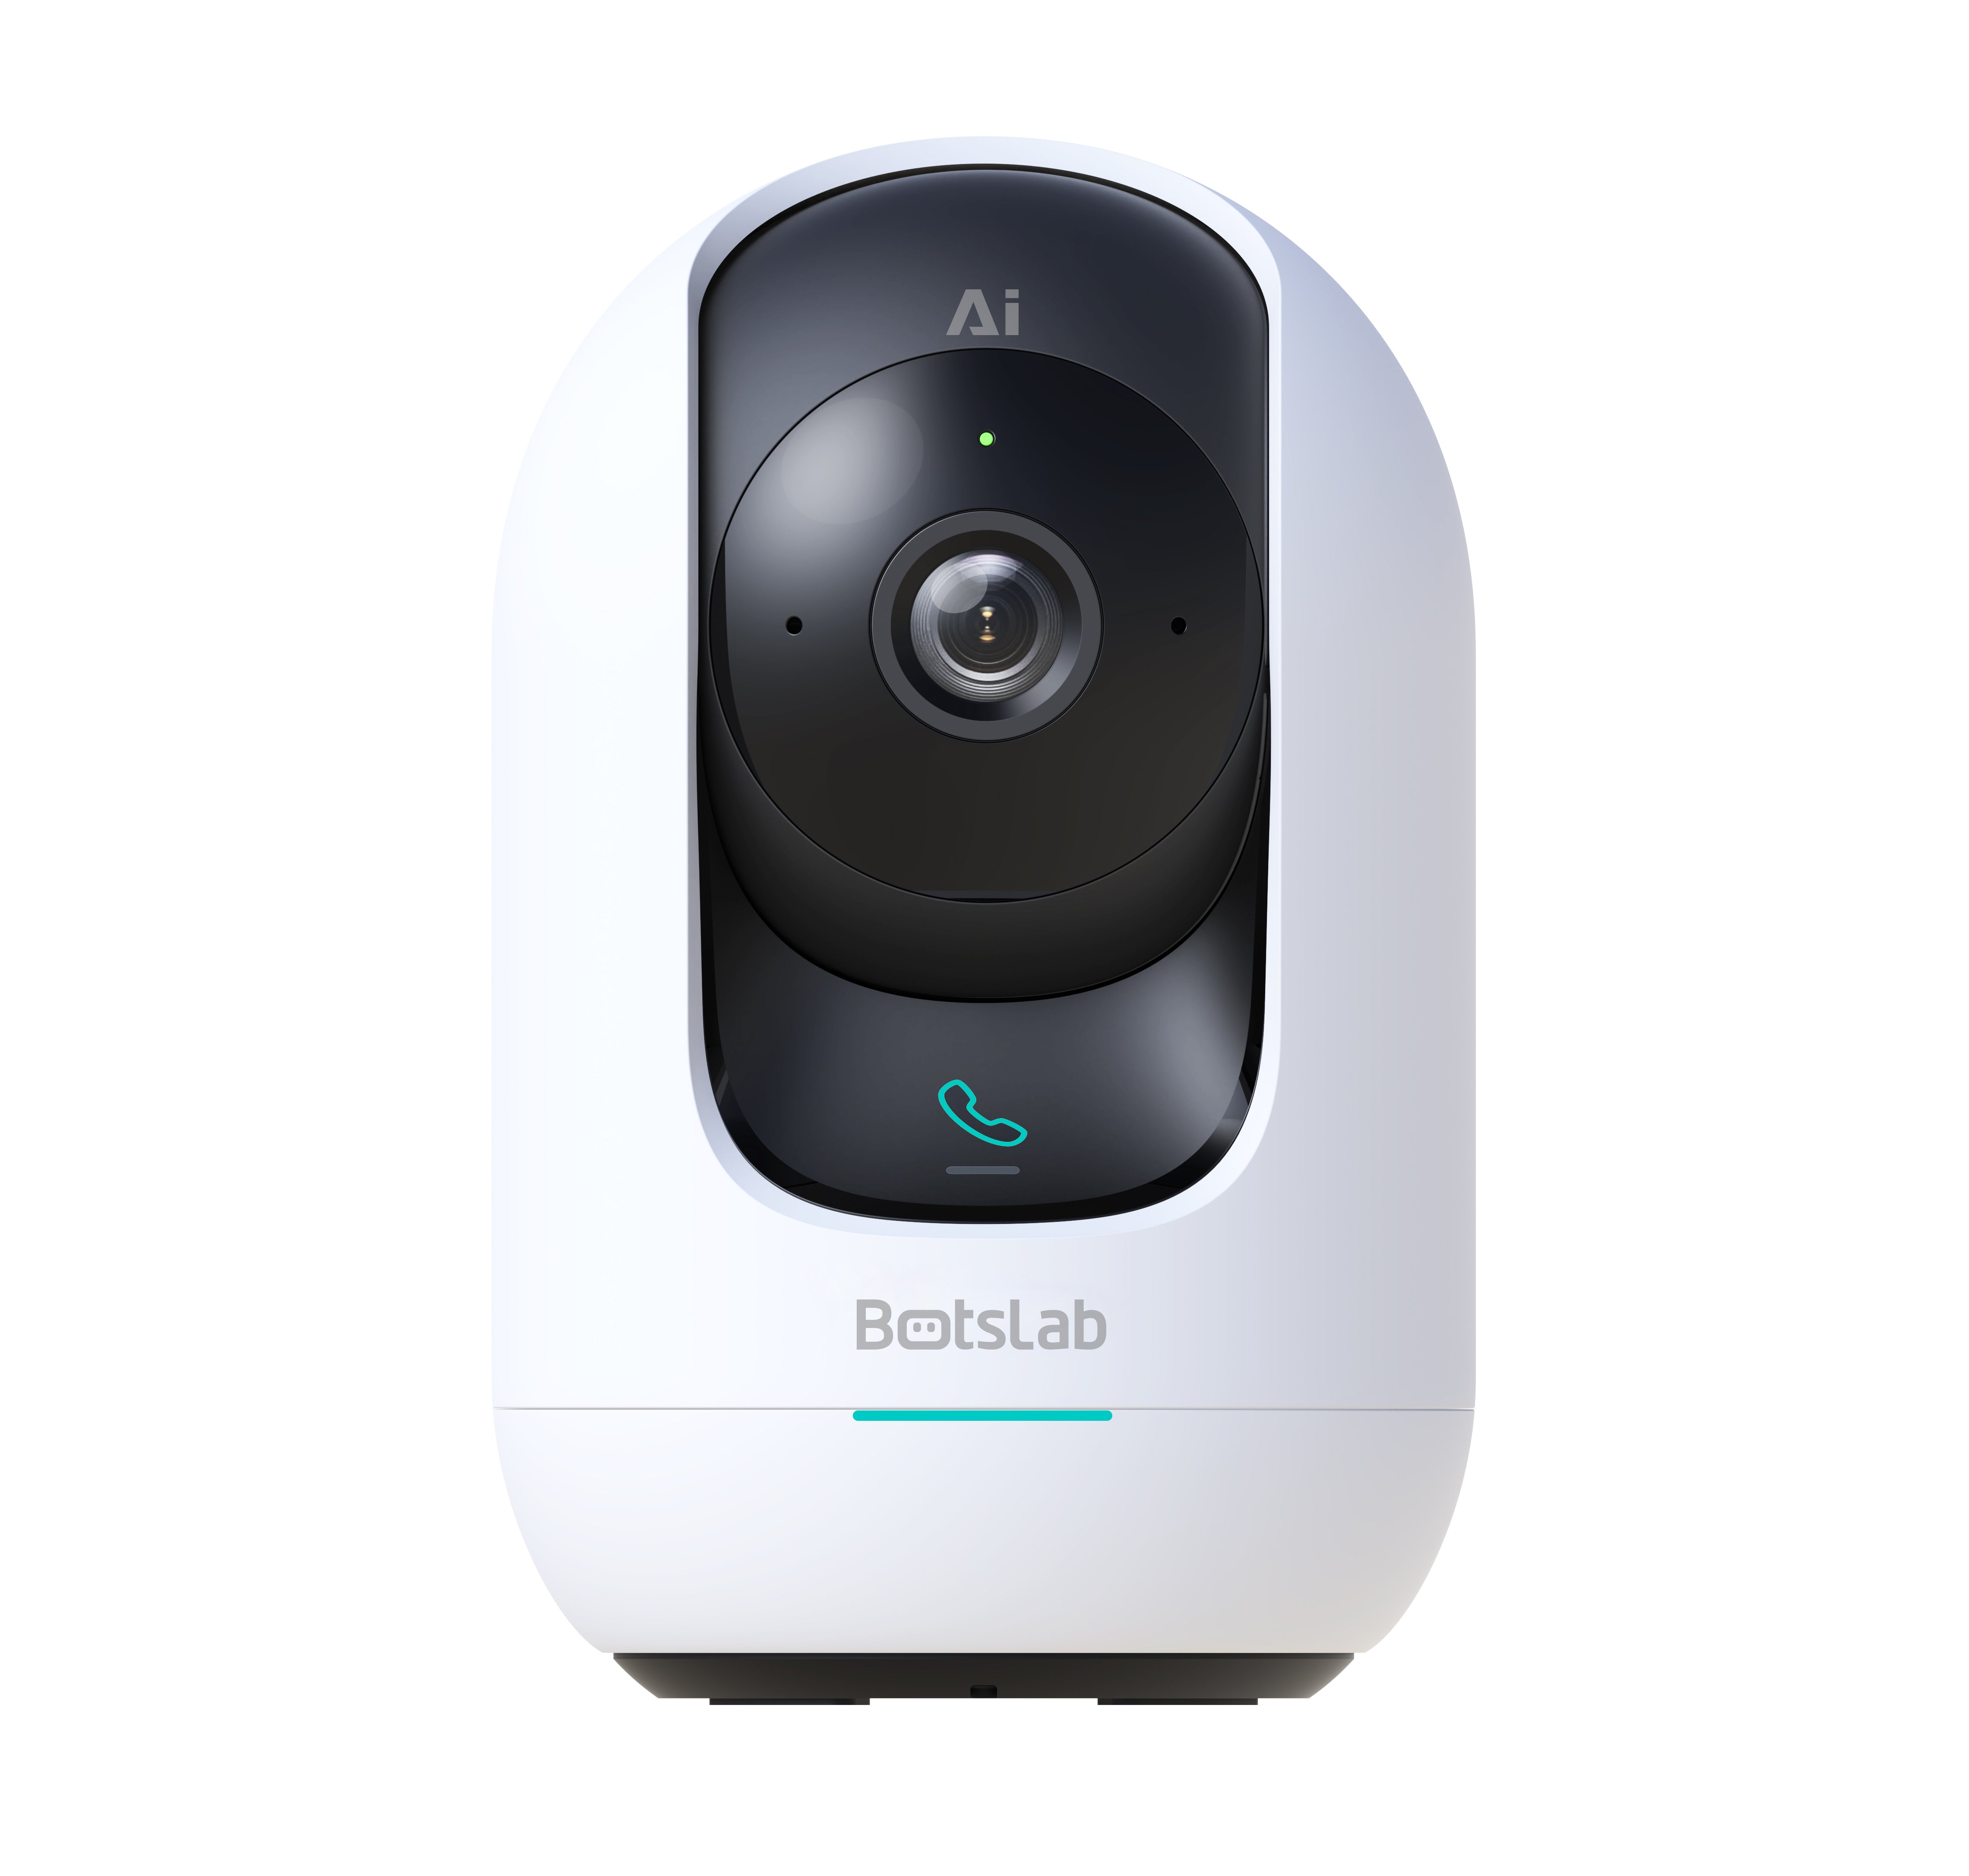
Many big brands sell diy home security systems. Some well-known ones are SimpliSafe, Botslab, and Ring. These systems are simple to set up. They work for people who rent or own their homes. You can get features like AI detection, local storage, and clear video. Here is how SimpliSafe and Botslab compare:
| Feature | SimpliSafe | Botslab W510 |
|---|---|---|
| Intruder Intervention | Yes, with live video monitoring | No |
| Active Guard | Yes, uses AI to deter intruders | No |
| Video Quality | Standard (not specified) | 4K |
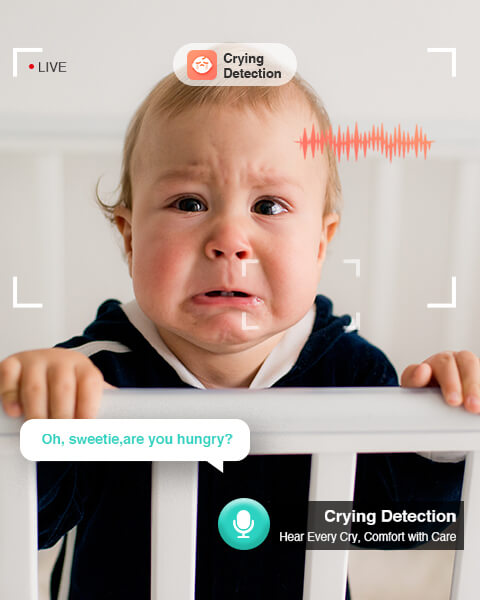
| AI Detection | Limited | Yes |
| Storage | Cloud storage available (monthly fee) | Local storage (no monthly fee) |
| Price Range | $250 to $730 for packages | Not specified |
Botslab stands out because you do not pay monthly fees. You get local storage, so your videos stay private. You also avoid extra costs. Local storage means you control your own data.
Tip: No-contract security systems help you avoid surprise bills. They also give you more privacy.
Plan Device Placement
Make a plan before you install your diy security system. Think about where each device should go. Start with entry points like front doors, back doors, and windows on the ground floor. These are the places most intruders try first. Put cameras and sensors where they can see the most.
When you plan, remember these things:
- Camera Positioning: Place cameras low to cover blind spots. Use more cameras for big areas.
- Entry Points and High-Traffic Areas: Cover all doors, garages, and side gates.
- Privacy and Legal Restrictions: Do not point cameras at your neighbor’s house. Check your local laws.
- Lighting Conditions: Avoid glare from lights. Use night vision cameras for dark spots.
- Camera Quality: Pick cameras with high resolution and a wide view.
Decide if you want cameras to be seen or hidden. Cameras you can see may scare off burglars. Hidden cameras can catch sneaky people. For outside, make sure cameras can handle rain and sun.
Note: Never put cameras in private places like bedrooms or bathrooms. Always respect privacy.
Step-by-Step Installation
You do not need to be a tech expert to install a diy security system. Most no-contract systems have easy instructions. Many people finish in 30 to 45 minutes. Here is a simple guide to help you:
- Open your devices and check you have all the parts.
- Put sensors on doors and windows. Remove battery tabs and stick them on.
- Mount your cameras. Make sure they cover the right spots and avoid glare.
- Set up the control panel or hub in the middle of your home.
- Add extra devices like smoke detectors or sirens if you have them.
- Use the app to name each device and finish setup.
- Test each part to make sure it works.
Most people install their diy security system by themselves. If you need help, check the app or the company’s website for guides.
Tip: Always test your diy security system after you set it up. This helps you find problems early.
Connect and Set Up Apps
The app is the brain of your diy security system. You can control everything from your phone. Most no-contract systems have apps that make setup easy. You can watch live video, get alerts, and talk to visitors.
Here is what you can do with most home security system apps:
| Feature | Description |
|---|---|
| Remote Access | Control your diy security system from anywhere. |
| Alerts | Get instant notifications if something happens. |
| Live Camera Streaming | Watch what is happening at home in real time. |
| Automation Features | Set up routines, like turning on lights when motion is detected. |
| Installation Guidance | Follow step-by-step instructions right in the app. |
| Emergency Notifications | Quickly contact help if there is an emergency. |
Smart apps make it easy to watch your home. You can check in from work, school, or even on vacation. The app also helps you update your diy security system and add new devices.
Callout: Always use strong passwords for your diy security system app. Change the default password to keep your system safe.
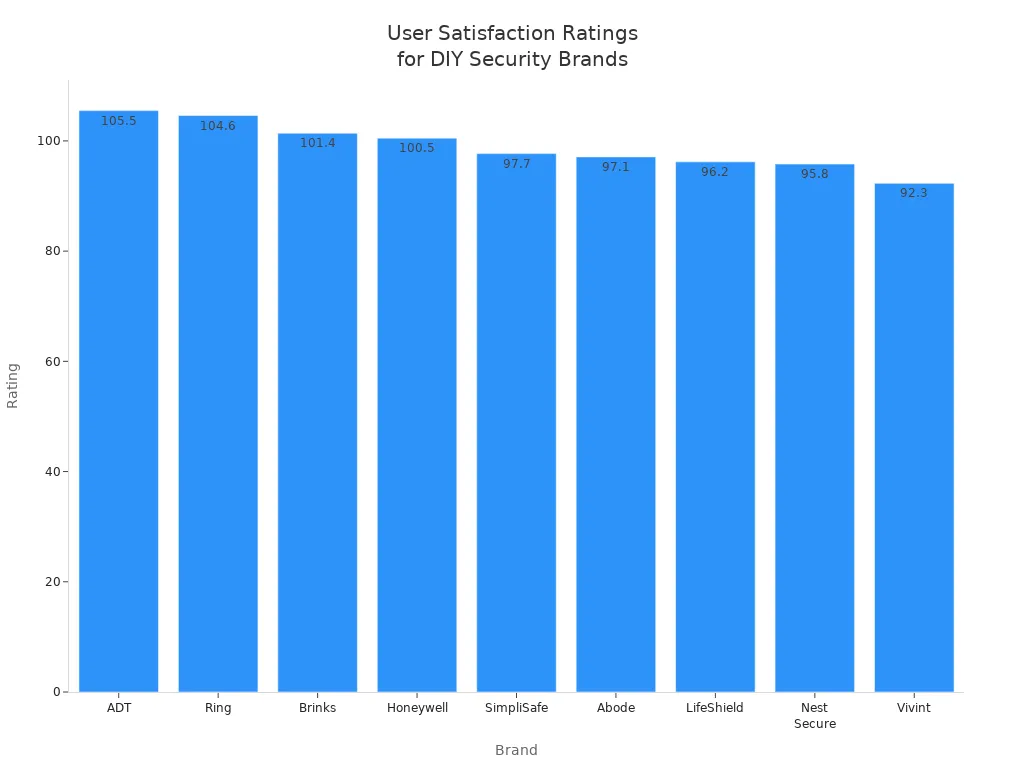
Many people want to know which brands have the happiest customers. Here is a chart showing user satisfaction for top home security systems:
No-contract security systems are popular because they are easy to use and flexible. You can set up your diy security system in less than an hour. You can start protecting your home right away.
Test, Troubleshoot, and Maintain
Test All Components
After you finish installing your home security system, you need to make sure everything works. Here’s a simple way to test each part:
- Check your owner’s manual for specific instructions.
- Follow the steps to test the alarm and sensors.
- Walk around your home and trigger each sensor to see if you get alerts.
- Watch live camera feeds in your app to confirm clear views.
- Test the self-monitoring option by arming the system and checking if you receive notifications.
Tip: Always test your system after any changes or updates. This keeps your self-monitoring option reliable.
Fix Common Issues
Sometimes, things don’t work as planned. Here are some common problems and how you can fix them:
- Insufficient coverage: Walk through your home and look for blind spots. Add more sensors or cameras if needed.
- False alarms: Double-check sensor placement and keep them clean.
- Connectivity problems: Move devices closer to your Wi-Fi router or upgrade to a mesh network.
- Device compatibility: Stick with one brand or make sure all devices work together.
- Battery drain: Use high-quality batteries and adjust settings to save power.
- Software glitches: Restart devices and check for updates.
Note: If your system won’t arm or disarm, make sure all doors and windows are closed.
Maintain and Upgrade
Keep your system in top shape with regular care:
- Check sensors and cameras every month.
- Update software and firmware to stay secure.
- Replace old equipment every 4 to 6 years.
- Add new devices or upgrade your self-monitoring option as your needs change.
A well-maintained system gives you peace of mind and keeps your home safe.
You can make your own security system with a few tools. DIY kits are cheaper and use wireless technology. You do not have to deal with messy wires. Put sensors on each door and window in your home. Add motion detectors to catch movement. Check your app often to see if everything is safe. Modern systems help everyone protect their homes easily.
FAQ
How long does it take to install a DIY home security system?
Most people finish setup in 30 to 60 minutes. You just follow the app instructions and place your devices where you want them.
Do I need Wi-Fi for my home security system?
Yes, you need Wi-Fi for most DIY systems. Wi-Fi lets you get alerts, watch live video, and control your system from your phone.
Can I use a DIY security system if I rent my home?
Absolutely! Wireless systems work great for renters. You can install them without drilling and take them with you when you move.


Share:
Best Home Security System Review for Modern Homes
Easy Tips to Make Your Home Safer for Your Family