

wire is completely hidden, protected from damage, and critically, kept clear of any airbag deployment zones for maximum safety and a clean, factory-finish look.

- Why is a Clean Cable Installation Important?
- What Tools Will You Need for the Job?
- How Do You Plan Your Cable Route Before Starting?
- What is the Most Common Cable Routing Path?
- Are There Different Routing Methods for Different Vehicles?
- What Are Some Alternative Routing Paths?
- How Do You Secure the Cable Neatly?
- What Are the Final Steps for Connecting the Rear Camera?
- Which Common Mistakes Should You Avoid?
- Why Choose a High-Quality Dash Cam System?
Why is a Clean Cable Installation Important?
Properly routing the cable for your Front and Rear Dash Camera is more than just an aesthetic choice; it is a critical aspect of functionality and safety. A dangling or exposed wire can be a significant distraction while driving, potentially snagging on objects or passengers. This not only risks damaging the cable or the camera connection but also presents a safety hazard. A professional installation protects the wire from being pinched in doors or worn down by friction, ensuring a reliable power supply and video feed for the life of the device.
Furthermore, a concealed cable maintains the original look and feel of your vehicle's interior. It prevents the clutter that comes with visible electronics, preserving your car's resale value and your enjoyment of the space. Most importantly, a planned route avoids interfering with essential safety features, particularly the side curtain airbags located in the A-pillars. An incorrectly placed wire can obstruct airbag deployment, leading to catastrophic failure during an accident.
What Tools Will You Need for the Job?
Achieving a professional-looking installation requires a few basic tools. While you can often tuck cables by hand, using the right equipment prevents damage to your vehicle's interior trim and makes the process much smoother and faster. Having these items ready before you begin will ensure you don't have to stop midway through the process.
| Tool | Purpose |
|---|---|
| Plastic Trim Removal Tool | Safely pry open interior panels and weatherstripping without scratching or breaking clips. This is the most essential tool for the job. |
| Zip Ties or Cable Clips | Secure the cable to existing wiring looms or anchor points behind panels to prevent rattling. |
| Scissors or Wire Cutters | To trim the excess length from zip ties for a clean finish. |
| Microfiber Cloth | Clean the glass surfaces where the front and rear cameras will be mounted for optimal adhesion. |
How Do You Plan Your Cable Route Before Starting?
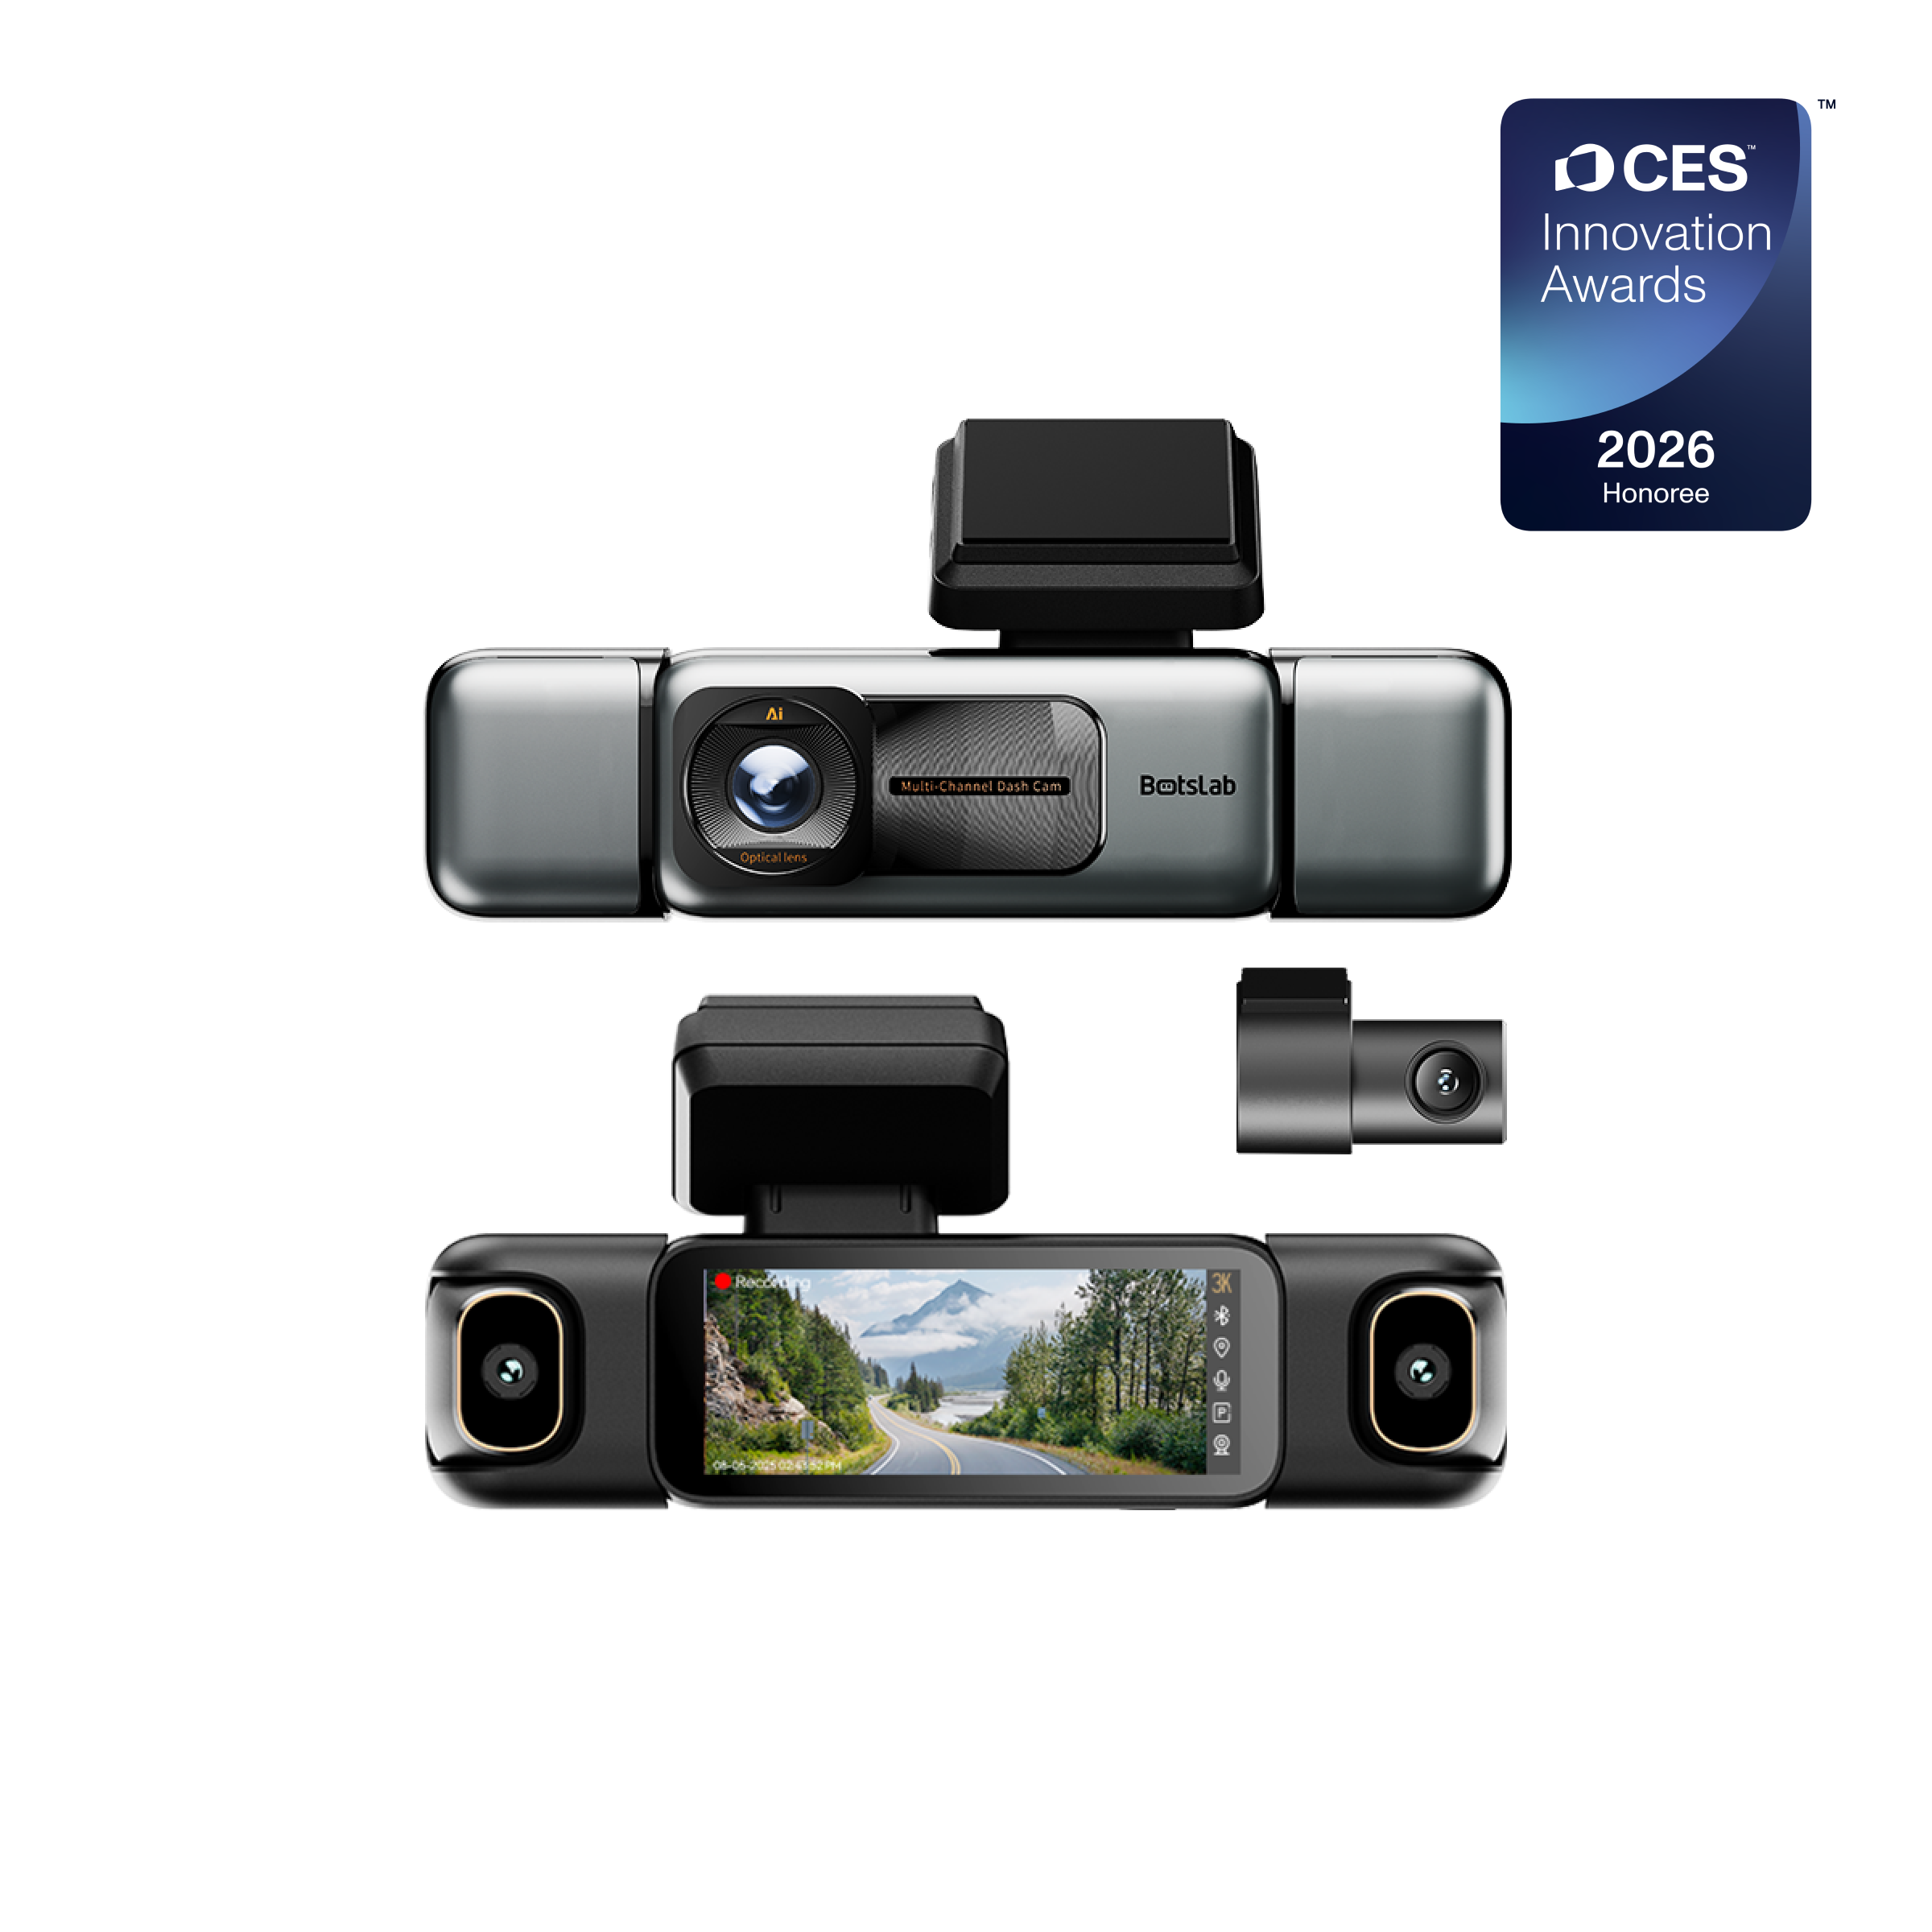
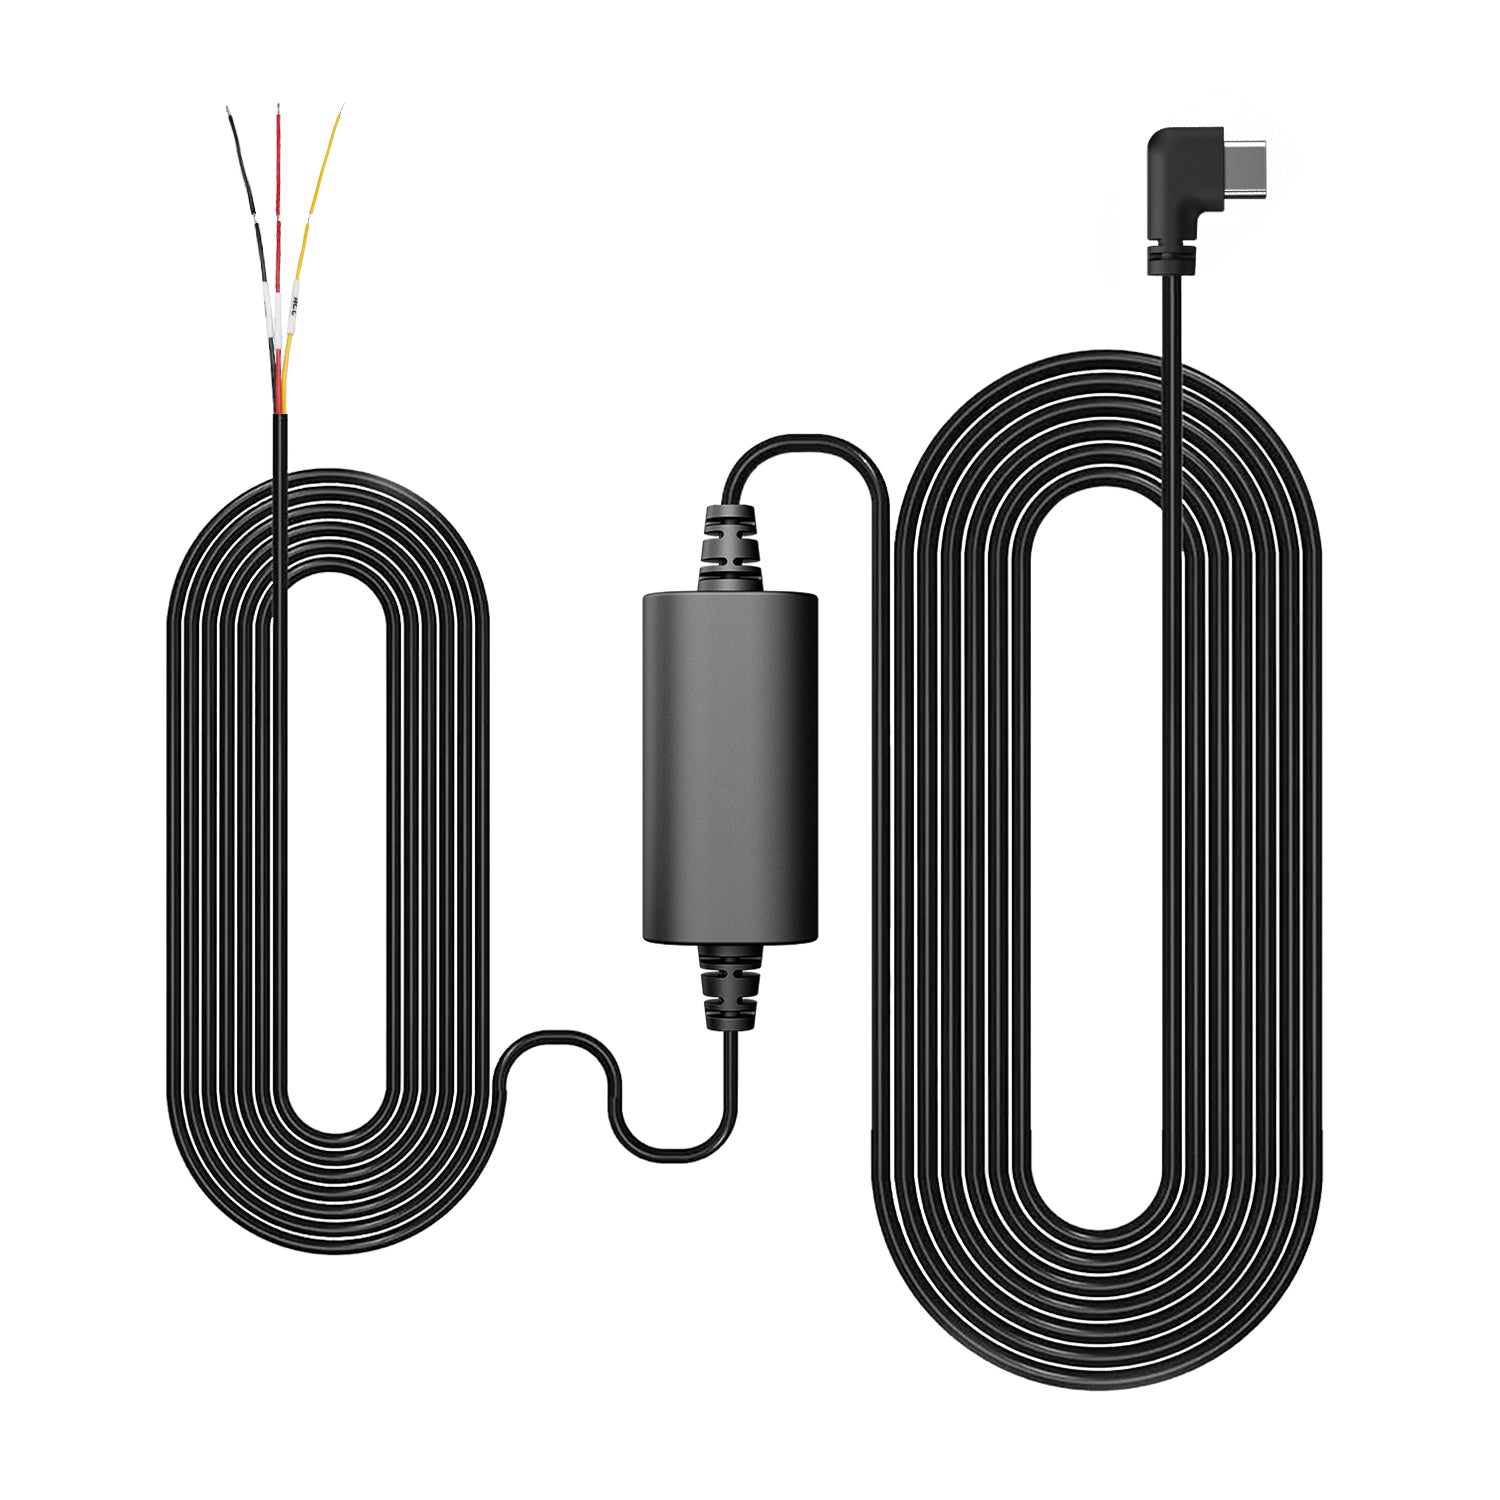
Before you tuck a single inch of wire, a few minutes of planning will save you significant time and prevent potential issues. Start by temporarily placing your rear camera in its final position on the back window. Unravel the entire rear camera cable and loosely run it from the front camera to the rear camera along your intended path. This dry run confirms that the provided cable is long enough to reach, a feature often included with premium systems like the Botslab G980H 4K, which comes with ample cable length for most vehicles.
Next, identify the trim panels you will need to work around. Look at the seams where the headliner meets the plastic pillars (the vertical supports between your windows). Pay special attention to the A-pillar (next to the windshield) and check for markings like "SRS," "Airbag," or "SRS Airbag." This indicates the location of the side curtain airbag, and your cable route *must* run behind it, not over it. The safest path is typically along the windshield side of the pillar, away from the airbag module itself. Finally, decide on a side of the vehicle—passenger or driver—to run the cable. The passenger side is often preferred as it has less existing wiring and driver-side controls to interfere with.
What is the Most Common Cable Routing Path?
The most widely used and effective method for routing a rear dash camera cable is through the vehicle's upper trim. This path keeps the wire completely out of sight and away from moving parts like seats and pedals. The process follows a logical sequence from the front of the vehicle to the back.
Tucking the Cable into the Headliner
Start at your front dash camera. Run the rear camera's connecting cable upwards towards the headliner—the fabric ceiling of your car. Using your fingers or a plastic trim tool, gently push the cable into the small gap between the top of the windshield and the headliner. Work your way across towards the passenger side of the vehicle. The headliner has enough flexibility to easily accommodate the thin cable without causing any damage or bulging.
Navigating the A-Pillar Safely
When you reach the A-pillar, you must prioritize safety. As mentioned, this pillar contains the side curtain airbag. Use your trim tool to gently pry open the edge of the A-pillar cover closest to the windshield. You do not need to remove the entire panel. Route the cable down this channel, ensuring it is positioned behind the airbag assembly. You can often secure it to existing wiring with a zip tie. Never run the cable in front of or over the airbag, as this will impede its deployment in an accident.
Continuing Along the B and C-Pillars
Once past the A-pillar, continue tucking the cable into the top of the door frame trim, where the headliner meets the side of the vehicle. You can typically push the wire behind the rubber weatherstripping or just above the plastic trim of the B-pillar (between the front and rear doors) and the C-pillar (behind the rear doors). Continue this path all the way to the rear of the vehicle until you reach the rear windshield.
Are There Different Routing Methods for Different Vehicles?
While the headliner method is nearly universal, the specific execution can vary slightly depending on your vehicle's body style. Understanding these nuances helps create the cleanest installation possible.
Routing Cables in a Sedan
For a sedan, follow the headliner route along the C-pillar. From there, you can often tuck the wire into the trim surrounding the rear deck (where the speakers are located) and bring it up to the rear windshield. The key challenge is managing the transition from the side pillar to the rear glass neatly. Take your time to hide the wire completely within the trim for a seamless look.
Adapting the Route for an SUV or Hatchback
SUVs and hatchbacks are often the easiest vehicles for this task. The headliner extends all the way to the rear hatch. After passing the C-pillar, continue tucking the wire along the headliner's edge to the top of the rear hatch. The challenge here is getting the cable from the vehicle's body to the hatch itself. Look for the existing flexible rubber conduit or grommet that carries other wires (like for the rear defroster or wiper). Carefully feed the dash cam cable through this protective tube for a weatherproof and professional connection.
Special Considerations for Trucks
In a pickup truck, the path is shorter but requires attention to detail. You will route the cable along the headliner to the C-pillar, which is located at the back of the cab. From there, run the wire along the edge of the rear window trim to your desired camera mounting location. If your truck has a sliding rear window, ensure the cable has enough slack to not get snagged or pulled when the window is operated.
What Are Some Alternative Routing Paths?
If routing through the headliner is not feasible, an alternative is to run the cable along the floor. This method involves tucking the wire under the trim panels at the bottom of the door sills. Start by running the wire down the A-pillar (again, staying clear of the airbag) and tucking it under the dashboard trim towards the floor. From there, use your trim tool to lift the edge of the plastic or carpeted floor trim along the doors and press the cable underneath. Run it all the way to the back seat area.
From the rear door sill, you will need to route the cable up towards the rear window. This can be done by tucking it under the side panel of the rear seat and then up the C-pillar from the bottom. While effective, this method is often more labor-intensive and may require removing more panels than the headliner approach. It is generally considered a secondary option.
How Do You Secure the Cable Neatly?
Once your cable is routed, securing it prevents future problems. Behind any panels you've loosened, use small zip ties to attach the new cable to your vehicle's existing wiring harnesses. This prevents the cable from shifting or creating annoying rattling sounds as you drive. Pull the zip ties snug but not so tight that they crimp the wire, and trim the excess length.
When you reach the rear camera, leave a small, gentle loop of slack—a "service loop"—before plugging it in. This prevents stress on the connector if the camera needs to be adjusted or removed later. Any remaining excess cable can be neatly coiled, secured with a zip tie, and tucked away behind a trim panel, often in the C-pillar or headliner area near the rear window.
What Are the Final Steps for Connecting the Rear Camera?
With the cable in place, the final stage is straightforward. Clean the designated area on your rear windshield with the provided alcohol wipe or a clean microfiber cloth to ensure strong adhesion. Peel the backing from the camera's adhesive mount and press it firmly onto the glass for 30-60 seconds. Plug the cable into the rear camera, ensuring the connection is secure. Power on your dash cam system to verify that the rear camera is receiving power and transmitting a clear image to the front unit's display or your connected app.
Which Common Mistakes Should You Avoid?
A successful installation depends on avoiding a few common pitfalls. The most critical error is routing the cable over an airbag module. Always identify the airbag location and route the wire behind it. Another mistake is pinching the wire in a trim panel or door. This can sever the connection immediately or cause it to fail over time due to friction. Use a trim tool to create adequate space rather than forcing the wire into a tight seam.
Finally, avoid pulling the cable too tight. A wire with no slack is susceptible to damage from vehicle vibrations and temperature changes that cause interior parts to expand and contract. Always leave a small amount of play, especially around corners and connection points, to ensure long-term reliability.
Why Choose a High-Quality Dash Cam System?
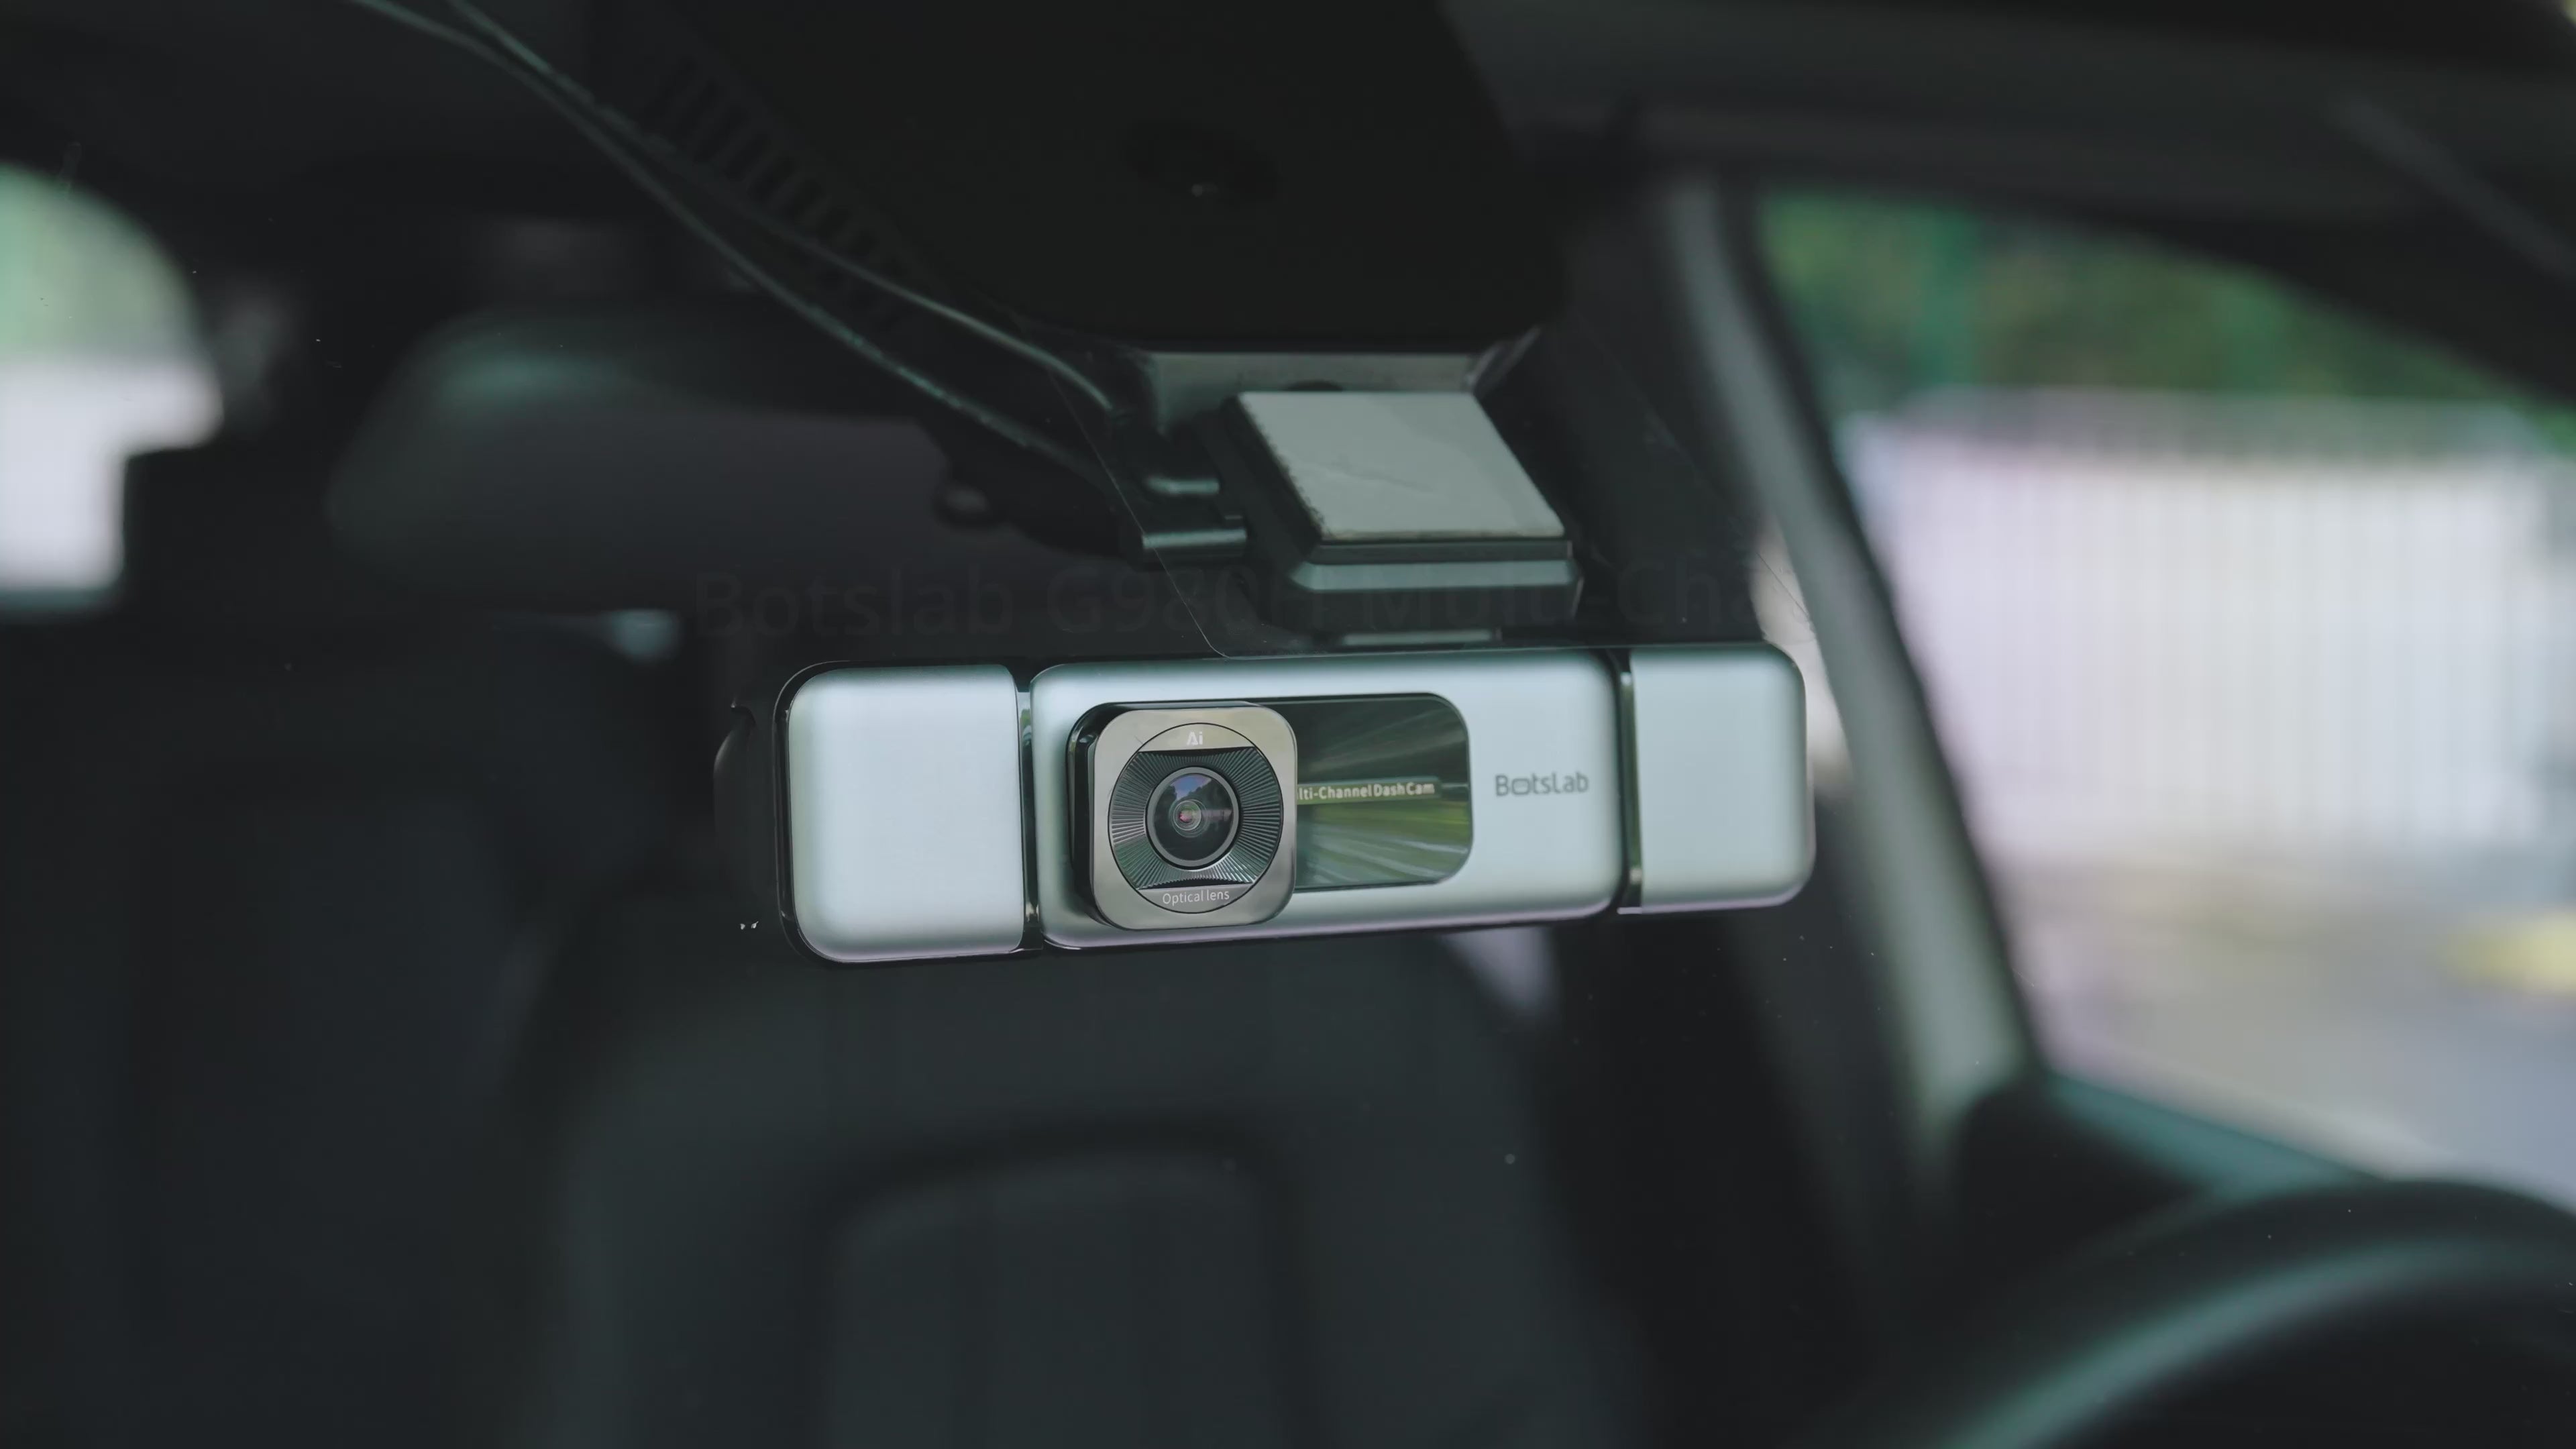
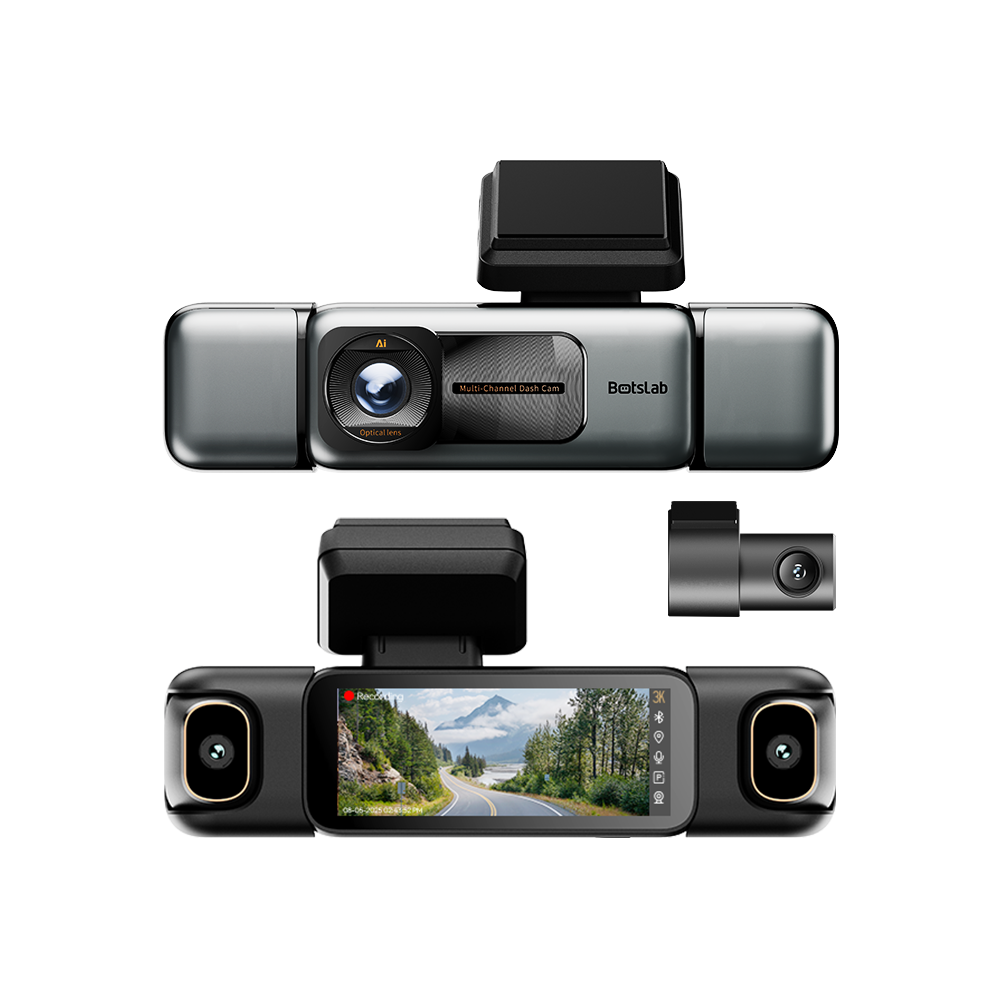
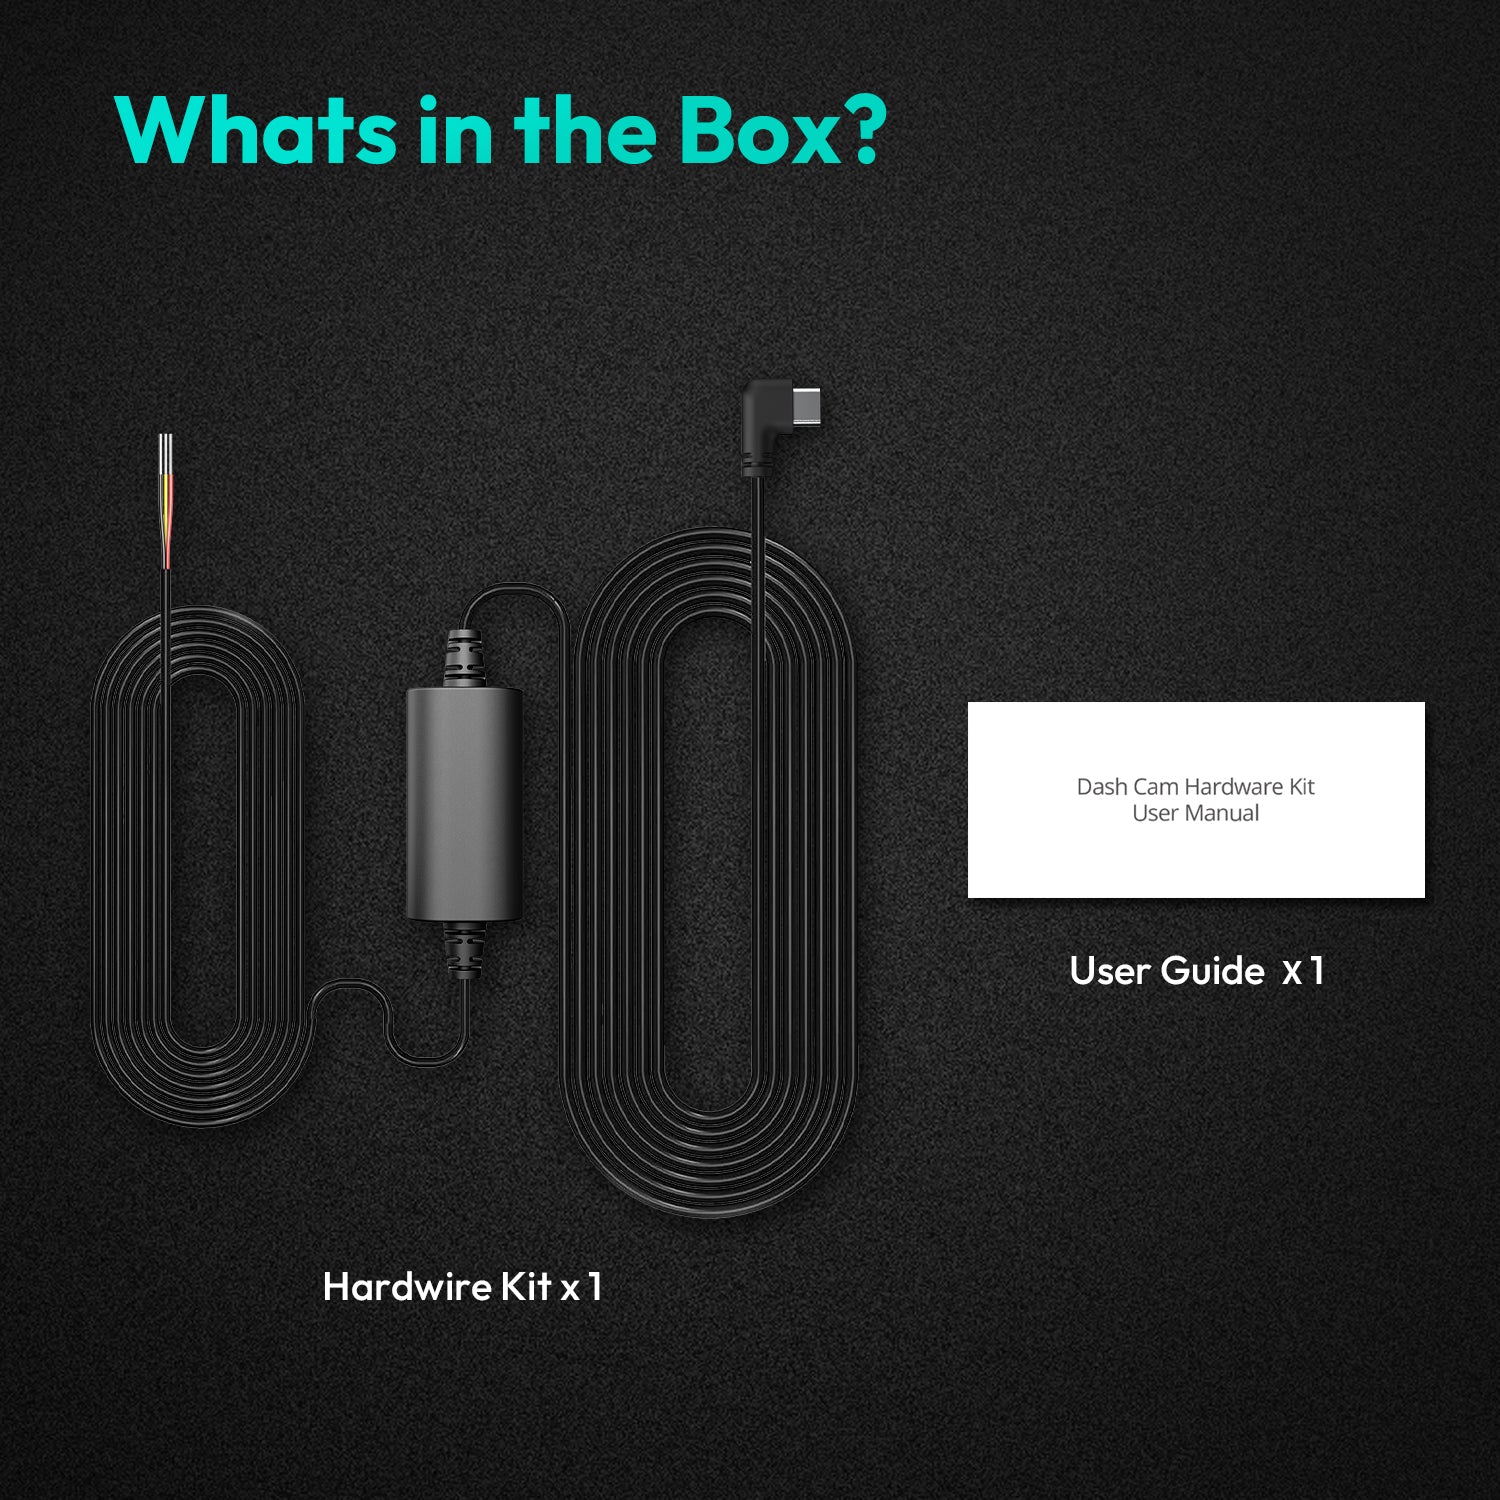
The installation process is made significantly easier when you start with a well-designed product. A premium Front and Rear Dash Camera system, such as the Botslab G980H 4K, is engineered for a seamless user experience. These kits typically include a rear camera cable that is sufficiently long for even large vehicles like SUVs and trucks, eliminating the frustrating discovery that your cable is too short mid-installation. The cables are also designed to be thin and flexible, making them easier to tuck into tight trim gaps.
Moreover, superior systems provide crystal-clear video quality from both cameras, ensuring that your efforts in achieving a clean installation are rewarded with reliable, high-definition footage. When you invest in a quality device, you are not just getting a camera; you are getting a complete, well-thought-out solution designed for safety, performance, and straightforward installation.


Teilen:
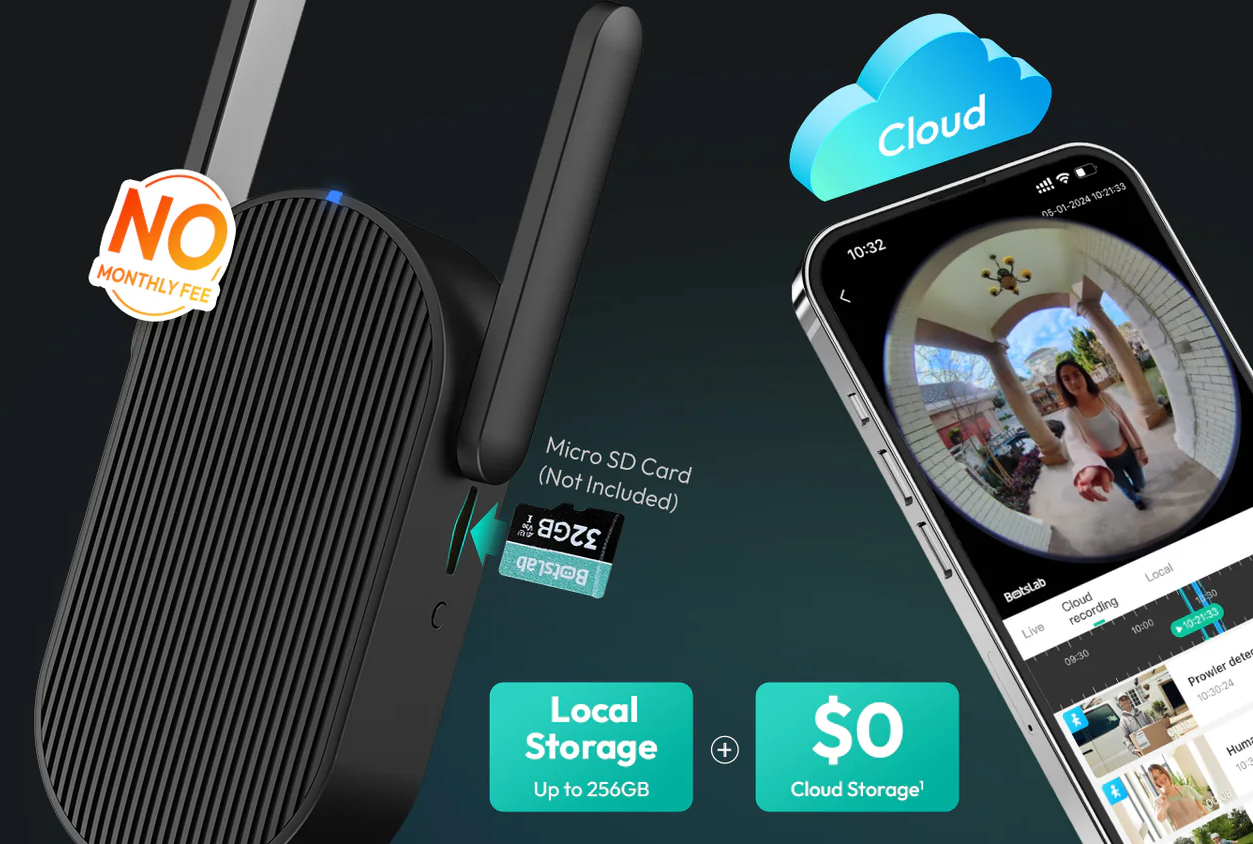
Why should I choose No Monthly Fee Security Cameras?
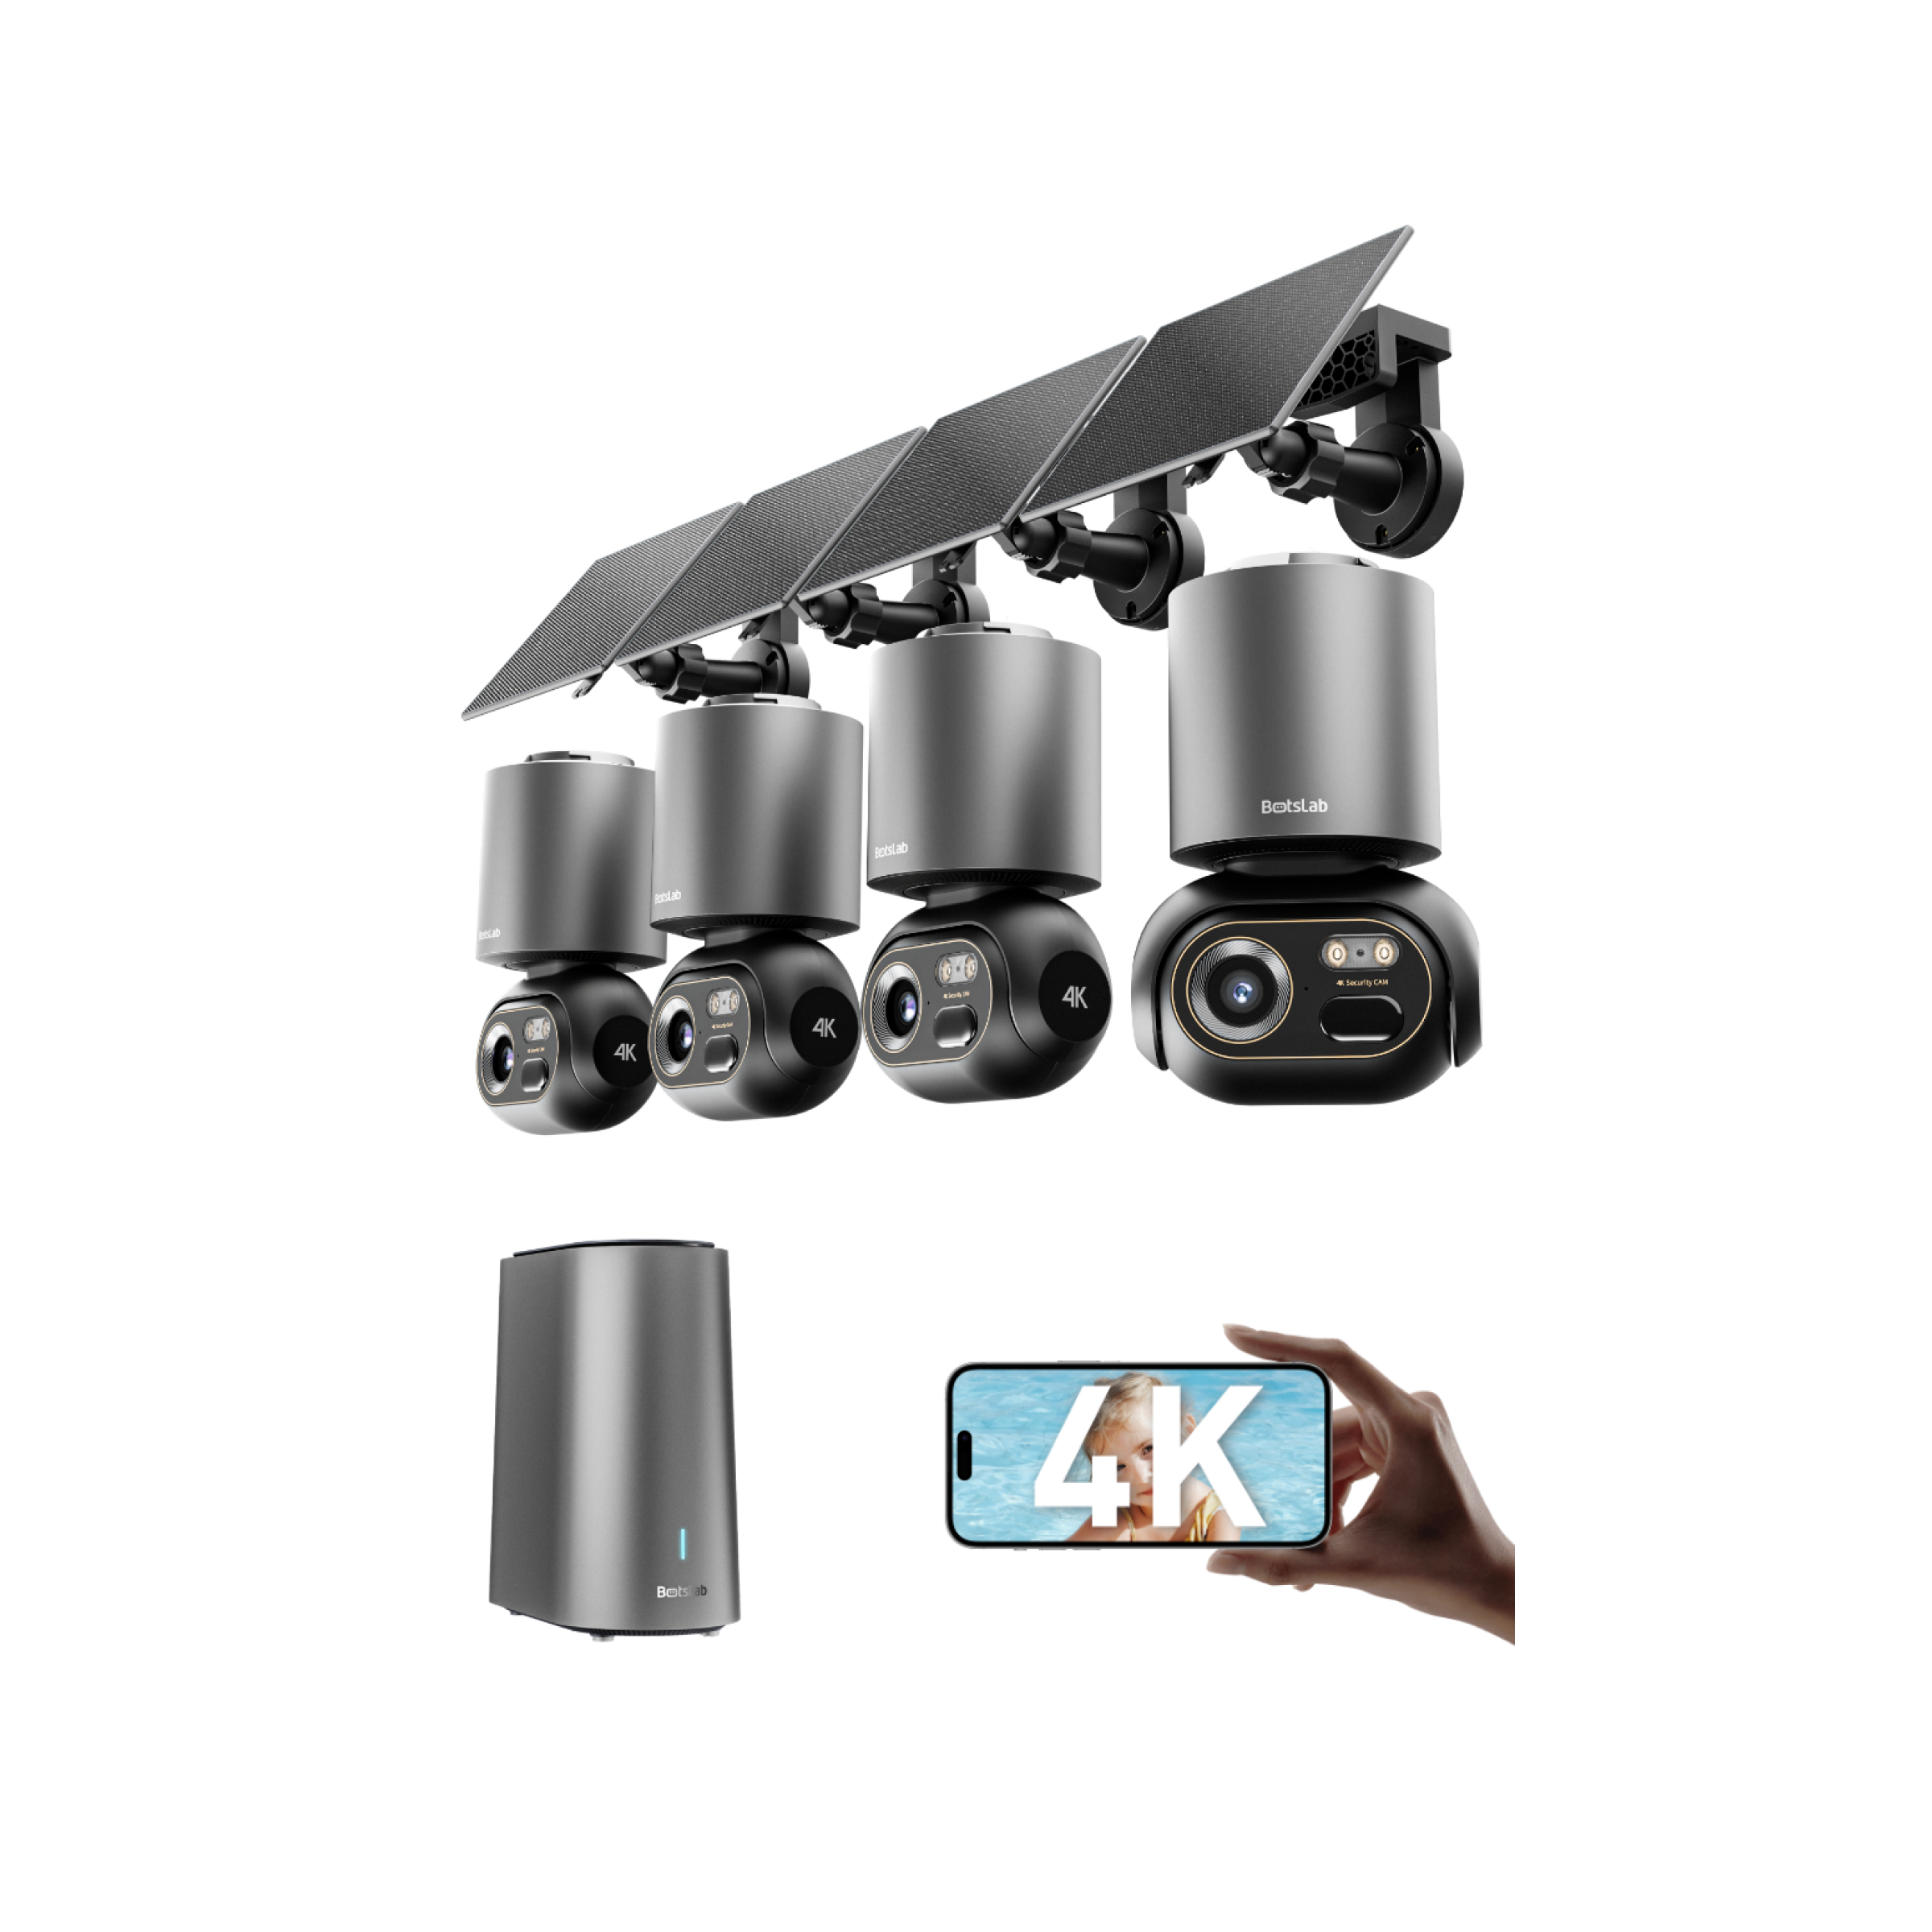
What is the real difference in quality with a 4K Wireless Security Camera Outdoor?