

Installing a wireless outdoor camera is a straightforward DIY project that most people can complete in under an hour. The ease comes from a modern, user-focused design that eliminates the need for professional wiring. The core process involves charging the device, connecting it to your home Wi-Fi using a smartphone app, and physically mounting the camera bracket with just a few screws.

Table of Contents
Why Is Wireless Camera Installation a Simple DIY Project?
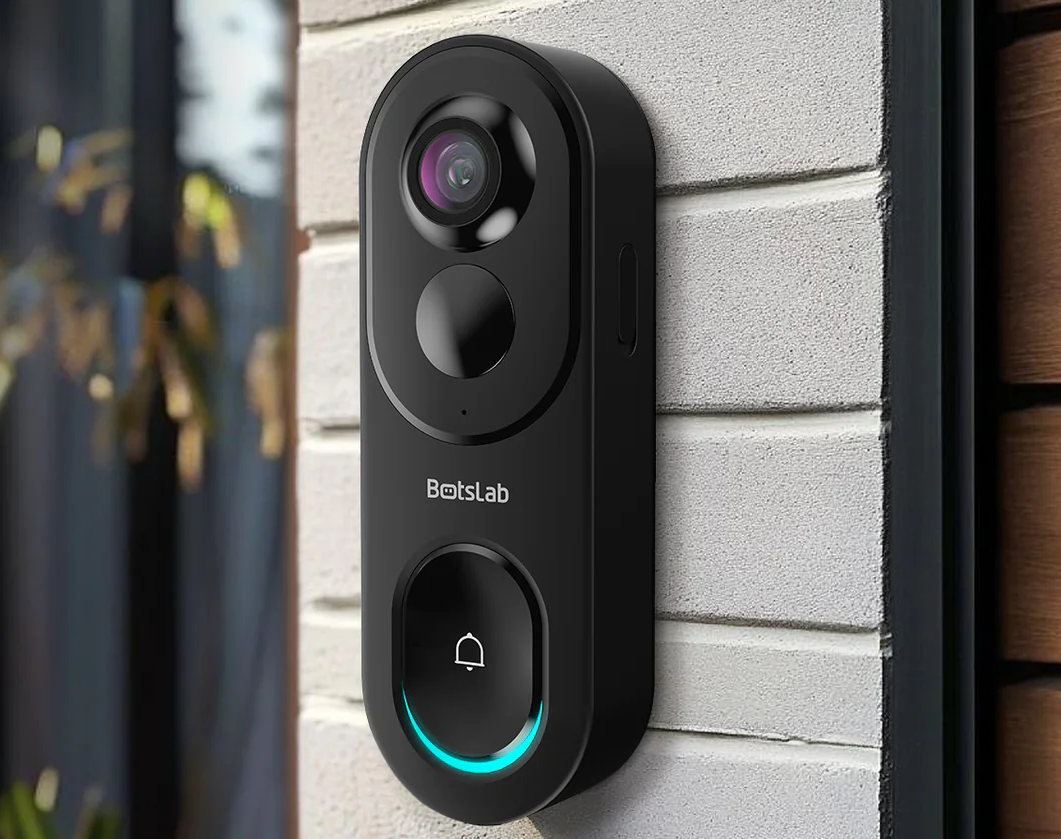
The primary reason installing a Best Wireless Outdoor Camera is so manageable is the absence of complex wiring. Unlike traditional CCTV systems that require professional installation to run video and power cables through walls, wireless models are designed for simplicity and convenience. They transmit video footage over your home's Wi-Fi network and are typically powered by a long-lasting, rechargeable battery.
This "wire-free" approach means you have complete freedom in placing the camera. There is no need to drill large holes for cables or hire an electrician. The entire setup, from unboxing to live-streaming video, is handled through an intuitive smartphone application. This app-based process guides you through each step, making the technology accessible to everyone, regardless of their technical expertise.
What Preparations Are Needed for a Smooth Installation?
A successful installation begins with a few simple preparations. Before you even pick up a drill, taking a moment to gather your tools and get the camera ready will streamline the entire process. The beauty of modern wireless cameras is that the required tool list is short and consists of items most people already own.
Your first step should always be to fully charge the camera's battery. This ensures it has enough power to complete the setup process without interruption. While it's charging, you can download the manufacturer's companion app—such as the Botslab app—onto your smartphone and create an account. Having your Wi-Fi password handy is also essential for the syncing process.
| Item | Purpose |
|---|---|
| Power Drill or Screwdriver | To create pilot holes and drive the mounting screws into the wall. |
| Pencil | To mark the positions for the screw holes. |
| Ladder | For safely reaching high mounting locations. |
| Smartphone | Required for app-based setup and testing the camera's live view. |
How Do You Find the Ideal Mounting Location?
Choosing the right spot for your outdoor camera is the most critical decision you will make. Proper placement ensures maximum coverage of your target area, a reliable connection, and optimal performance. An ideal location balances a clear field of view with access to a strong Wi-Fi signal and protection from the elements.
Why Are Height and Viewing Angles Critical?
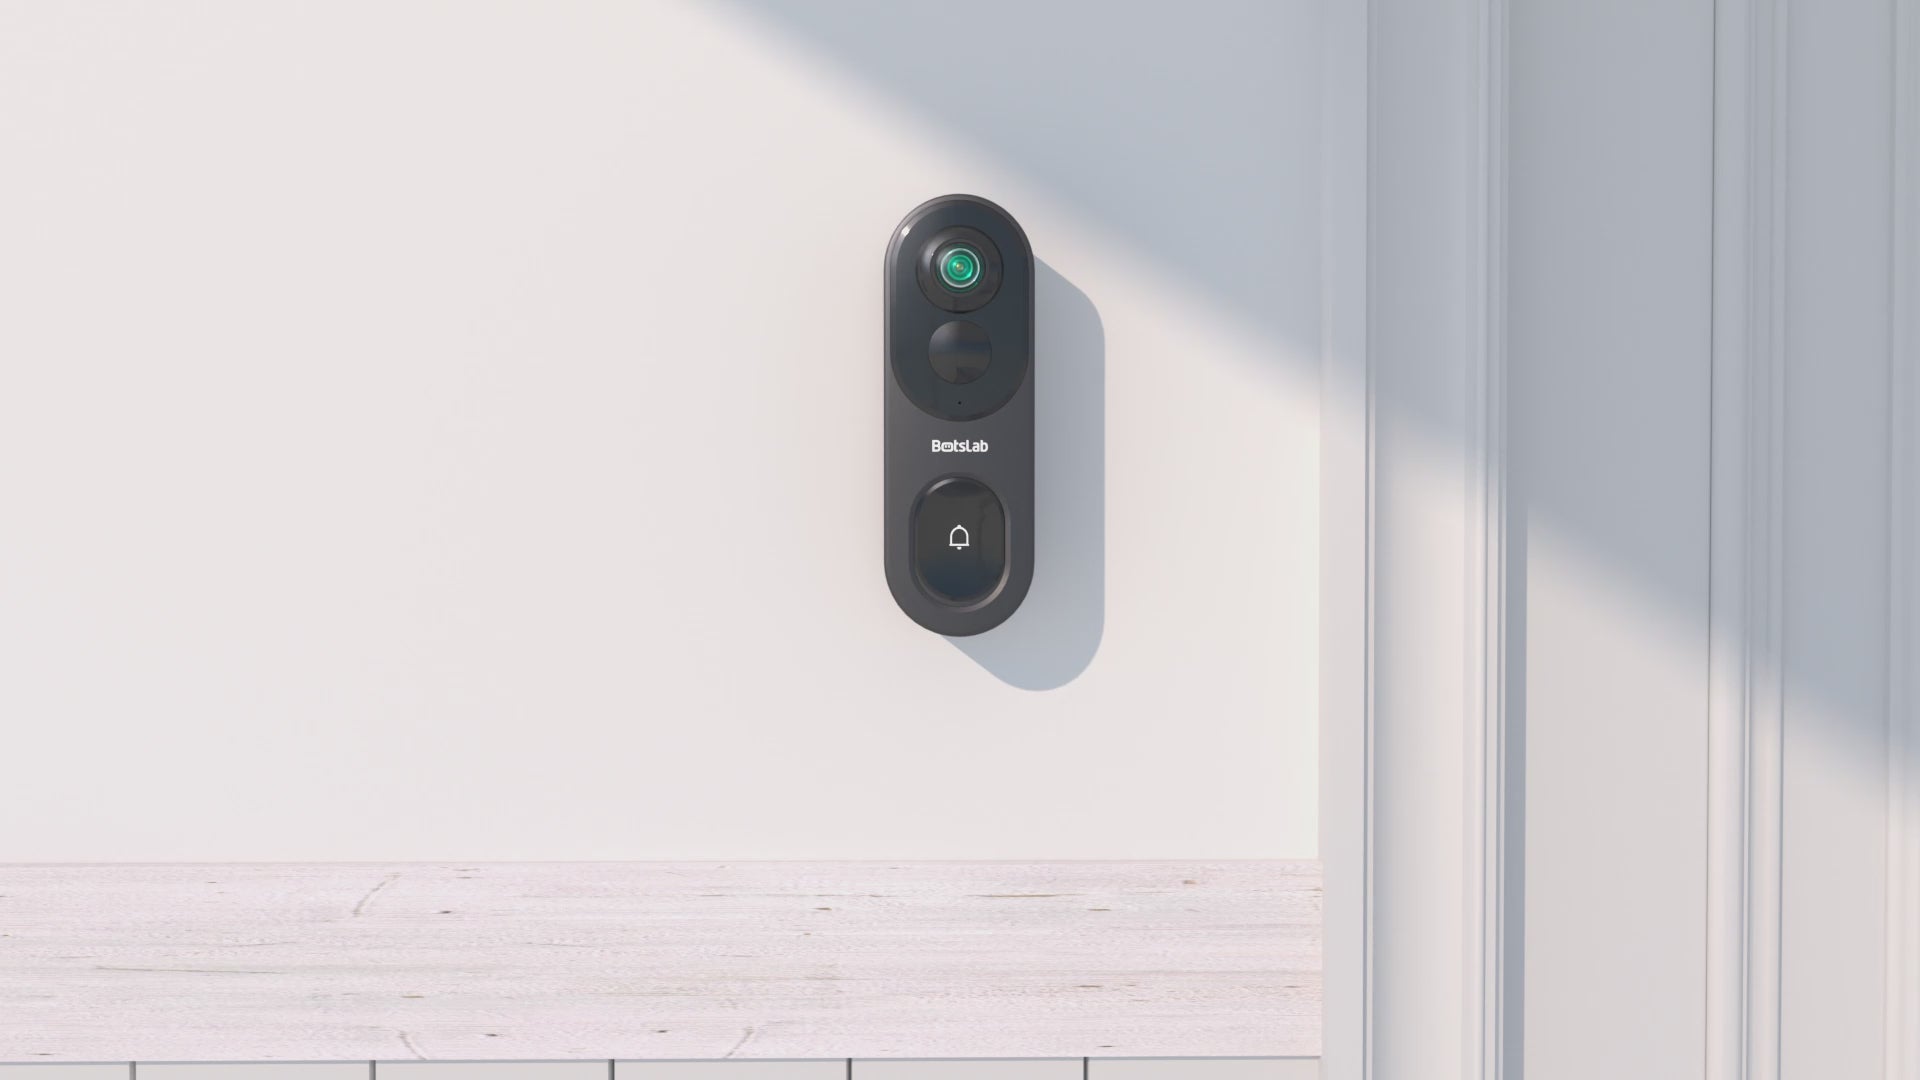
Mounting your camera at the right height is a balance between coverage and security. A height of 8 to 10 feet (2.5 to 3 meters) off the ground is generally recommended. This position is high enough to provide a broad, clear view of entry points like doors and driveways and also deters potential tampering. Angling the camera slightly downwards helps capture faces more clearly and reduces the amount of sky in the frame, which can otherwise interfere with exposure and motion detection.
Before you commit to a location, use the app's live-view feature on your phone to check the camera's perspective. Walk around the proposed mounting area while watching the live feed to ensure there are no significant blind spots. Pay attention to how the view covers walkways, gates, and windows you wish to monitor.
How Does Wi-Fi Strength Impact Camera Performance?
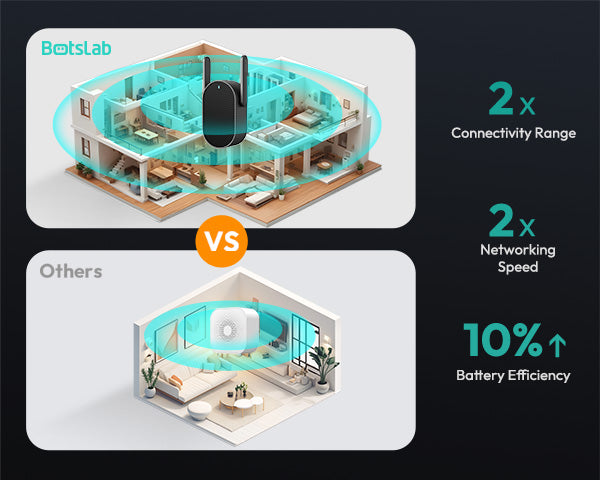
A stable Wi-Fi connection is the lifeline of your wireless camera. A weak or intermittent signal will result in pixelated video, delayed notifications, and frustrating connection dropouts. Most exterior walls, especially those made of brick or stucco, can weaken Wi-Fi signals. Therefore, it is essential to test the signal strength at your desired mounting location before you drill any holes.
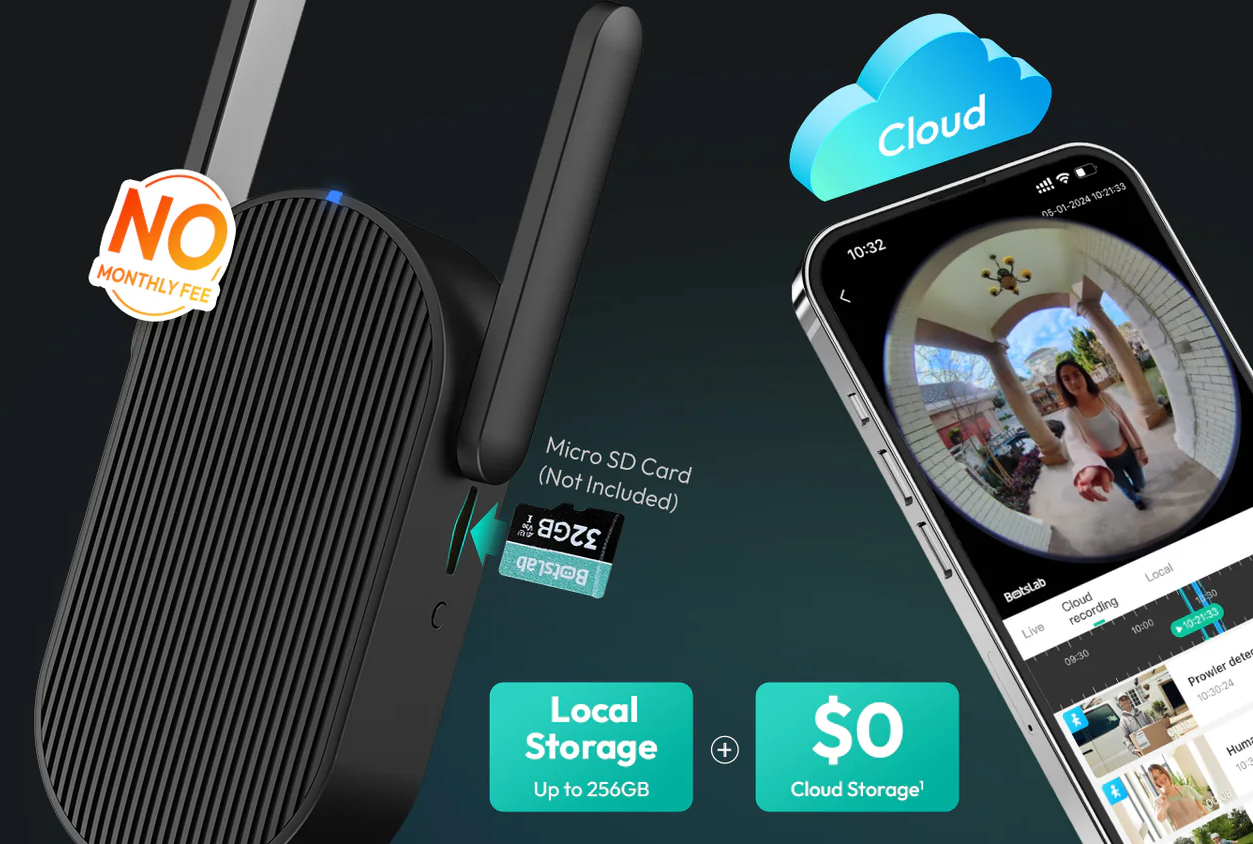
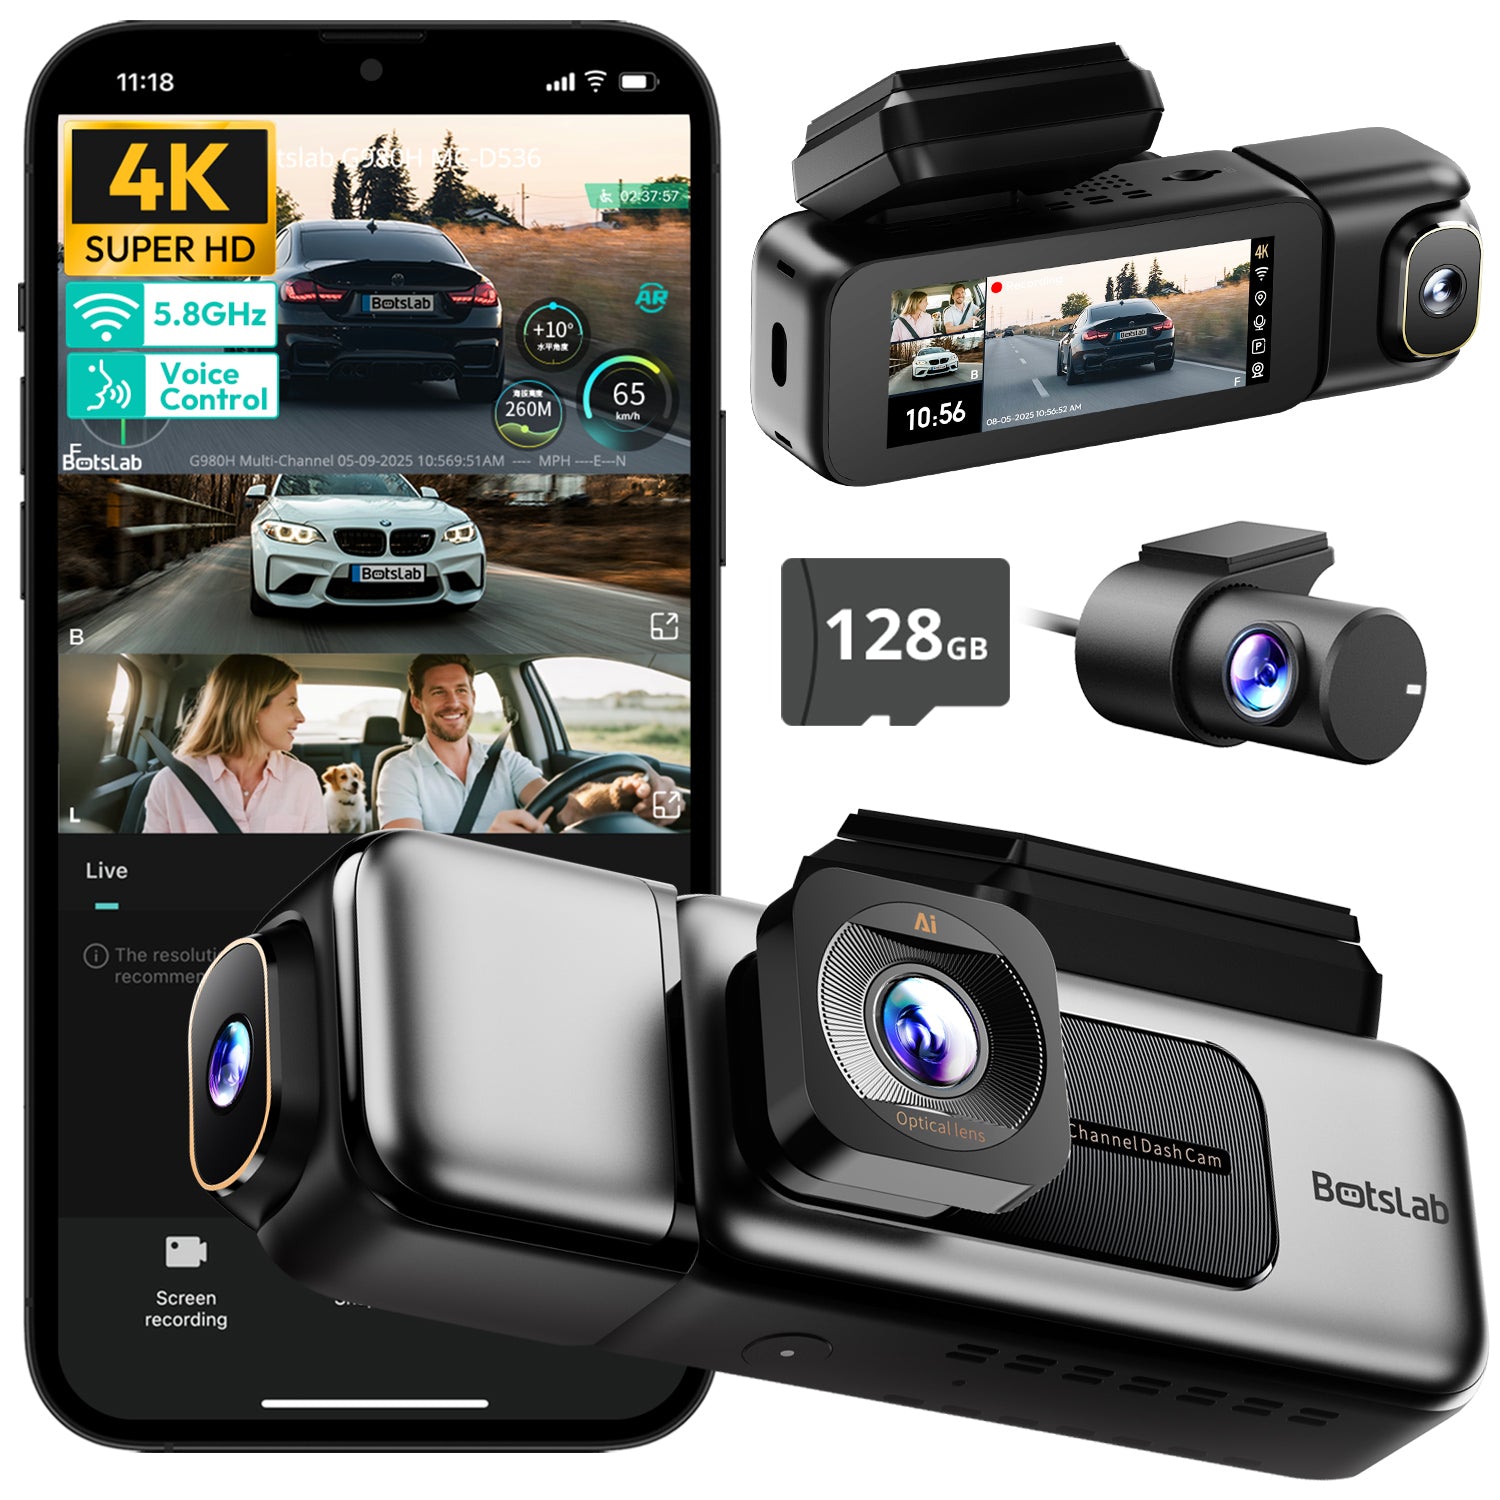
To do this, take your smartphone to the exact spot where you plan to install the camera. Check the Wi-Fi icon on your phone; if you have at least two bars of signal, the connection is likely strong enough. For a more accurate reading, you can run a speed test using a dedicated app to check both upload and download speeds. A reliable connection ensures your camera can stream high-quality video, like the crisp 2K resolution offered by Botslab cameras, without interruption.
What Environmental Factors Should You Consider?
The outdoor environment presents unique challenges. Avoid pointing the camera directly at the sun, as the intense glare can wash out the image during sunrise or sunset. Similarly, be mindful of bright porch lights or streetlights that could overexpose the video at night. High-quality cameras often feature advanced sensors and color night vision to combat low-light conditions, but minimizing direct light sources will always yield better results.
Consider potential obstructions like tree branches, which can trigger false motion alerts when they sway in the wind. Placing the camera under an eave or overhang can also offer extra protection from rain and snow, extending the life of the device even if it has a robust weatherproof rating like IP66.
What Are the Four Essential Steps for Physical Installation?
Once you have chosen the perfect location and made your preparations, the physical installation is remarkably quick. The process is designed to be intuitive, breaking down into four simple and manageable stages.
Step 1: Charge the Camera and Download the App
As mentioned in the preparation phase, this initial step is non-negotiable. Begin by unboxing your camera and connecting it to a power source using the included USB cable. A full charge can take a few hours but provides months of operation, depending on usage. While the device is charging, visit your phone's app store (Google Play or Apple App Store), search for the brand's official application, and install it. Open the app and follow the on-screen prompts to create a user account.
Step 2: Sync the Camera to Your Wi-Fi Network
With the camera fully charged, it's time to connect it to your digital world. The app will provide step-by-step instructions. This usually involves turning the camera on and waiting for a status light or audio prompt. You will then be asked to select your home Wi-Fi network from a list and enter the password. Some systems generate a QR code on your phone's screen, which you hold up for the camera to scan. Once scanned, the camera securely connects to your network, and you'll see a confirmation message in the app.
Step 3: Secure the Mounting Bracket
This is the only part of the installation that requires tools. Hold the mounting bracket against the wall in your chosen location. Use a pencil to mark where the screws need to go. If you are drilling into a hard surface like brick or stucco, you may need to drill pilot holes first and insert the included wall anchors. For wood surfaces, you can typically drive the screws directly. Use your drill or screwdriver to securely fasten the bracket to the wall, ensuring it is level and tight.
Step 4: Attach and Fine-Tune the Camera
The final step is to attach the camera to the now-secure bracket. Most wireless cameras screw on or connect via a strong magnetic mount. Once attached, use the live video feed in your app to make final adjustments to the angle. Pan and tilt the camera until you have the perfect view of your target area. Once you are satisfied, tighten any adjustment knobs or screws on the mount to lock the camera firmly in place.
How Can You Optimize Your Camera's Settings After Setup?
Installation isn't complete once the camera is on the wall. Fine-tuning the software settings is key to transforming your device from a simple camera into an intelligent security tool. Customizing these features ensures you receive meaningful alerts and get the most out of your camera's battery life.
Configuring Smart Alerts and Motion Zones
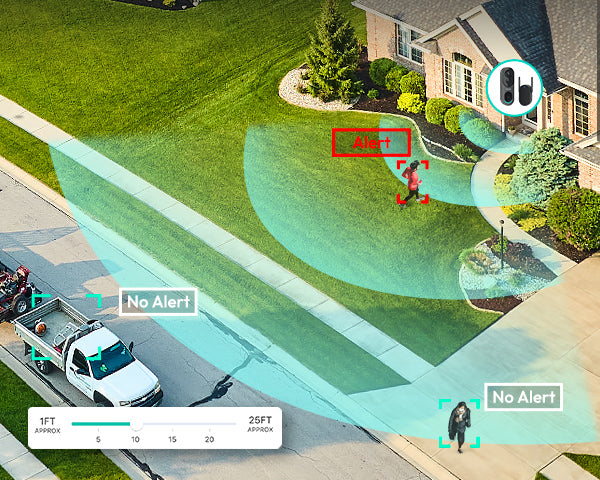
To avoid a constant stream of notifications from passing cars or swaying trees, it is crucial to set up motion detection zones. This feature allows you to draw boxes within the camera's field of view, instructing it to only trigger an alert when motion is detected inside that specific area. You can, for instance, draw a zone around your front porch and walkway while ignoring the public sidewalk.
Modern systems, like those from Botslab, take this a step further with AI-powered detection. This technology can differentiate between people, vehicles, and pets, allowing you to customize alerts so you are only notified of what truly matters. This intelligent filtering dramatically reduces false alarms and makes your security system more effective.
What Are Your Options for Power Management?
For battery-powered cameras, managing power is essential for long-term, low-maintenance operation. Within the app, you can typically adjust settings like motion sensitivity and video recording length to conserve energy. Setting the camera to record only when a person is detected, rather than for all motion, can significantly extend the time between charges.
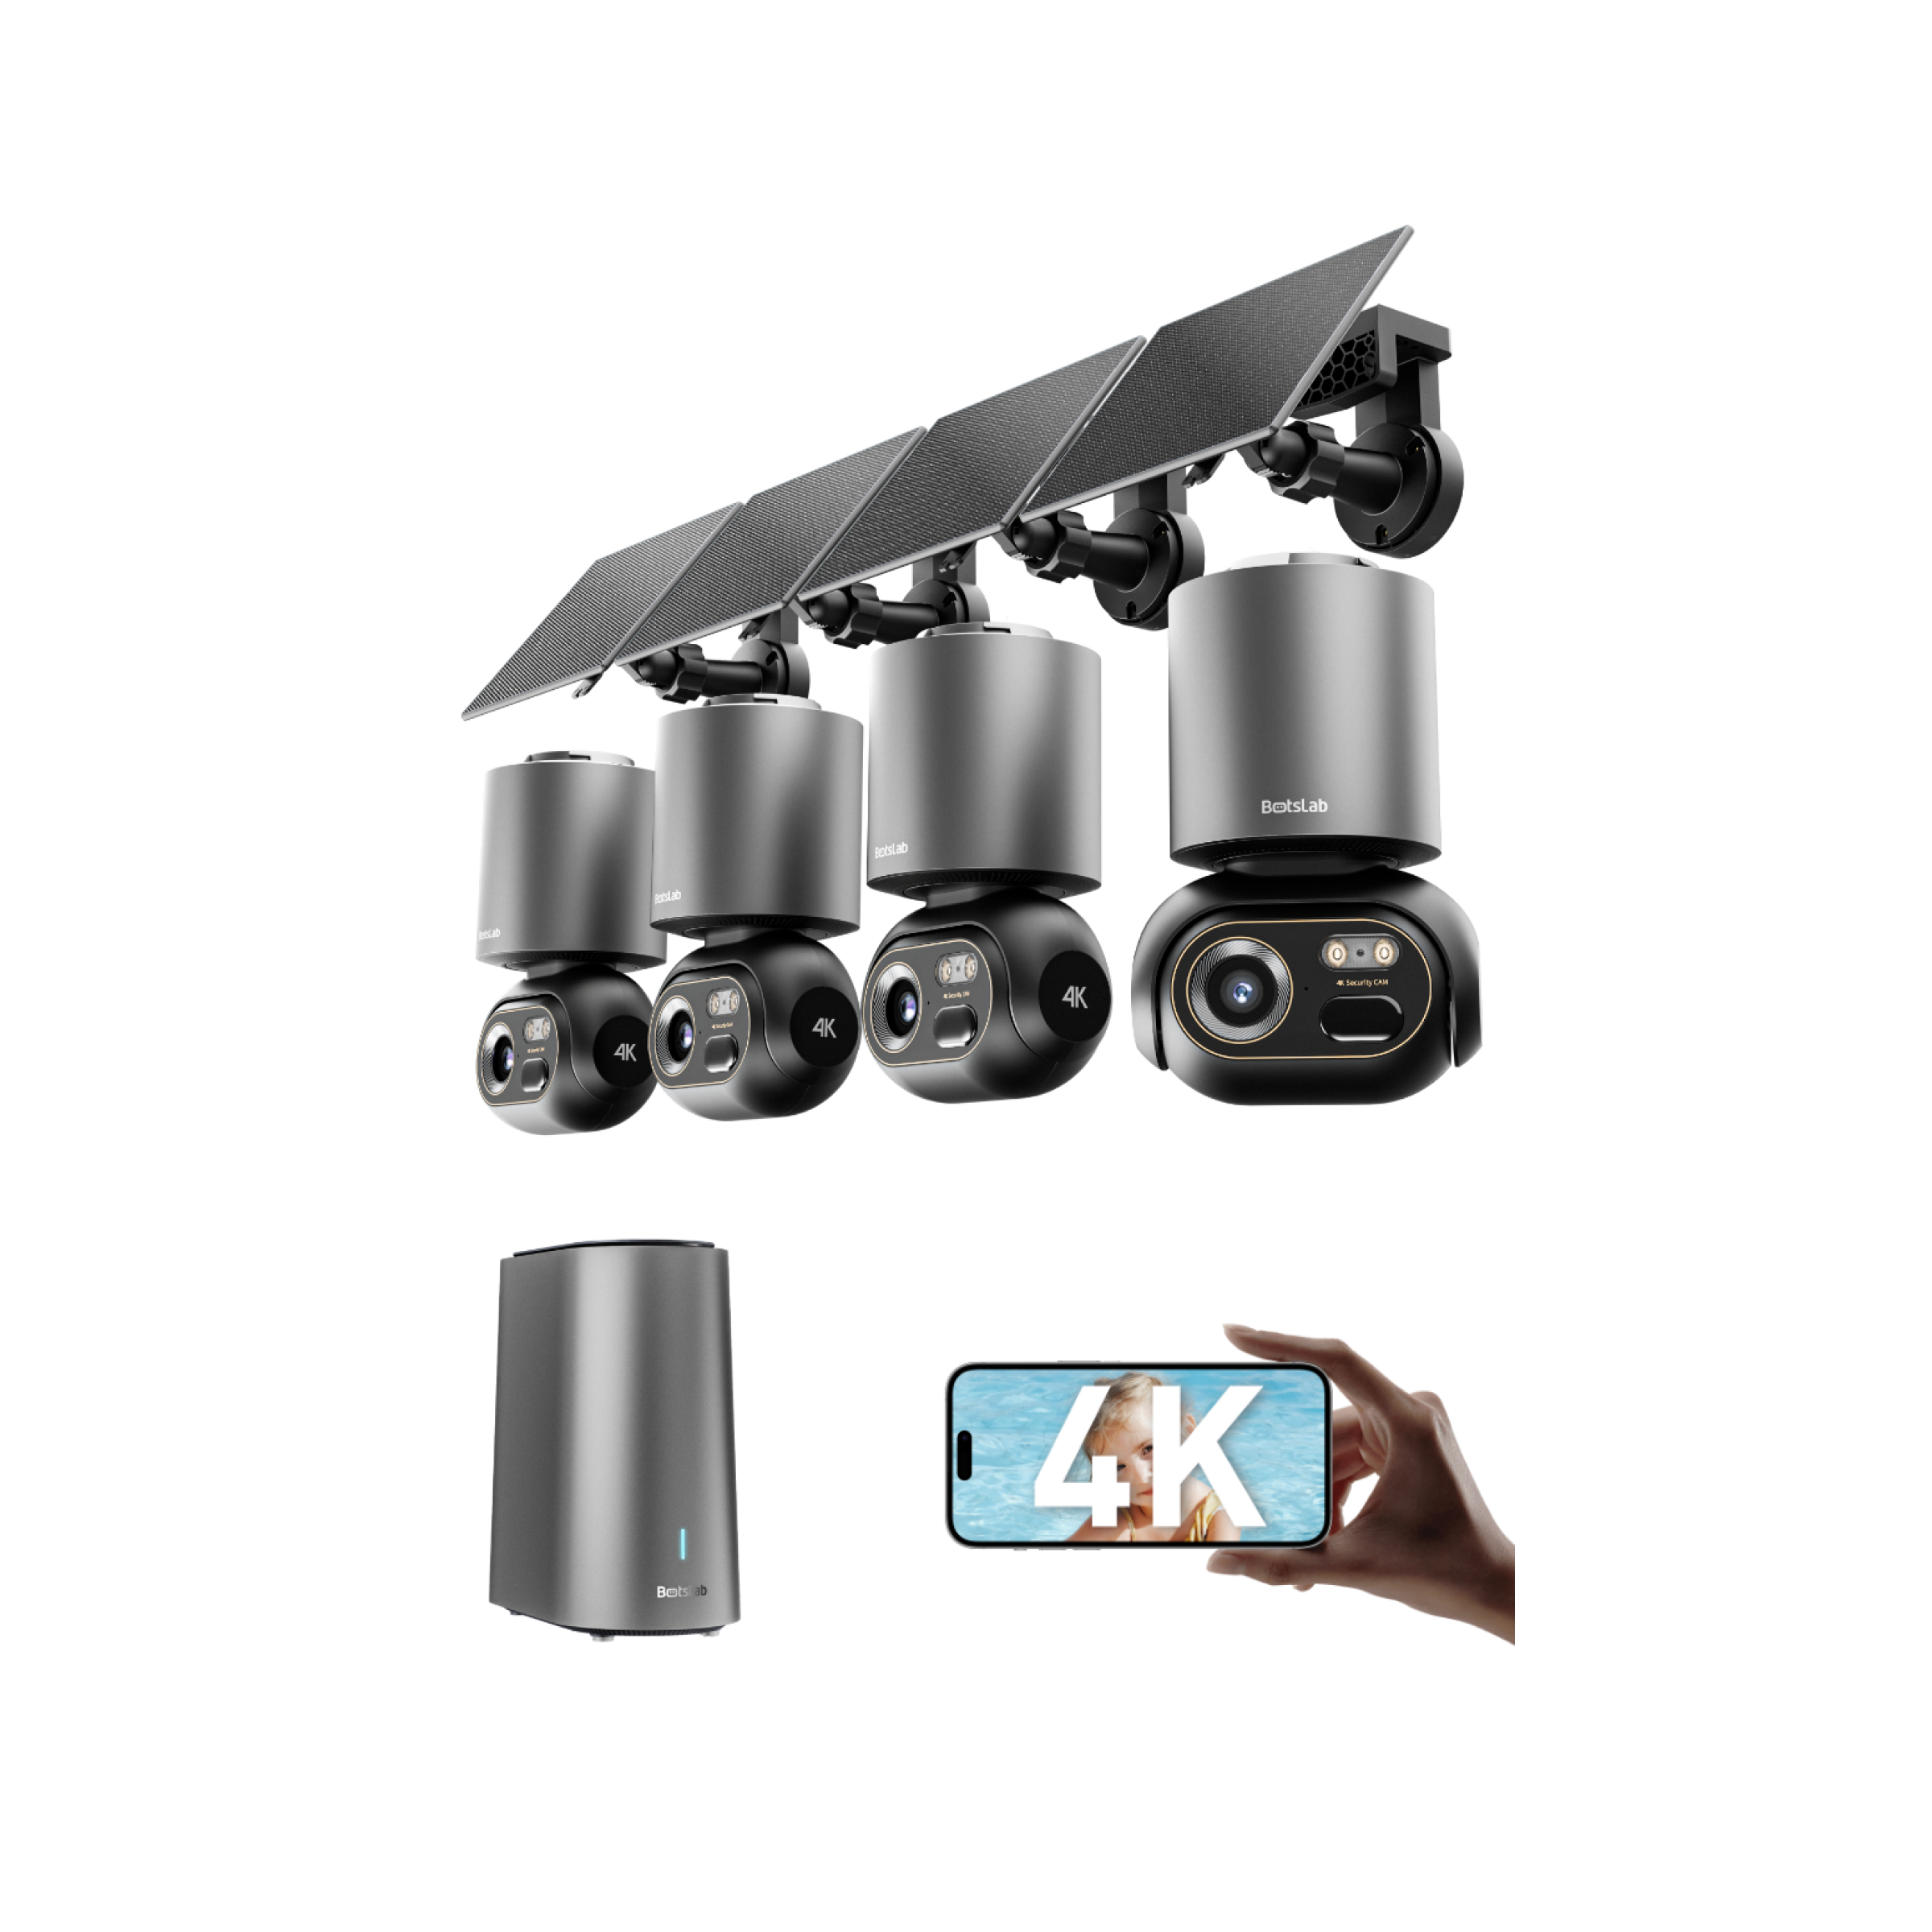
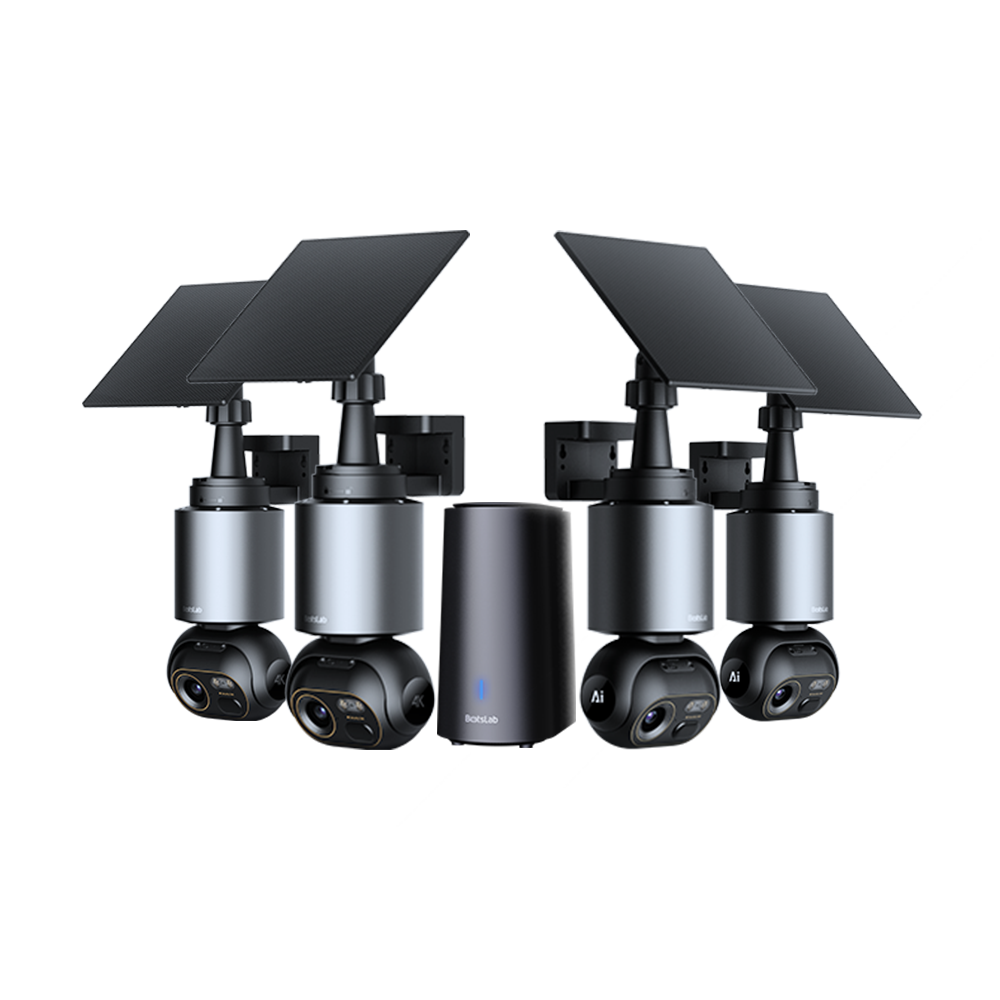
For a true "set-it-and-forget-it" experience, consider pairing your camera with an optional solar panel. These small, weatherproof panels connect directly to the camera and use sunlight to continuously trickle-charge the battery. With just a few hours of direct sunlight per day, a solar panel can keep your camera powered indefinitely, eliminating the need to ever take it down for recharging.


Teilen:
How can I turn off my Auto Dash Cam's screen?
Which of the best Outdoor Security Cameras has the longest battery life?